Cover photo by Michelle VanTine Photography
If you’ve been a photographer for any amount of time, you have quickly learned that even the luckiest of us spend a mere 20 to 30% of our time actually taking pictures, and for many of us even less than that.
The vast majority of our days are spent doing other things. Things, honestly, which we don’t always enjoy. It is a regular occurrence for me to plop down at my desk and repeat to myself “You gotta do what you gotta do, to do what you want to do.” In recent years, numerous new technologies have emerged to assist photographers in photo editing and running the photography business in general. Today, I’ll share some of these innovations with you, focusing on Lightroom presets and AI editing.
Perhaps you have wanted to delve deeper into these technologies and wondered, “What exactly are photo presets and how do I use them?” Maybe, you have been using Lightroom presets for years and you’re ready to tackle AI editing.
In this article, I will walk you through an overview of AI presets and the pros and cons of using each type of preset. By the end of this article, you will be equipped to choose the best tools for your photography, so you can return to doing more of what you love.
TL;DR: Here’s a quick visual comparison between the Lightroom Presets & AI Editing you can check if you don’t have time to read the full article.
Types of Lightroom Presets
1. Lightroom Presets Acquired Online
There are countless presets available online for Lightroom. It is common for photographers to find presets online that suit their style and use them on the majority of their photos. You can buy these presets directly from photographers, or on photography websites. A simple Google search of the style you want, “Bold colorful presets”, “Film Presets”, or “Best wedding album presets” will bring up hundreds of options to choose from. This is a great tool if you’re still discovering your style, or if you’re editing images for fun. It’s a quick and easy way to take your images from RAW (hopefully!) to a certain curated look you chose.
The disadvantage to basic Lightroom presets is that your editing style may not look unique, and also it is not an “intelligent” edit of the image. It only applies global edits to the whole image: the same changes on each image. For example, your filter might reduce your highlights to -20, increase the grain to +15, and reduce the saturation to -10, etc. It will apply the same edits to a picture in bright sun with a white shirt, and a dark scene at a concert. This means that the filter will get you started, but you will have to go in and make many adjustments to get the look just right for each image.
2. Lightroom Adaptive Presets
In June 2022, Lightroom launched a new feature: adaptive presets. You may have seen the options on the left sidebar, but not have known what adaptive presets were or how to use them.
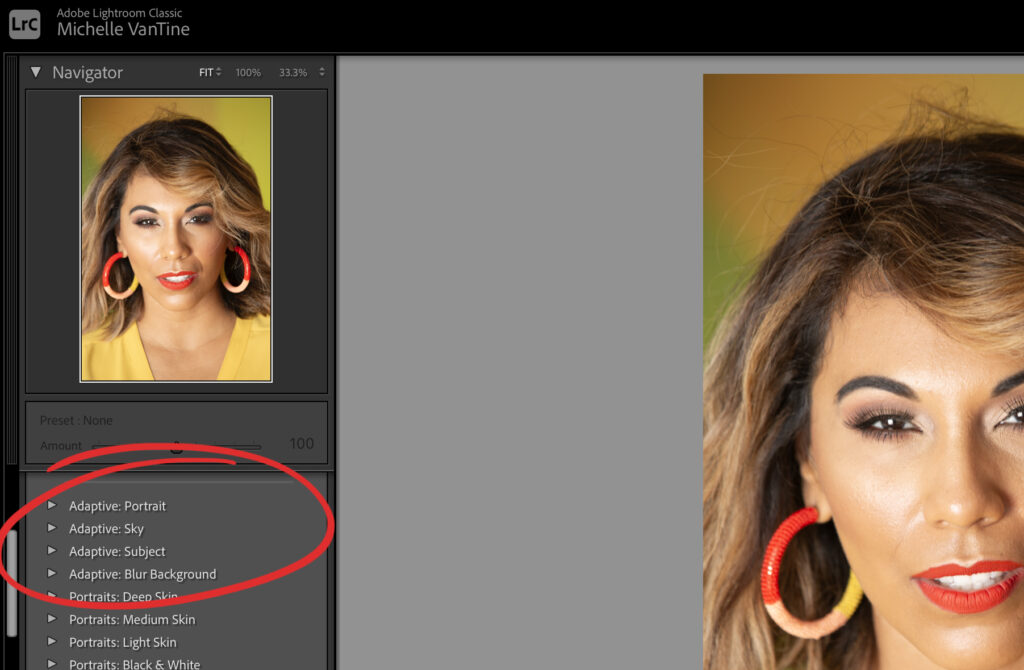
This set of presets makes use of AI to make edits in a more “intelligent” way. Essentially it creates masks and edits to specific parts of your image rather than only applying global adjustments. How do you use adaptive presets? It’s a simple one-click operation for portraits, and landscapes background blur. To use an adaptive preset you simply click the arrow to the left of the preset name to open the dropdown menu and click the options for each to see its effect on your image.
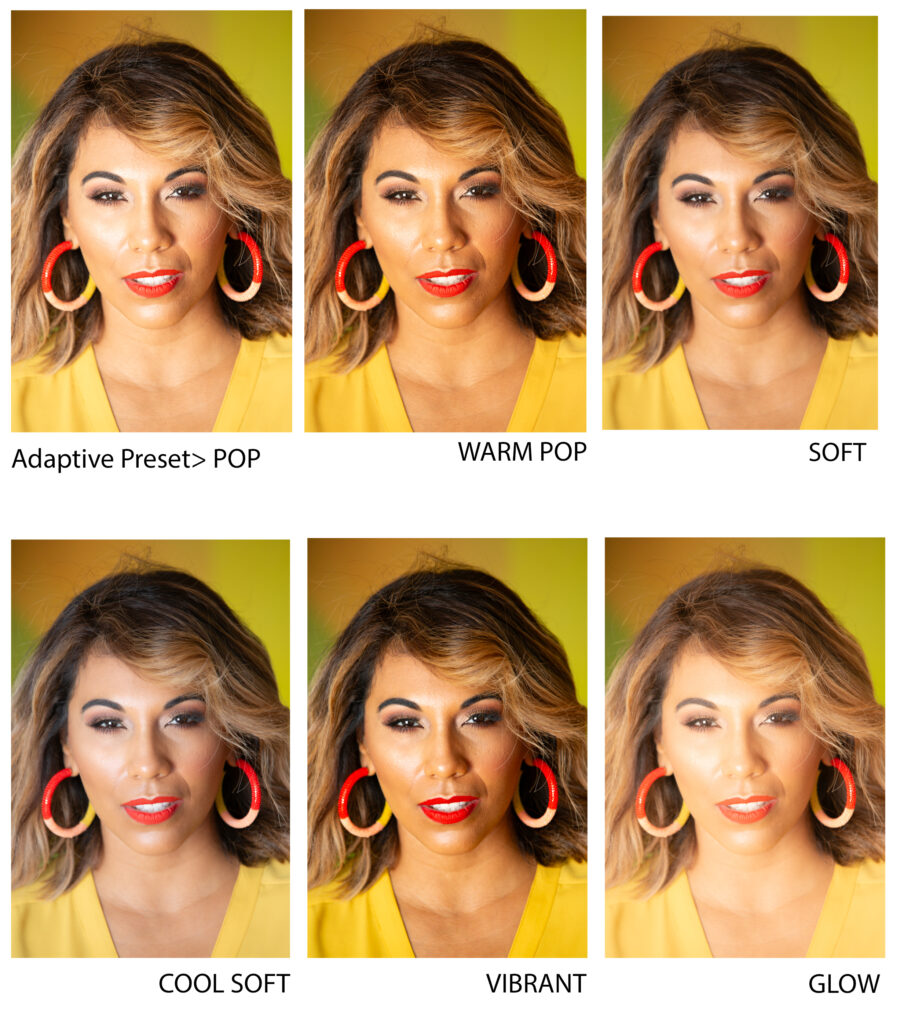
3. Lightroom Custom-Designed Presets
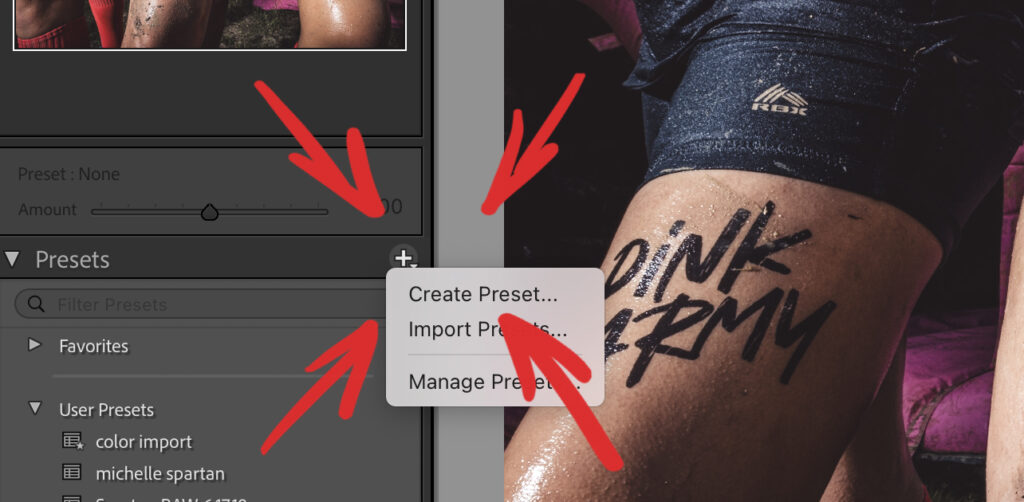
The third and final type of preset we will be looking at is custom-designed presets. This is what I prefer on the occasions that I do edit in Lightroom. If you identify as a neurotically detail-oriented editor and control freak- this is the Lightroom option for you. This is also the type of preset you will prefer if you want a look that is unique to your brand. The great news? It’s extremely easy to create your own presets. Simply edit an image in your style, and under the Presets pull-out menu select “Create Preset” then name and save your preset. It’s that easy.
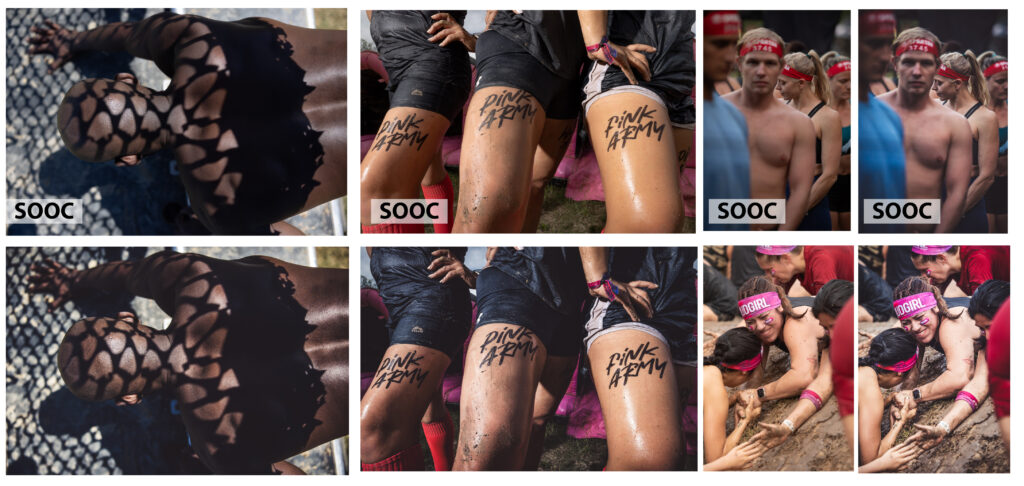
Here are some examples I have created for my sports photography. This is a before and after: SOOC (straight out of camera) to my one-click sports preset.
Pros & Cons of Lightroom Presets in 2025
Lightroom presets can certainly feel like a gift from the efficiency gods. I mean really, one click and the face is masked, and you instantly have 6 edited options to choose from? It used to be that Lightroom was not a serious contender in the retouching world, but the recent developments with smart masks and AI adaptative presets have changed this. We really do have to give a round of applause to Adobe for their improvements. The pros of using Lightroom presets are that you can easily find a look you want and apply it to a big batch of images potentially saving you hours of editing.
The cons of using presets is that even if the effect is applied consistently across your entire set of images, the edits don’t adapt to the needs of individual images. If you’re a wedding photographer for example, you may get a good head start with a filter, but you will likely find yourself going through the images and tweaking all the images. The bright mid-day sun family pictures will need adjusting in different ways than the images from the dark reception with the colored strobe light. Realistically, if you do good retouching, you most likely will still go through your images and tweak them after applying a Lightroom preset to a whole job. For my work, I think of Lightroom presets as more of a starting point than an editing solution.
Do Professional Photographers Use Lightroom Presets?
Many professional photographers use presets as part of their photo editing workflow. This is especially common in types of photography where photographers deliver larger numbers of images such as weddings and engagements, maternity, volume sport, etc. Photographers who are less likely to use Lightroom presets are those whose work requires in-depth, detailed, layered editing. Commercial photographers, for example, delivering advertising images do not use Lightroom presets.
AI Editing Presets vs. Classic Presets
What are AI Editing Presets?
AI in the field of photography conjures up all types of emotional responses. Certain new AI-powered platforms aim to eliminate the need for photographers. These include software that generates a full suite of professional headshots from a single image and platforms that produce complete, realistic advertisements featuring models and elaborate set designs. It’s no wonder that some photographers feel hostility towards AI integrations in photography. What differentiates AI editing software such as Imagen from these technologies is that they are designed to help photographers, not to replace them.
So, what do AI editing presets do? They edit each picture, individually, intelligently, and based on learned aesthetics of your editing. What does that actually mean? A Lightroom preset would, for example, reduce your highlights by -10 on each picture. No matter what the image is. Whether the highlights are blown out, just right, or too dark: “highlights -10.” Period. Every time. AI editing, on the other hand, learns how the editor likes his/her highlights. They use thousands of YOUR images to learn the look in which you like your highlights and edit each image in that style. For five images, it may reduce the highlights by 10. Then, perhaps, a cloud came over the top and your next picture is underexposed. In this case, it would increase the exposure and/or highlights. It learns how you like to edit and how you like your images, and it edits each individual image to meet your personal aesthetic.
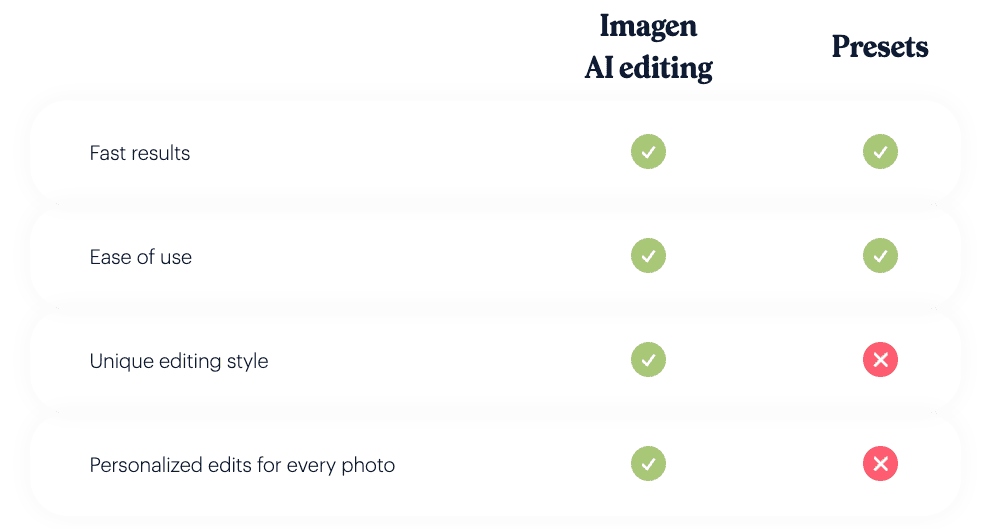
That sounds amazing, you think, but how does it know how I like to edit? Imagen, for example, suggests you create your own fully custom Personal AI Profile. As you edit each job, Imagen’s AI algorithm will learn from the editing you do and the choices you make. Once you hit 3,000 training images, your Personal AI Profile is ready for use. You can also upload previously edited catalogs and it can learn from those.
If that seems like something you’re not ready to embark on, Imagen also has “Talent AI” profiles to let you start and get going quickly. From Susan Stripling to John Branch, Imagen has partnered with photographers to provide options for you to edit “in the style of.” With this option, the AI image editor will mimic the color grading and other staples of the chosen talent profile, while still editing each picture individually based on its needs.
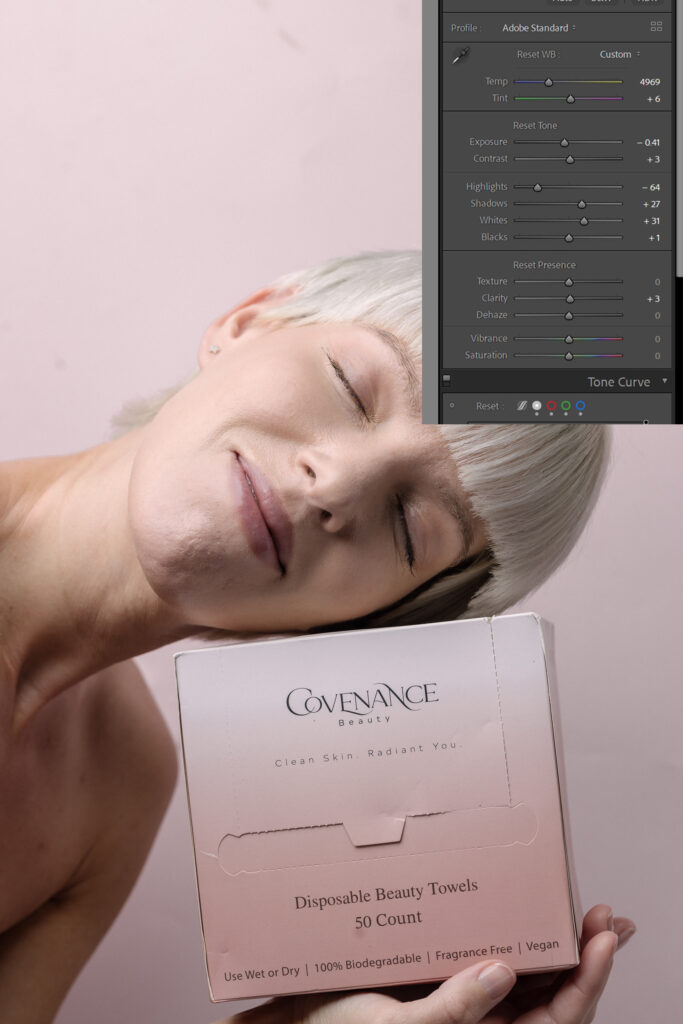
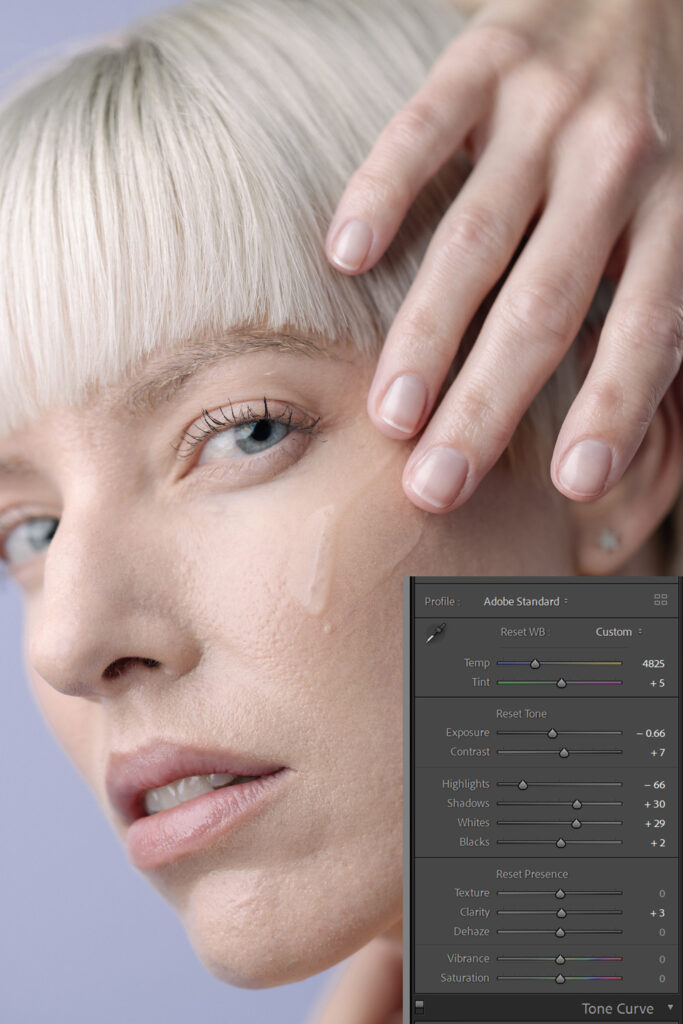
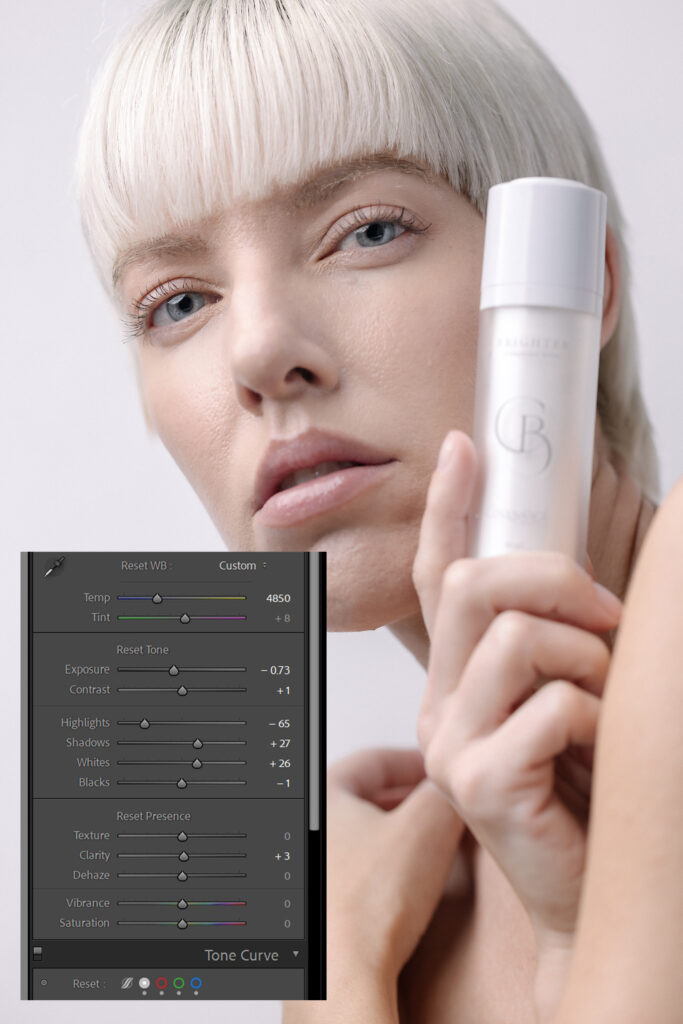
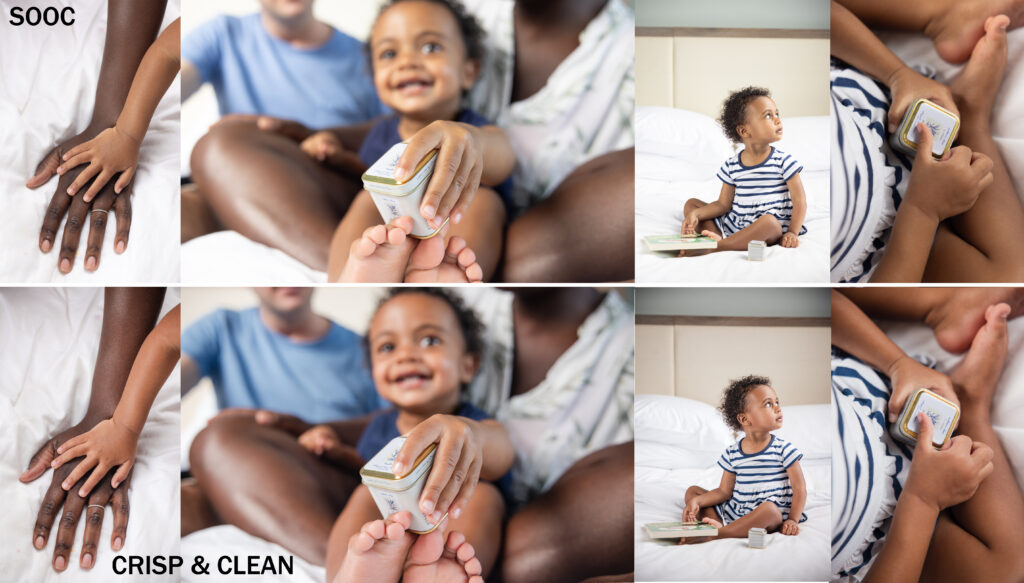
I ran one of my recent skincare campaigns through some of the Talent AI options to show you the outcome. I used the Modern Classic talent profile. You will see that although the images were all edited by the same profile, they each received adjustments unique to that image’s needs.
This is an example of the before and after using the Crisp and Clean talent profile.
My Personal Experience with Imagen AI Editing
I came across Imagen about two years ago at Imaging USA. The idea of AI editing seemed interesting to me, but it felt very overwhelming. Like many photographers,
I was bustling managing booking requests and working tirelessly to get all my shoots done on time. I wanted to give Imagen a try but thinking about learning something new just felt too taxing.
As I was cleaning my desk months later, I found the business card from the conference. I had a small lull in my week and apparently, a brain-boosting breakfast because I decided to sit down murmuring my usual, “You gotta do what you gotta do, to do what you want to do.” To my surprise, the software was very user-friendly. I wasn’t overwhelmed and I simply followed the prompts one step at a time. I used previously edited catalogs to chip away at my image count for the training portion of the software.
I have found this to be an invaluable tool for the type of photography in which I have to work through large amounts of images and deliver images that are color-corrected, sharp, and unique to my style.
One example of this is sporting events. At these events, a photographer can often take between 4 and 10 thousand images a day, depending on how long the event is. There have been days that my start time is 5:30 am and I shoot until 5 or 6 pm. This is not the number of images you want to edit. Being able to run the images through AI editing while I rinse off from a sweaty sports day is the most gratifying feeling. I’ve also used it for event work. A lot of this work doesn’t have to be overly detailed. It’s not like product photography where I sometimes spend one hour on an image that has 11 layers in Photoshop. While capturing volume sports or events, I find that AI editing is perfect for handling these simpler, high-volume assignments.
Pros & Cons of AI Editing
The biggest benefit of AI editing is the obvious one: it saves photographers time. With its efficient culling automation features and advanced artificial intelligence working on each picture individually, it can save up to 96% of your workflow time. Another benefit is the level of intelligence that you have access to with Imagen. From color grading to texture, and even their latest addition of skin softening you can truly train your profile to work in a precise way to meet your style.
Some may perceive another added expense as a con. Between web hosting, CRM platforms, photo delivery platforms, monthly software subscriptions, and more it can feel undesirable to add a new line item to your budget.
Having said that, Imagen is quite the affordable add-on and will likely save you money in the long run. Time is money, and when you can have a wedding edited and culled while you shower and finally eat, this means you are freed up to do more photography or grow your business in other ways.

Bottom Line
I close this article with a thought, that is perhaps not what you would expect from an educational article on photo editing presets.
I offer you this question to reflect on: “Am I happy? Do I enjoy my days as a photographer?”
In my 14 years shooting full time I have learned one very valuable lesson: do not lose the joy of the art.
Do you remember that first job you did? You came home on such a high. You thought “I can’t believe I’m getting paid to take pictures!” Your heart was filled with joy and excitement.
Over the years that sentiment may have been dulled with long days running a business, challenging clients, and burdensome deadlines. If you’ve had a hard enough week, you may have even found yourself envying the simplicity of the attendant’s job bagging your groceries and contemplating a career change. This is all normal. But there are ways to reduce or completely remove some of these joy-suckers.
If you’re not enjoying your job, you may want to take a moment to think about your work model and examine if there are changes you can make to come back to that earlier excitement you had. Perhaps that means penciling out a three-day block for “professional development” quarterly to not just work in your business but to work on your business.
AI editing could be a valuable tool to help improve your daily quality of life and everyday satisfaction as an artist. Try it! Pencil in a day on your calendar for this month, and come back, let us know what you think. My hope is that you will find what I have: investing in things that help you preserve your joy in artmaking are investments you never regret.
_________________

