

How to Edit Wedding Venue Photos with AI in 2026
Table of contents
- Import, back up, and group the venue take by space
- Cull the near-duplicate frames with AI selection
- Batch your personal color across every room
- Straighten verticals and correct lens distortion
- Balance mixed light and blend exteriors
- Retouch the hero frames by hand
- Export, deliver, and save your style for the next venue
- Frequently asked questions
To edit wedding venue photos with AI in 2026, you cull the take with AI selection, straighten and color-correct the interiors and exteriors in one batch, then finish the marquee frames by hand. AI tools like Imagen learn your Lightroom or Capture One style and apply it consistently across ballrooms, garden exteriors, and rooms lit by a mix of window daylight and warm chandeliers, so every space reads with the same clean look. This guide walks the real workflow a working venue and wedding photographer runs, from import to delivery, and shows where automation saves the most hours.
Venue coverage is a deceptively technical edit. You shoot wide interiors where verticals have to stay straight, exteriors where the sky and the stone need to balance, and detail rooms where warm lamps fight cool window light. You come home with hundreds of frames that all need the same architectural discipline. The plan below keeps your verticals true, your color consistent from room to room, and your best hero shots gallery-ready. For a broader tool comparison, see our roundup of the best AI wedding venue photo editing software in 2026.
Import, back up, and group the venue take by space
Every clean venue edit starts before you touch a slider. Pull both card slots into your catalog, verify the file count against your in-camera frame count, and copy the folder to a second drive right away. Venue shoots are often a one-time booking with the space dressed for a single wedding, so a backup on ingest is not optional. Once the raws land in Lightroom or Capture One, add a keyword for the venue name so this block stays separate from the ceremony and portrait folders.
Group the take by space while it is fresh in your memory. Most venue coverage breaks into the ceremony room, the reception hall, the entrance and exteriors, the getting-ready suites, and the detail corners. Flagging those areas now makes the color work far faster later, because each room tends to share one lighting situation. This is also the moment to note the frames you already know are keepers, such as the full ballroom reveal or the front facade at golden hour.
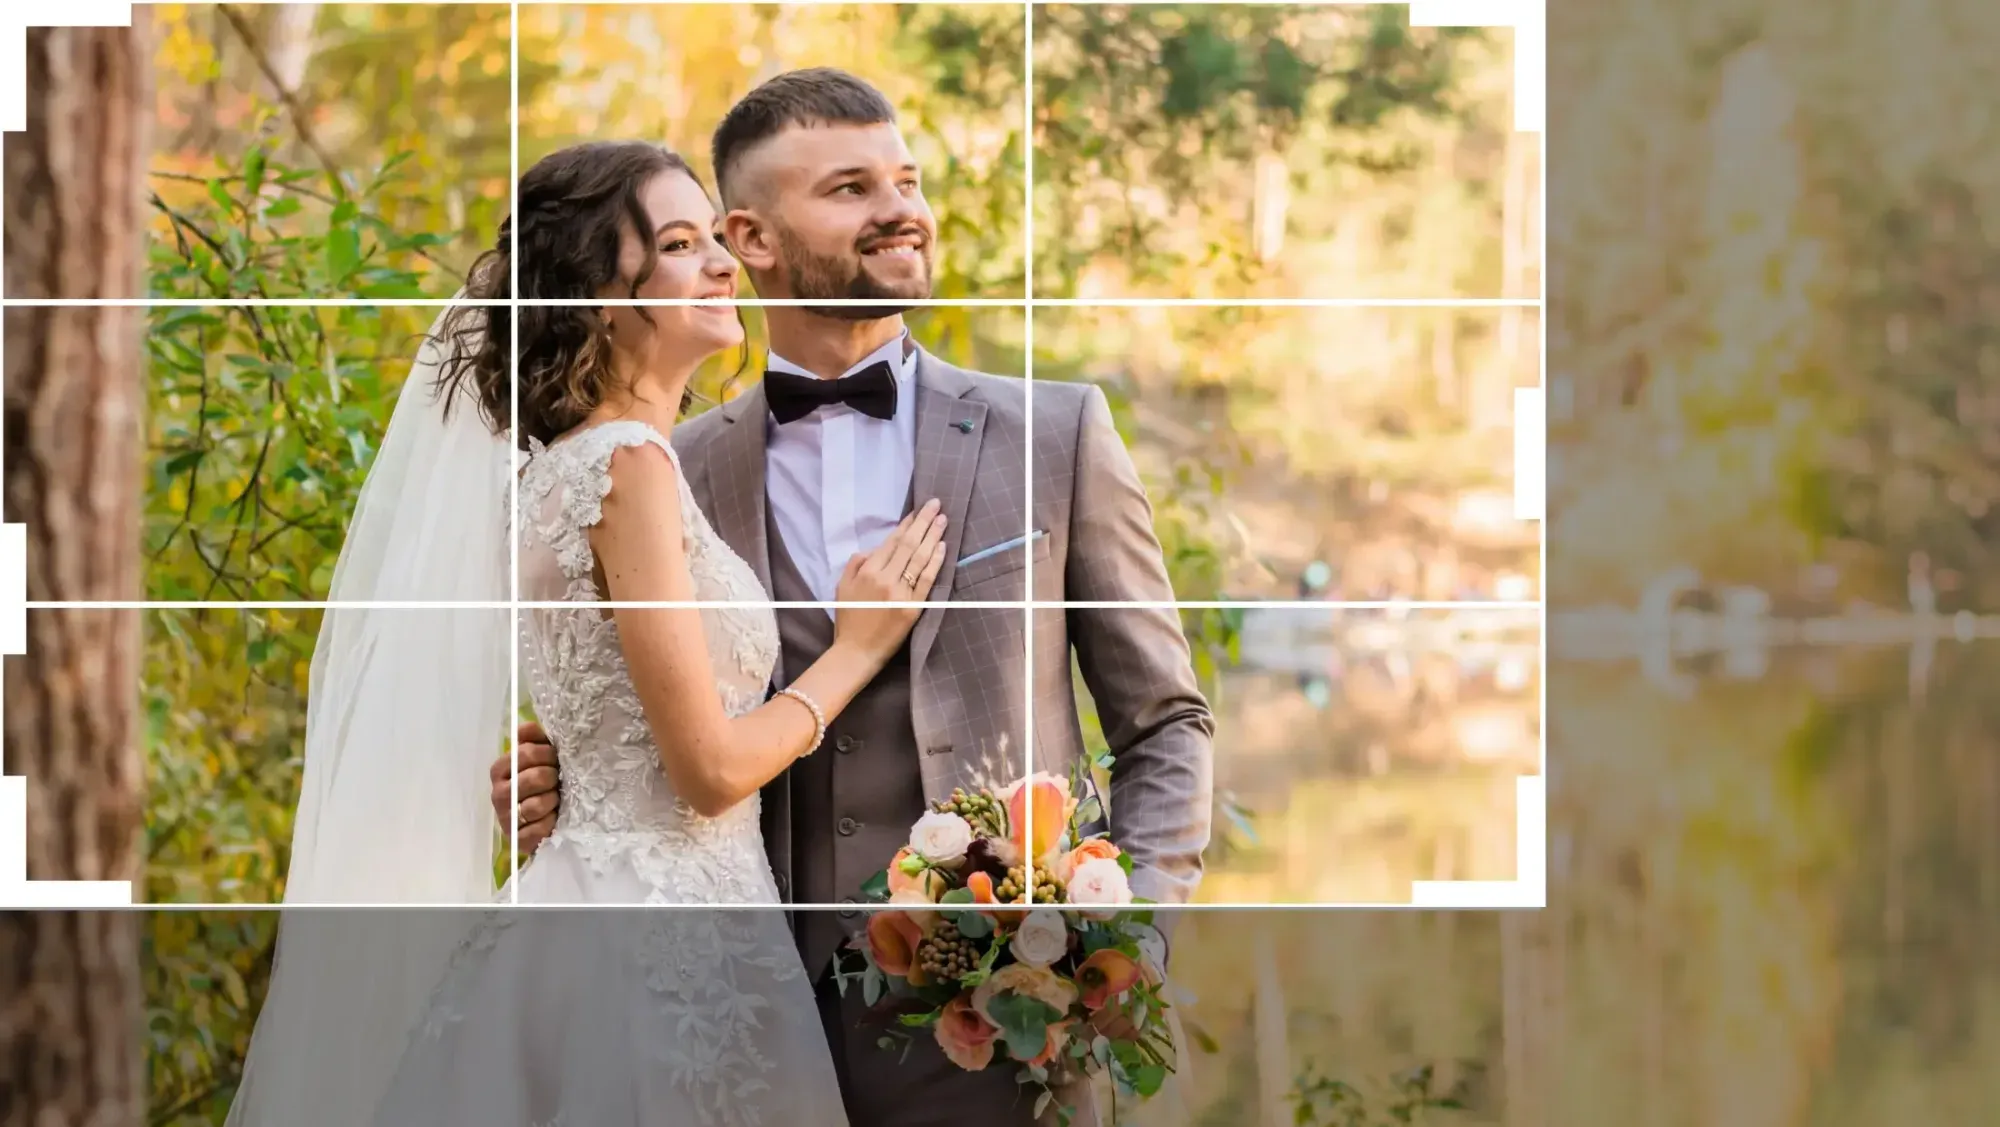
Cull the near-duplicate frames with AI selection
Culling is where venue edits quietly stall. You shot a wide room from six angles and bracketed each one, so now you have to compare dozens of near-identical interiors by hand. AI culling reads the whole take, flags the sharp and well-exposed frames, then groups the near-duplicates so you pick one winner per setup in seconds. Imagen runs AI culling inside the same workflow as its editing, so your selects flow straight into the batch edit without a separate export step, and manual culling is free if you prefer it.
Keep your own judgment in the loop. AI is strong at the mechanical checks like focus, exposure, and blur, and you stay in charge of the compositional call between two technically similar wides. A practical culling routine looks like this:
- Run AI culling across the full venue take to reject the soft and poorly exposed frames.
- Review the grouped duplicates and keep one hero angle per room or setup.
- Star the five to ten frames you already know are portfolio or marketing shots.
- Send the surviving selects into your batch edit as one connected set.
Aftershoot is another tool photographers use for standalone AI culling, and it works well if you prefer to cull in one app and edit in another. The advantage of keeping culling and editing connected is that your winners never leave the pipeline, so there is one less export to manage at the end of a long shoot day.
Batch your personal color across every room
This is the step AI changes the most. Instead of editing one interior and copy-pasting settings that drift as you move from the daylit atrium to the candlelit hall, you apply your own style to the whole venue at once. Imagen learns your personal editing style from your Lightroom or Capture One catalog as a Personal AI Profile and applies it consistently across a full shoot, so the garden exterior and the dim ballroom still read as the same clean, cohesive look. Edited photos arrive in batches, so you can review the early rooms while the rest finish processing. It edits the real spaces you photographed, and it does not invent architecture, rooms, or scenes, so the venue you deliver is the venue that exists.
Because the model matches your taste rather than a generic preset, you get a first pass that already looks like your brand. You then scan the results room by room and nudge only the frames that need it. On a typical venue set that means you touch a small handful of shots instead of every single interior, which is where the real time savings live. Imagen is pay-as-you-go: exploring the tools is free, and you pay for what you export.
If you would rather stay fully manual, Lightroom presets and sync still work, and Capture One styles do the same job. Those approaches hold up on a clean, evenly lit room. They struggle when the light swings from a bright window wall to a warm corner, because a fixed preset cannot adapt the way a style trained on your own edits can.
Straighten verticals and correct lens distortion
Architecture lives or dies on straight lines. A wide interior with leaning walls or a bowed doorway looks amateur no matter how good the color is, so vertical correction is the discipline that separates real venue work from snapshots. Start by enabling your lens profile to remove barrel distortion, then use the guided vertical tools to pull the columns, door frames, and wall edges truly upright. Check the room against the frame edges, since a wall that leans in even a degree reads as wrong to the eye.
Batch the mechanical corrections, then verify by hand. Lens-profile correction and a baseline vertical adjustment apply cleanly across a whole room in one pass, and you reserve manual attention for the tricky wides where a ceiling beam or a staircase throws the automatic guides off. Your straightening checklist looks like this:
- Enable the lens profile first so distortion correction happens before you judge the verticals.
- Pull the strongest vertical lines, such as door frames and window edges, truly upright.
- Watch the horizon and any water or reflection line so exteriors stay level.
- Crop back slightly after a strong perspective fix so you do not lose the ceiling.
- Flag any wide the automatic tools could not fully square for a manual finish.
For a room-by-room walkthrough that pairs straightening with color, our wedding venue photo editing workflow for 2026 breaks the process down setup by setup.
Balance mixed light and blend exteriors
Two lighting problems define venue coverage. The first is mixed interior light, where warm chandeliers and lamps fight cool daylight from a window wall, so the same room shows two color temperatures at once. The second is the exterior blend, where a bright sky sits far above a shadowed stone facade, and you have to hold both without a blown highlight or a muddy wall.
Handle mixed interiors by setting white balance on a neutral target in one representative frame, applying it across the room, then letting per-frame adjustments clean up the corners the batch could not fully neutralize. For exteriors, recover the sky and lift the facade shadows so the building keeps depth without looking flat. A style trained on how you personally treat these situations carries that balance across every room and every facade frame at once, which is exactly where a batch approach beats sliding one image at a time. Keep an eye on the whites, since venue linens and walls are the first thing a client notices when the color drifts.
Retouch the hero frames by hand
Once the batch delivers a consistent, straightened base, your marquee frames deserve individual attention. The full ballroom reveal, the styled tablescape, and the facade at golden hour are the images the venue uses for marketing and you use in your portfolio, so they get real retouching. That means cloning out an exit sign, a stray cable, or a fire extinguisher that pulls the eye, and evening out a hot spot on a wall. Imagen includes AI retouching in the same connected workflow as its culling and editing, so the finishing pass stays in one place. For a quick manual pass, the built-in editor (Beta) offers sliders, crop and straighten.
Keep retouching honest to the space. Remove a genuine distraction and calm a hot highlight, and leave the real architecture and decor of the room intact. For heavy compositing, a sky replacement, or a tricky object removal, Photoshop remains the manual finisher of choice. The goal is the same across all of them, which is a clean, believable room that still looks like the venue a couple booked and a reader could walk into tomorrow.
Export, deliver, and save your style for the next venue
With the venue edited and the heroes retouched, export in two sizes. Deliver full-resolution files for print, albums, and the venue’s marketing use, and web-sized JPEGs for the online gallery and social previews. Keep your sharpening output-aware, since a file sharpened for a large wall print looks crunchy on a phone screen. Name the folders by space so the couple, the venue, and the album designer can find the ballroom and the exteriors without scrolling through the whole take.
The lasting win is that your style is now saved. Because the AI learned your look from this catalog, the next venue starts from the same trained profile, and your edits get faster with every shoot you feed it. That compounding consistency is the real reason to move venue work to AI, and it is what keeps a full season of venues looking like one photographer shot them. Browse more workflow tutorials on our valuable tips hub.
Ready to cut your venue editing time and keep your look consistent across every room? Start with Imagen and explore its new Studio, where you cull, edit and export in one project.
What’s new in Imagen: Imagen is now an intelligent, agentic Studio for professional photographers, one project where you cull, edit, review and export in any order. For venue work, crop and straighten in the built-in editor (Beta), and let edited photos arrive in batches so you can review early rooms while the rest finish. The Studio is rolling out gradually.
Frequently asked questions
How long does it take to edit wedding venue photos with AI?
Once your style is trained, a full venue set batches in minutes rather than hours, because the AI applies your look to every select at once. You then spend your hands-on time only on the hero frames, the straightening on tricky wides, and the few shots the batch could not fully balance. Most photographers report cutting their venue editing time by a large margin after the first few shoots.
Can AI keep my verticals straight across a whole venue?
Lens-profile correction and a baseline vertical adjustment batch cleanly across a whole room, so the mechanical straightening happens on every frame at once. You still verify the wides by hand, because a staircase or a ceiling beam can throw the automatic guides off. The workflow gives you a straight starting point on the full set and reserves your manual attention for the frames that need it.
Does AI change what the venue actually looks like?
No, Imagen edits, culls, and retouches the real photos you shot, and it does not invent architecture, rooms, or scenes. It adjusts color, exposure, and verticals the way you would, so the venue you deliver is the space that exists. The room stays true to what you photographed, and only the polish is automated.
What does AI venue editing cost?
Imagen is pay-as-you-go: exploring the tools is free, and you pay for what you export. That makes it easy to run a real venue set through it before you commit, and the model scales with your volume instead of locking you into a fixed plan.
