Last updated on 01/12/2025
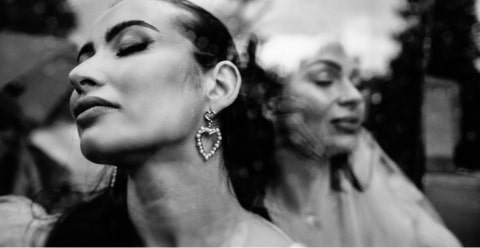
Cover image by Dragon Pictures
Light is every photographer’s trusted ally. But as with many good things, there’s a tipping point. Overexposure happens when light overwhelms the camera sensor, producing images that look washed out. In most cases, it results from incorrect camera settings like aperture, shutter speed, and ISO.
Regardless of the cause, with the advent of AI photography editing, there’s hope on the horizon. Now, those overly luminous moments can be adeptly refined, ensuring every shot captures its intended beauty.
What is Overexposure in Photography?
A photo is overexposed when the highlights within the picture lose intricate details, resulting in areas that appear entirely white. This excessive brightness often leads to washed-out colors and a lack of vibrancy and richness in the picture.
Additionally, overexposed photos typically have reduced contrast between light and dark areas, resulting in a flatter appearance.
» Discover the ways AI will affect the future of photography editing
Tricks for Fixing Overexposed Photos
1. Manual mode adjustments
- To underexpose a photo manually, you can:
- Lower the ISO for less sensitivity to light
- Increase shutter speed
- Use a smaller aperture to let in less light
2. Bracketing
Bracketing is the technique of taking two or more photographs of the same subject with different camera settings, such as aperture, shutter speed, or ISO. You can use it to ensure that at least one of the photos is correctly exposed.
» Need to save time? Explore how you can batch-edit photos with Lightroom
4. Neutral density filters
Neutral density (ND) filters are a type of lens filter that reduces the amount of light that enters the camera. This can be useful for various purposes, including lowering overexposure in photos with too much light.
When using an ND filter to reduce overexposure, attach the filter to the front of your lens before taking your photo. The darker the ND filter, the more light it will block, so you will need to use a slower shutter speed or wider aperture to compensate.
» Find out what’s a photo editing style and how you can benefit from it
3. Photo editing software
If the photo’s already taken and looks too bright, you can use software like Lightroom or other software tools from the Adobe Creative Cloud. With a few slides and clicks, you can rescue and enhance the quality of your overexposed memories.
To edit high-exposure photos in Adobe Lightroom, you can:
- Start with the exposure slider: Begin your editing by adjusting the exposure slider. Gradually decrease the exposure value until you achieve the desired look.
- Tackle the highlights: If your image appears too bright in certain areas, decrease the highlights slider to recover the lost details.
- Enhance shadows and contrast: For a balanced look, highlight the details in darker areas using shadow sliders.
- Use graduated filters for selective adjustment: If you want to focus on specific areas like the sky or foreground, you can use graduated filters to selectively darken or brighten parts of your image.
» Looking to make your mark? Find out how to achieve a consistent photo editing style with AI
From Glare to Glow: Overcoming Overexposure in Photography
Handling overexposed photos involves proficient shooting techniques, photo editing software, and strategic control of camera settings. Using these methods and being mindful of exposure levels, you can consistently produce stunning, well-balanced images, even in challenging lighting conditions.
With dedication and practice, you can master exposure in no time, and the Imagen AI photo editor is a tool that can help you with that. It combines with your post-processing workflow, ensuring the efficiency and quality of your photos.
____
 Michaela Luyt is a digital marketing specialist and an experienced photographer with over 5 years of expertise, capturing moments from commercial to lifestyle settings. She has a creative eye, a passion for storytelling, and an ability to evoke emotions through the lens. Her freelance photography and marketing businesses focus on providing tailored solutions for small companies and agencies.
4.6/5 - (13 votes) Rate this post!


