

How to create a consistent editing style: A Complete 2026 Guide
Table of contents
- What a Consistent Editing Style Really Means
- Step 1: Define Your Signature Look in Concrete Terms
- Step 2: Build a Reference Set That Captures the Style
- Step 3: Turn Your Look Into a Reusable Style Profile
- Step 4: Keep Consistency Across Changing Light
- Step 5: Cull First So Your Style Only Touches Keepers
- Step 6: Audit and Refine Your Style Over Time
- Bringing It Together Into a Repeatable Workflow
- Frequently Asked Questions
- What does it mean to have a consistent editing style?
- How do I define my signature look so I can repeat it?
- How do I keep my style consistent across a large gallery shot in mixed light?
- Can a tool apply my personal style automatically, or only generic presets?
- How often should I update my editing style?
A consistent editing style is what turns a folder of good photos into a body of work that people recognize as yours. If you want to know how to create a consistent editing style, the short answer is this: define a small set of repeatable color and tone decisions, save them as a reusable profile, and then apply that same profile across every shoot instead of editing each image from scratch. This guide walks through the whole method, from finding your signature look to locking it in and applying it at volume without losing the character that makes it yours.
The work happens in two halves. First you decide what your style actually is, in concrete and repeatable terms. Then you build a workflow that reproduces those decisions automatically, so a gallery shot across changing light still reads as one coherent set. The sections below cover both, with the practical steps professional photographers use to keep their look steady from one job to the next.
What a Consistent Editing Style Really Means
A style is not a single filter. It is a collection of choices that stay stable across different scenes: how you handle white balance, how warm or cool your shadows run, how you roll off highlights, how saturated your greens and skin tones are, and how much contrast you carry in the midtones. When those choices repeat, a viewer feels continuity even when the subjects change. When they drift, the same photographer’s gallery can look like it was edited by three different people.
Consistency also means consistency within a single delivery. A wedding moves from a bright morning prep room to a shaded ceremony to a warm reception, and each of those lighting situations pulls your files in a different direction straight out of camera. A consistent style is the corrective layer that brings all of them back to the same visual home. That is the real test of a look: not whether one hero image is beautiful, but whether two hundred images from mixed light feel like they belong together.
Step 1: Define Your Signature Look in Concrete Terms
Before you can reproduce a style, you have to describe it in terms you can actually repeat. Vague goals like “moody” or “clean and bright” are a starting point, but they will not survive a hundred varied frames. Translate the feeling into specific, measurable decisions. Do your whites sit true, or slightly warm? Do you lift the shadows for an airy result, or crush them for depth? Are your skin tones neutral, or do you push them a touch peach? Does your green foliage stay natural, or shift toward a muted, desaturated tone?
Write these down. A short reference sheet of your core decisions becomes the yardstick you measure every future edit against. It also makes your style teachable to anyone who edits alongside you, which matters the moment you hand off work to a second shooter or an assistant. The more precisely you can name your look, the more faithfully you can rebuild it later.
Step 2: Build a Reference Set That Captures the Style
The fastest way to define a look is to edit a small, deliberate set of images the way you want every future photo to look. Pick fifteen to thirty frames that cover your typical range: a backlit portrait, a flat overcast scene, a warm indoor moment, a high-contrast midday shot. Edit each one carefully by hand until it matches your reference sheet. This set becomes the ground truth of your style, the anchor everything else is compared against.
Choose these images honestly. If you only ever perfect your best-lit frames, your style will fall apart the first time you face difficult light. A reference set that includes your harder situations teaches your workflow how you want problems solved, not just how you want easy wins to shine. Once this set genuinely looks like you, you have something concrete to build a repeatable profile from.
Step 3: Turn Your Look Into a Reusable Style Profile
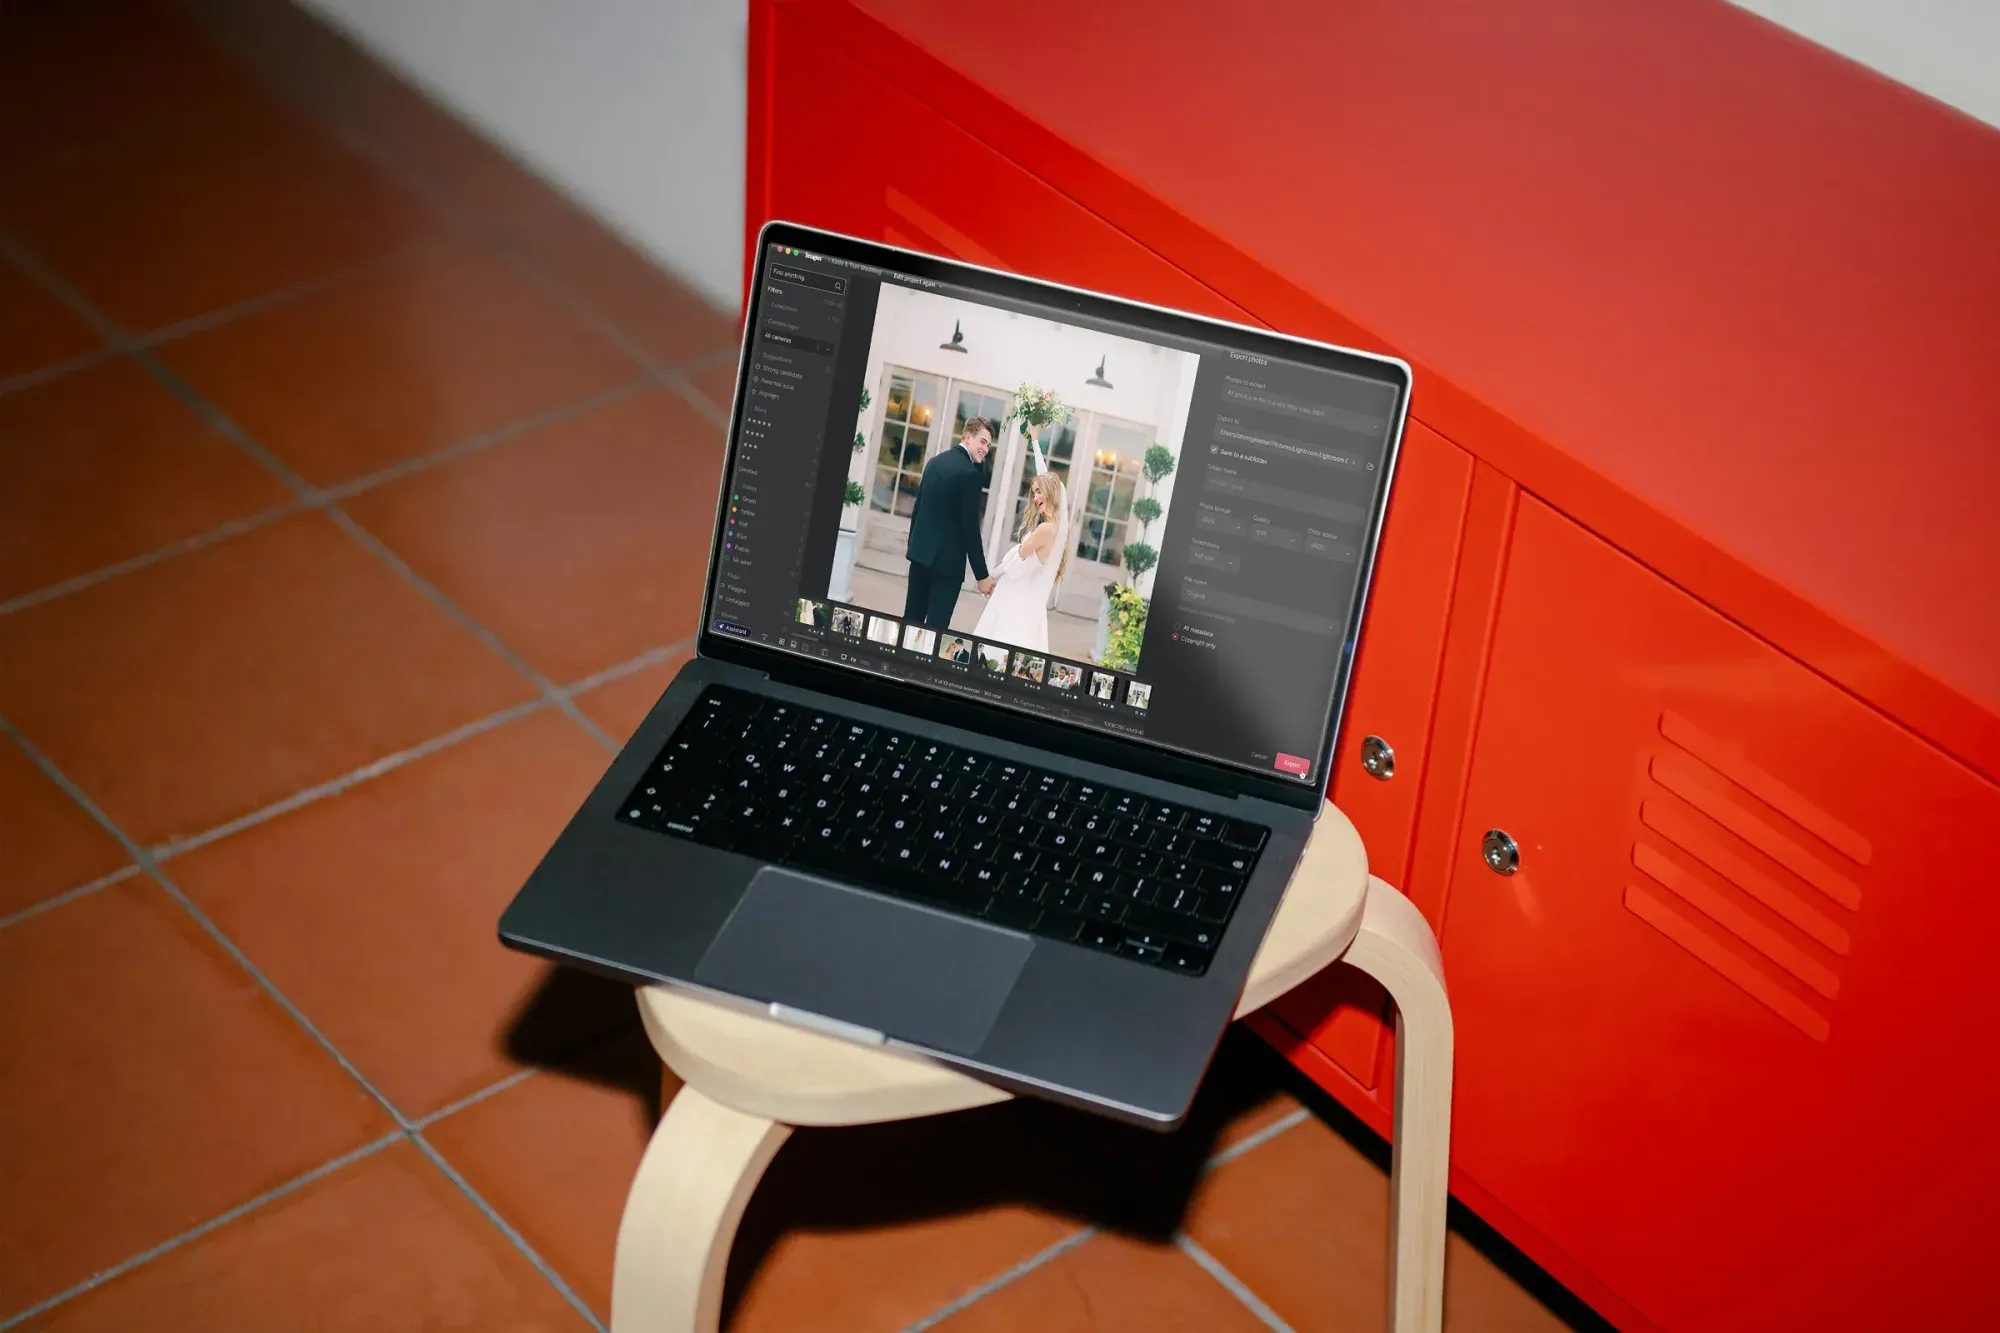
Editing every future image from zero is how styles drift. The professional approach is to capture your decisions once and apply them everywhere. This is exactly where a style-profile workflow earns its place. Imagen is a desktop app for Mac and Windows, now an intelligent Studio where you cull, edit, review and export in one project. It learns your personal editing style from your own past edits and then applies that same look across a full shoot automatically. You point it at a set, and it brings color correction, exposure, and white balance into your consistent style on every frame, so a gallery shot across mixed light comes back looking like one coherent story rather than a patchwork.
Because it works from your own choices, the result stays yours. The tool is not imposing a generic preset; it is reproducing the decisions you already made in your reference edits, at the scale of an entire delivery. Imagen is a desktop app for Mac and Windows that you download and install, with the AI processing in the cloud, and you can export finished JPG, TIFF or PNG files straight from Imagen or send AI edits back to Lightroom Classic. Pricing is pay-as-you-go: you explore the tools for free and pay for the photos you export, so you can test the whole approach. That means you can run a real shoot through your profile and judge the consistency for yourself before committing anything.
It is worth being clear about what this layer does and does not do. It grades and finishes what your camera actually recorded, and it keeps that grade consistent across the set. It does not generate images from scratch, and it does not sharpen or deblur a soft capture. Those are separate jobs handled by separate tools. For the specific task of holding one style steady across a large gallery, a style profile is the piece that makes consistency automatic instead of manual.
Step 4: Keep Consistency Across Changing Light
The hardest part of a consistent style is not the editing decision itself. It is applying that decision uniformly when the source files vary so much. A frame shot in open shade arrives cool and flat. A frame shot under warm tungsten arrives orange. Left alone, your white balance alone will make the two look like different galleries. Consistency work is largely the discipline of neutralizing those starting-point differences so your chosen look lands the same way on every file.
Batch color correction is the mechanism that does this at scale. Instead of nudging temperature and tint on each image by hand, you let a consistent correction pass bring every frame to the same baseline, then apply your style on top. Working shoot by shoot rather than image by image is what keeps a large delivery visually unified. For a deeper walkthrough of that specific process, the companion guides on color grading and batch correction linked near the end of this article go step by step.
Step 5: Cull First So Your Style Only Touches Keepers
Consistency is easier to maintain when you are working with a tighter, cleaner set. Culling before you edit removes the near-duplicate frames, the blinks, and the throwaways, so your style pass only runs on images you actually intend to deliver. It also protects your eye. Reviewing a bloated set of nearly identical exposures dulls your judgment and makes it harder to notice when an edit is drifting off your standard.
A tight edit and a consistent look reinforce each other. When the culling is done first, the gallery you grade is already the story you want to tell, and holding one style across it is simpler because there is less noise competing for attention. Many photographers fold culling and batch grading into a single flow so the whole set moves from raw capture to consistent delivery in one pass rather than several disconnected sessions.
Step 6: Audit and Refine Your Style Over Time
A signature look is not frozen. It evolves as your taste matures and as the kind of work you take on shifts. The way to keep it consistent while still letting it grow is to audit it deliberately rather than letting it wander. Every few months, pull a spread of recent deliveries side by side and ask whether they still read as one style. If your look is slowly warming, or your contrast is creeping up, you will see it in that comparison before your clients do.
When you do decide to evolve the look, do it intentionally. Update your reference set, rebuild your profile from the new edits, and then apply that refreshed version going forward. That way your style changes in a clean step rather than blurring gradually across dozens of half-adjusted galleries. Deliberate refresh keeps consistency intact even as the style itself moves forward.
Bringing It Together Into a Repeatable Workflow
The full method reads as a simple loop. Define your look in concrete terms, capture it in a careful reference set, turn that set into a reusable style profile, cull each new shoot down to keepers, apply your profile across the whole set with consistent batch correction, and audit the results over time so the style stays true. Once that loop is in place, consistency stops being something you fight for on every job and becomes the default outcome of your process.
That is the real payoff of a style profile approach. Your creative decisions are made once, thoughtfully, and then reproduced faithfully at the scale of real professional volume. You spend your time shooting and refining your vision rather than re-deriving the same edits frame after frame, and your clients receive galleries that unmistakably look like your work.
To go deeper on the individual pieces, see how to color grade photos consistently, the workflow for batch photo color correction, and the fastest way to handle culling photos fast. You can also browse the full library of photography workflow tips for more on building an efficient editing pipeline.
What’s new in Imagen: Consistency sits at the center of Imagen, now an intelligent, agentic Studio for professional photographers where you cull, edit, review and export in one project, in any order. A Personal AI Profile learns from your past edits, or you can start from a ready-made AI Profile, and more than one profile can be applied to a selected set of photos, which takes some processing time. The Studio is being rolled out gradually, as a beta.
Frequently Asked Questions
What does it mean to have a consistent editing style?
A consistent editing style means the core color and tone decisions in your photos stay stable across different scenes and different shoots. Whites, shadows, skin tones, contrast, and saturation behave the same way whether the frame was shot in shade or under warm indoor light. The result is that a viewer recognizes a whole gallery, and even your whole body of work, as unmistakably yours.
How do I define my signature look so I can repeat it?
Translate the feeling you want into specific, repeatable decisions: how warm your whites sit, how far you lift or crush shadows, how you treat skin tones and foliage, and how much midtone contrast you carry. Write these down as a reference sheet, then edit a small set of varied images by hand until they match it. That reference set becomes the concrete ground truth you can rebuild your style from.
How do I keep my style consistent across a large gallery shot in mixed light?
The key is neutralizing the differences between your source files before applying your look. A batch color correction pass brings every frame to the same baseline, correcting white balance and exposure, and then your style is applied on top uniformly. Working shoot by shoot rather than image by image, ideally through a saved style profile, is what keeps hundreds of frames from mixed light looking like one coherent set.
Can a tool apply my personal style automatically, or only generic presets?
A style-profile workflow like Imagen learns your look from your own past edits and reproduces those specific decisions across a full shoot, rather than imposing a generic preset. It applies your color correction, exposure, and white balance in your consistent style on every frame. It grades and finishes what your camera recorded, but it does not generate images from scratch or sharpen soft captures, which remain separate jobs.
How often should I update my editing style?
Audit your style every few months by placing recent deliveries side by side and checking that they still read as one look. If you notice drift, or you decide your taste has genuinely evolved, update your reference set and rebuild your profile from the new edits in one clean step. Deliberate, intentional refreshes keep your style consistent even as it grows over time.
