

The Enduring Appeal of Lightroom Film Presets: A Modern Photographer's Guide
Table of contents
- Key Takeaways
- The Allure of Film: Why Presets Matter
- What Are Lightroom Film Presets?
- Types of Lightroom Film Presets
- How to Use Lightroom Film Presets Effectively
- Beyond Presets: The Imagen Approach
- Traditional Presets vs. Imagen ’s AI Profiles
- Building Your Film Look with Imagen
- Workflow Integration: Lightroom and Imagen
- The Business of Film Presets and AI Editing
- A Look at Other Options
- Frequently Asked Questions (FAQ)
- Conclusion
There is something magical about the look of classic film. The rich tones, the subtle grain, and the way it captures light all contribute to a timeless quality that digital photography often struggles to replicate. As a professional photographer who has spent countless hours in both the darkroom and in front of a computer screen, I can tell you that the quest for that perfect film aesthetic is a journey many of us are on. In a world of digital perfection, the authentic, sometimes imperfect, character of film holds a special place in our hearts and in the eyes of our clients. This is where Lightroom film presets come into play, serving as a bridge between the analog past and the digital present.
Key Takeaways
- The Enduring Popularity of Film: The classic film look remains highly sought after in digital photography for its timeless, emotional, and authentic qualities.
- Understanding Presets: Lightroom presets are saved settings that apply a specific look to a photo with one click, but they are a starting point, not a final solution.
- Presets vs. AI Editing: While presets apply a static set of adjustments, AI-powered tools like Imagen analyze each photo individually to apply edits that are consistent with a photographer’s personal style but tailored to the specific photo.
- The Power of AI: Imagen’s Personal AI Profiles learn from your past edits to create a unique editing style that evolves with you, offering a level of personalization that static presets cannot match.
- Workflow Efficiency: Integrating tools like Imagen with Lightroom Classic streamlines the post-production process, saving significant time while maintaining creative control.
- Consistency is Key: For professional photographers, maintaining a consistent style across a portfolio is crucial for brand identity. AI editing provides a more reliable method for achieving this consistency compared to manually applying and tweaking presets.
- Beyond the One-Click Edit: The future of photo editing lies in intelligent, adaptive tools that work as a partner in the creative process, not just a simple filter.
The Allure of Film: Why Presets Matter
Before we dive into the technical aspects of presets, it is important to understand why the film look is so desirable. For decades, film was the only medium for photography, and each type of film stock had its own unique characteristics. Kodak Portra was known for its beautiful skin tones, Fujifilm Velvia for its vibrant landscapes, and Ilford HP5 for its classic black and white contrast. These film stocks were not just tools; they were an integral part of the creative process, influencing how photographers approached a scene.
The digital revolution brought incredible convenience and flexibility, but something was lost in the transition. The clean, sharp, and sometimes sterile look of early digital cameras lacked the warmth and character of film. Photographers and clients alike began to miss the nostalgia and emotional depth that film photography naturally conveyed. This is the gap that Lightroom film presets were created to fill. They are more than just filters; they are carefully crafted tools designed to emulate the color science, grain structure, and dynamic range of classic film stocks.
The Emotional Connection to Film
Why do we connect so deeply with the film aesthetic? It often comes down to emotion. The subtle imperfections of film—the grain, the occasional light leak, the slightly shifted colors—feel more human and authentic. In an age of glossy, hyper-realistic digital images, the film look stands out as something more organic and real. It evokes a sense of nostalgia, even for those who never shot with a film camera. For clients, this can translate to photos that feel more timeless and emotionally resonant, whether it’s for a wedding, a family portrait, or a commercial campaign.
What Are Lightroom Film Presets?
At its most basic, a Lightroom preset is a saved combination of editing settings. These settings can include adjustments to exposure, contrast, highlights, shadows, white balance, color grading, and more. With a single click, you can apply these settings to a photo, dramatically changing its appearance. Film presets are specifically designed to replicate the look and feel of various analog film stocks.
It is crucial to understand that presets are not a one-size-fits-all solution. A preset that looks stunning on a photo taken in bright, natural light may not work at all on a photo shot indoors under artificial lighting. This is because presets apply a static set of adjustments, regardless of the content of the photo. Think of them as a starting point—a way to quickly get your image into the ballpark of your desired style. From there, you will almost always need to make manual adjustments to fine-tune the edit.
Presets vs. Profiles vs. Actions
In the world of photo editing, you will often hear the terms “preset,” “profile,” and “action” used, sometimes interchangeably. However, they are distinct tools, and understanding the difference is key to mastering your workflow.
- Presets: As we have discussed, presets are saved sets of slider adjustments in Lightroom’s Develop module. When you apply a preset, you can see exactly which sliders have been moved and can easily tweak them.
- Profiles: Profiles are a more advanced feature in Lightroom that can be thought of as a base layer for your edits. They interpret the RAW data from your camera in a specific way, affecting the color and tone of your image before you even start moving sliders. Unlike presets, the adjustments made by a profile are not visible in the sliders, but you can control the intensity of the profile with a single slider.
- Actions: Actions are a feature of Adobe Photoshop, not Lightroom. They are a recorded series of steps that can be played back to automate a repetitive task. While they can be used for color grading, they are generally less flexible for RAW editing than Lightroom presets and profiles.
For the purpose of achieving a film look, presets and profiles are the most relevant tools within the Lightroom ecosystem. Many preset creators now offer their film emulations as both presets and profiles, giving you more flexibility in your editing workflow.
Types of Lightroom Film Presets
The market for Lightroom film presets is vast and diverse. You can find presets that emulate specific film stocks, as well as presets that are designed to achieve a more general stylistic look. Let’s break down some of the most common categories.
Emulation of Classic Film Stocks
These presets are for the purists, the photographers who want to get as close as possible to the look of a specific film.
- Kodak Portra: Perhaps the most popular family of film stocks for portrait and wedding photography, Portra is known for its warm, natural skin tones and fine grain. Presets emulating Portra 400 and Portra 800 are incredibly common.
- Fujifilm Pro: The Fuji Pro series, particularly Pro 400H, offers a cooler, more ethereal look with beautiful minty greens and soft, pastel tones. It was a favorite among wedding photographers for its romantic feel.
- Kodak Gold: For a classic, nostalgic, consumer-film look, presets based on Kodak Gold 200 are a great choice. They often have warm, golden tones and a bit of a vintage vibe.
- Ilford & Kodak Tri-X: For black and white photography, presets emulating Ilford HP5 and Kodak Tri-X 400 are the gold standard. They offer rich contrast, beautiful grain, and timeless appeal.
Presets by Photographic Style
These presets are less about replicating a specific film and more about achieving a certain mood or aesthetic.
- Light and Airy: This style is characterized by bright, clean whites, soft pastel colors, and a generally romantic and ethereal feel. It is incredibly popular in wedding and family photography.
- Dark and Moody: The opposite of light and airy, this style uses deep shadows, muted colors, and high contrast to create a dramatic and emotional look. It is often used in portraiture, landscape, and elopement photography.
- Cinematic: These presets are designed to give your photos the look and feel of a still from a movie. They often feature specific color palettes, such as teal and orange, and can add a narrative quality to your images.
- Vintage and Retro: This broad category includes presets that emulate the look of old photographs, from the faded colors of the 1970s to the classic black and white of the 1950s.
The key is to find a style that resonates with your artistic vision and brand identity. Do not just jump on the latest trend; choose a look that you genuinely love and that you can apply consistently across your work.
How to Use Lightroom Film Presets Effectively
As I mentioned earlier, using presets effectively is about more than just a single click. It is a process of selection, application, and refinement. Here is a step-by-step guide to getting the most out of your film presets.
Step-by-Step Tutorial: Installing and Applying Presets
- Purchase and Download: Find a preset creator whose style you admire and purchase their presets. They will typically come in a .zip file.
- Unzip the File: Extract the preset files (which will have a .xmp extension) from the .zip file.
- Import into Lightroom: Open Lightroom Classic and go to the Develop module. In the Presets panel on the left, click the ‘+’ icon and select ‘Import Presets.’ Navigate to the folder where you saved your .xmp files and import them.
- Organize Your Presets: It is a good practice to keep your presets organized in folders. You can create new folders within the Presets panel to group them by creator or style.
- Apply to Your Photos: With a photo open in the Develop module, simply hover over a preset in the panel to see a live preview in the Navigator window. Click on the preset to apply it to your photo.
Customizing Presets to Fit Your Style
This is the most important step. Once you have applied a preset, you need to make it your own.
- Adjust White Balance: The first thing I always check is the white balance. A preset might have been created for a photo with a different color temperature than yours. Use the Temp and Tint sliders to correct the skin tones and ensure the whites are neutral.
- Fine-Tune Exposure: Presets cannot perfectly account for the lighting in every photo. Use the Exposure slider to brighten or darken the image as needed.
- Tweak Contrast and Tone: You may need to adjust the Contrast, Highlights, Shadows, Whites, and Blacks sliders to bring out the details in your photo and achieve the right level of dynamic range.
- Modify Color Grading: If the colors are not quite right, dive into the HSL/Color panel to adjust the Hue, Saturation, and Luminance of individual colors.
- Save Your Variations: If you find yourself making the same adjustments to a preset over and over again, save your modified version as a new preset. This will save you time in the long run.
Common Mistakes to Avoid
- Over-relying on a Single Click: Never assume a preset will be perfect out of the box. Always be prepared to make adjustments.
- Using the Wrong Preset for the Lighting: Understand that presets are designed with certain lighting conditions in mind. A preset for a sunny day will not work well on a cloudy day without significant adjustments.
- Inconsistent Application: If you are editing a full gallery, like a wedding, be careful about applying presets inconsistently. This can lead to a disjointed and unprofessional look.
- Ignoring the Basics: Presets are not a substitute for good photography. Make sure your photos are well-exposed and composed in-camera. No preset can save a technically flawed image.
Beyond Presets: The Imagen Approach
For a long time, presets were the best tool we had for achieving a consistent film look efficiently. However, they have their limitations. The static nature of presets means that we, as photographers, still have to do a lot of manual work to adapt them to each photo. This is where AI-powered editing tools like Imagen have completely changed the game.
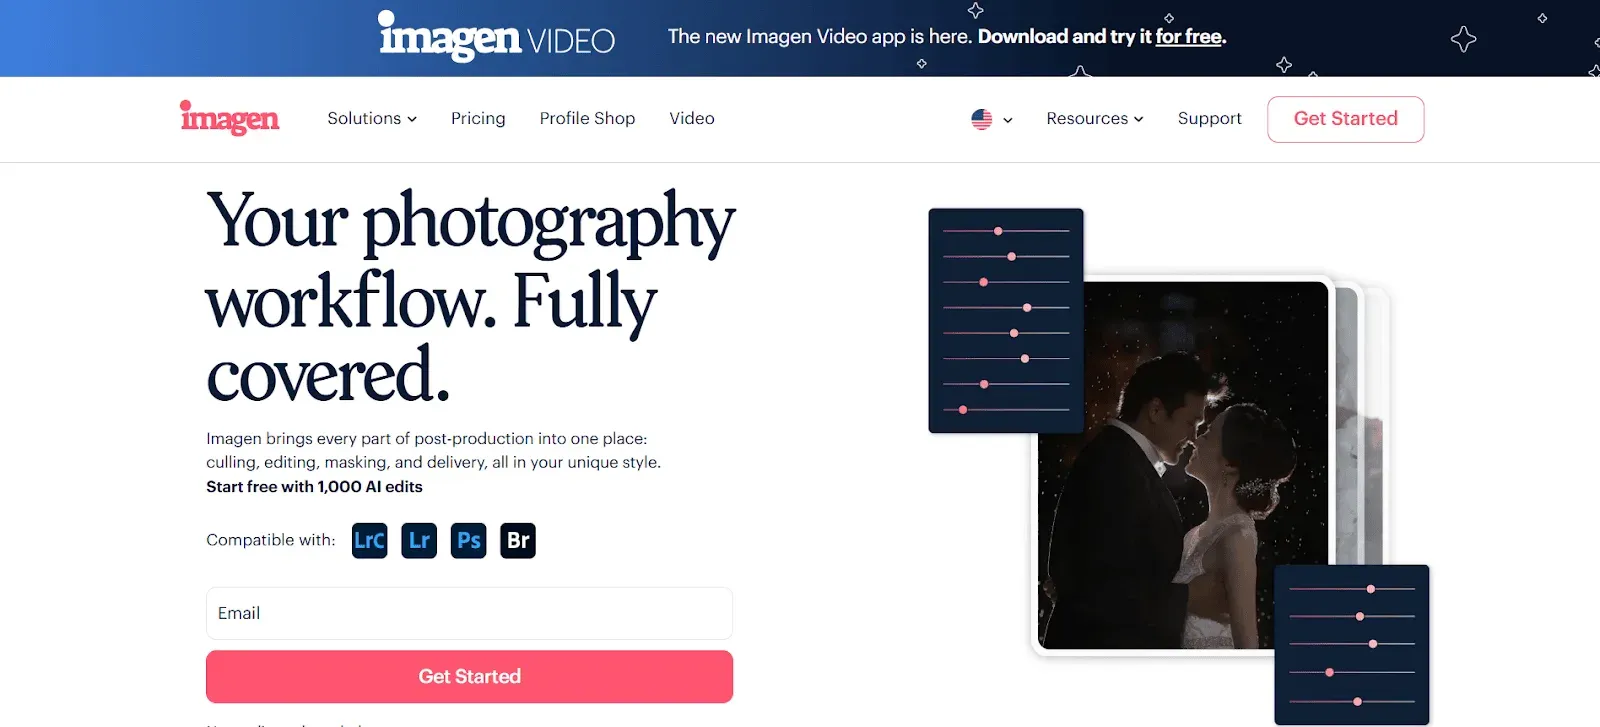
Imagen is not just another preset pack. It is a desktop application that uses artificial intelligence to learn your unique editing style and apply it to your photos with incredible speed and consistency. It works seamlessly with Lightroom Classic, acting as an intelligent assistant that handles the repetitive parts of editing, freeing you up to focus on the creative aspects of your work.
How Imagen ’s AI Works
The core of Imagen’s power lies in its Personal AI Profiles. Instead of buying a pre-made preset from another photographer, you create a profile that is based on your own work. Here is how it works:
- You provide your edited photos: You upload at least 3,000 of your previously edited photos from your Lightroom Classic catalogs. These photos should represent the consistent style you want the AI to learn.
- Imagen analyzes your style: The AI analyzes every single adjustment you have made on those thousands of photos. It learns how you handle different lighting situations, how you treat skin tones, and how you grade colors.
- Your Personal AI Profile is created: Based on this analysis, Imagen builds a unique AI profile that is a digital representation of your editing style.
- Apply your profile to new photos: When you have a new shoot to edit, you simply send the photos to Imagen, and it applies your Personal AI Profile, editing each photo individually based on its specific needs, but always in your unique style.
What is truly remarkable is that your Personal AI Profile is not static. As you continue to edit and make small tweaks to the photos Imagen returns to you, you can upload those final edits back to Imagen. Over time, your profile will fine-tune itself, evolving and adapting as your style changes.
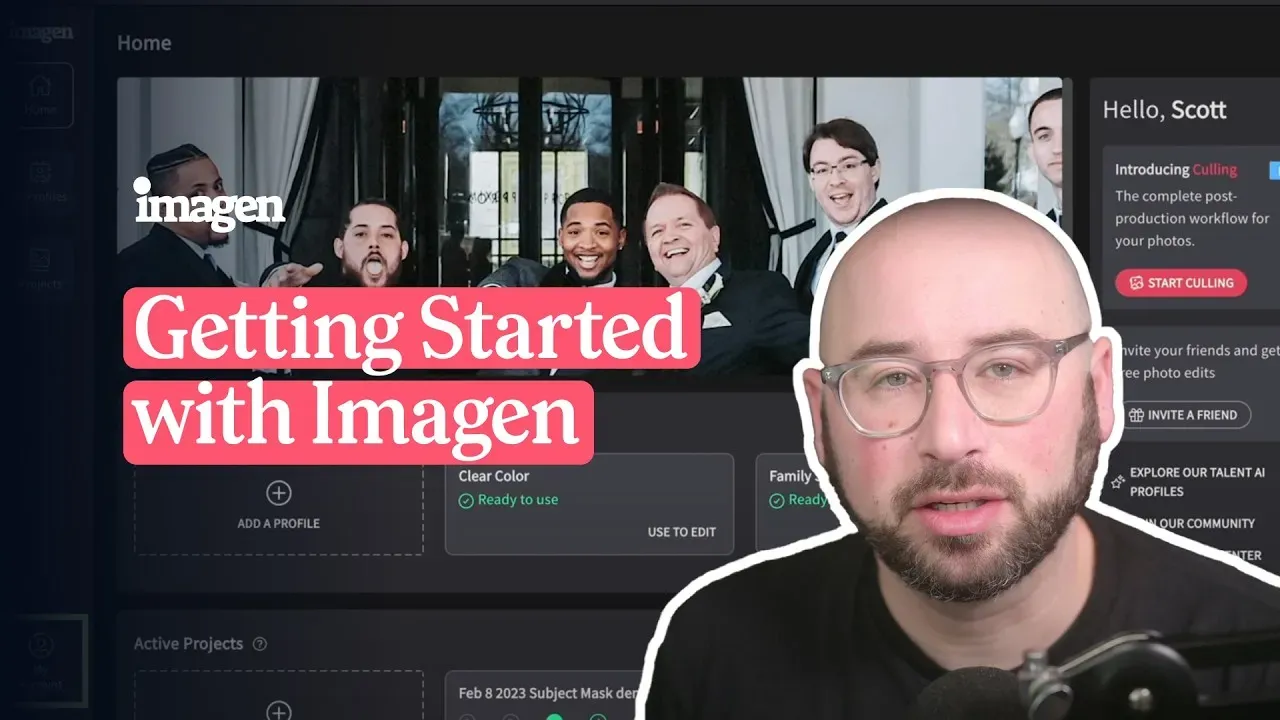
Talent AI Profiles: A Starting Point
What if you do not have 3,000 edited photos, or you are looking to experiment with a new style? This is where Talent AI Profiles come in. These are AI profiles created by some of the world’s leading photographers. You can apply these profiles to your photos to get a professional look right away. And, just like with presets, you can use a Talent AI Profile as a starting point and then fine-tune it over time with your own edits to make it your own.
Traditional Presets vs. Imagen ’s AI Profiles
To truly understand the advantage of an AI-powered approach, let’s compare traditional presets with Imagen’s AI Profiles side-by-side.
| Feature | Traditional Lightroom Presets | Imagen****’s AI Profiles |
|---|---|---|
| Application | Applies a static, one-size-fits-all set of adjustments. | Analyzes each photo and applies custom adjustments in your style. |
| Consistency | Difficult to achieve across different lighting conditions. | Highly consistent, as the AI adapts to each photo’s unique needs. |
| Speed | Fast for a single click, but requires significant manual tweaking. | Incredibly fast, editing thousands of photos in minutes. |
| Personalization | Limited to pre-made styles that you can manually adjust. | Based on your own unique editing style, creating a truly personal look. |
| Learning | Static and unchanging. | Learns and evolves with you as your style changes over time. |
The key difference is adaptability. A preset is a blunt instrument; it does the same thing every time. An AI Profile is a smart, adaptable tool. It understands the nuances of your style and applies it intelligently, saving you an enormous amount of time and ensuring a level of consistency that is nearly impossible to achieve manually.
Building Your Film Look with Imagen
So, how can you use Imagen to achieve that beautiful film look we have been talking about? You have a couple of powerful options.
Creating a Personal AI Profile from Your Film-Inspired Edits
If you have already spent time developing a film-inspired editing style using presets and manual adjustments, you can use that work to train your own Personal AI Profile.
- Curate your best work: Go through your portfolio and select at least 3,000 photos that best represent your desired film aesthetic. These should be photos that you have edited to completion in Lightroom Classic.
- Ensure consistency: Make sure that the selected photos have a consistent look and feel. If you have multiple styles (e.g., a color film look and a black and white film look), you will need to create a separate profile for each.
- Upload to Imagen****: Follow the process in the Imagen desktop app to upload your photos and create your profile.
- Let the AI do the work: Once your profile is trained, you can start sending new shoots to Imagen for editing. The results will be photos that have that film look you love, but edited with the speed and consistency of AI.
Using a Talent AI Profile as a Foundation
If you are new to the film look or want a shortcut to a professional style, you can start with a Talent AI Profile.
- Explore the options: Imagen offers a range of Talent AI Profiles from photographers who are known for their beautiful, film-like editing.
- Test them out: You can re-edit your projects with different profiles to see which one best fits your vision.
- Make it your own: Once you have chosen a Talent AI Profile you like, you can use it as a base. As you make your own tweaks and adjustments in Lightroom and upload the final edits back to Imagen, you can gradually fine-tune the profile until it becomes a reflection of your own unique style.
Workflow Integration: Lightroom and Imagen
One of the best things about Imagen is how seamlessly it integrates into a professional photography workflow that is already based around Lightroom Classic. It does not replace Lightroom; it enhances it.
Here is what a typical editing workflow looks like with Imagen:
- Cull your photos: After a shoot, import all of your photos into Lightroom Classic and do your initial culling, selecting the images you want to keep and edit. (Imagen also offers an AI-powered culling feature to speed up this step even further.)
- Create a project in Imagen****: Open the Imagen desktop app and create a new project, where culling and editing live together, selecting the photos from your Lightroom catalog that you want to edit.
- Choose your AI Profile: Select your Personal AI Profile or a Talent AI Profile.
- Upload and edit: Imagen will send your photos to the cloud for AI processing and bring the edits back to your project. This process is incredibly fast, often taking just a few minutes for a full wedding gallery. Edited photos arrive in batches as they process, so you can start reviewing early frames while the rest finish.
- Download the edits: Once the editing is complete, Imagen will notify you. You then download the edits, and Imagen automatically applies them to your photos within your Lightroom Classic catalog. You can also export finished JPG, TIFF or PNG files straight from Imagen.
- Review and refine: Open Lightroom Classic, and you will see that all of your photos have been edited. Now you can do your final review, making any small creative tweaks or adjustments that you see fit.
- Deliver to the client: Once you are happy with the final edits, you can export the photos from Lightroom and deliver them to your client.
This workflow takes what used to be hours or even days of manual editing and condenses it into a fraction of the time, all while maintaining a higher level of consistency than was possible before.
The Business of Film Presets and AI Editing
Incorporating film presets or an AI editing tool like Imagen into your workflow is not just an artistic decision; it is a business decision. The look of your photos is a core part of your brand identity. A consistent, beautiful, film-inspired aesthetic can help you stand out in a crowded market and attract your ideal clients.
Branding and Consistency
Your editing style is your signature. When a potential client looks at your portfolio, they should see a cohesive body of work that reflects a clear artistic vision. This is where the consistency of AI editing truly shines. By ensuring that every photo, from the first to the last in a gallery, is edited in a consistent style, you strengthen your brand and build trust with your clients. They know what to expect, and you can deliver on that promise every time.
Client Satisfaction and Time Management
In today’s fast-paced world, clients expect a quick turnaround. The time you save by using an AI editing tool like Imagen can be the difference between delivering a gallery in a week versus a month. This not only leads to happier clients but also frees you up to focus on other aspects of your business, such as marketing, client communication, and, most importantly, shooting more. By automating the most time-consuming part of your post-production, you can take on more work without burning out, which is a direct path to a more profitable business.
A Look at Other Options
While Imagen offers a unique AI-powered approach that learns your personal style, it’s worth noting other players in the editing space. Some services offer human-powered editing, where you send your photos to a team of editors. This can be a good option, but it often lacks the personal touch and consistency of an AI that has learned your specific style. Other software solutions offer AI features, but they are typically more generalized and do not offer the deep personalization of creating a profile from your own body of work. The true power of Imagen lies in its ability to be a partner in your creative process, not just a service you outsource to. It combines the efficiency of automation with the heart of your own artistic vision.
What’s new in Imagen: For anyone chasing a film look, Imagen is now an intelligent, agentic Studio for professional photographers. Your Personal AI Profile or a ready-made AI Profile handles the first pass while you cull, edit, review and export in one project, in any order. The built-in editor (Beta) can import presets from Lightroom for manual touches. The Studio is rolling out gradually as a beta.
Frequently Asked Questions (FAQ)
1. Can Lightroom film presets damage my original photos?
No, Lightroom presets do not alter your original RAW files. Lightroom uses non-destructive editing, which means that all adjustments are saved as a set of instructions in the Lightroom catalog. You can always go back to your original, unedited photo at any time.
2. Are free film presets as good as paid ones?
While there are some decent free presets available, paid presets are generally of higher quality. They are often created by professional photographers with years of experience and are more thoroughly tested across a variety of camera models and lighting situations.
3. Do I need a different preset for each camera I use?
Ideally, yes. Different camera sensors render color and tone differently. A preset designed for a Canon camera may not look the same on a Sony or Nikon camera. Many professional preset creators offer versions of their presets tailored to specific camera brands.
4. How is Imagen different from just syncing edits across photos in Lightroom?
Lightroom’s sync feature applies the exact same settings to all selected photos. Imagen, on the other hand, analyzes each photo individually and applies custom settings based on your AI Profile and the specific needs of that photo. This is why Imagen can achieve a consistent look across photos with very different lighting conditions.
5. How many photos do I really need to create a good Personal AI Profile in Imagen****?
Imagen recommends a minimum of 3,000 photos, but the more, the better. The key is that these photos should be consistently edited in the style you want the AI to learn. A larger and more diverse set of photos will result in a more accurate and versatile profile.
6. Can I use Imagen to edit JPEG photos?
Yes, Imagen can edit JPEGs, but you will need to create a separate Personal AI Profile using your edited JPEGs. For the best results and maximum flexibility, it is always recommended to shoot and edit in RAW.
7. How much does Imagen cost?
Imagen is built around paying on export: pay-as-you-go photographers pay for the photos they export. The cost is very competitive, especially when you consider the amount of time it saves.
8. Will using AI editing make my work look generic?
This is a common concern, but with Imagen, the opposite is true. Because your Personal AI Profile is based on your own unique editing, the results are a reflection of your style, not a generic filter. It’s your style, just faster and more consistent.
9. Can I still make my own creative edits if I use Imagen****?
Absolutely. Imagen is designed to handle the foundational, time-consuming edits. Once you get your photos back in Lightroom, you have full creative control to make any additional adjustments, such as local adjustments, cropping, or stylistic tweaks. You can also make manual tweaks in Imagen’s built-in editor (Beta), an early release with sliders, crop and straighten.
10. What if my editing style changes over time?
This is one of the most powerful features of Imagen. By consistently uploading your final, tweaked edits, you can fine-tune your Personal AI Profile. This means that as your style evolves, your AI Profile evolves with you, ensuring it always stays true to your current artistic vision.
11. Does Imagen work with other editing software besides Lightroom Classic?
Imagen is designed to integrate deeply with Lightroom Classic. However, it is also compatible with Lightroom, Photoshop, and Bridge, offering flexibility for different workflows.
12. Is my data safe with Imagen****?
Yes, Imagen takes data security very seriously. Your original photos are not stored on their servers long-term. They use secure cloud infrastructure, and you retain full ownership of your images and your style.
13. What is the difference between a Lite Personal AI Profile and a full Personal AI Profile?
A Lite Profile is a quicker way to get started if you do not have 3,000 edited photos. You can create one using a preset and by answering some questions about your style. A full Personal AI Profile is more accurate because it learns from a large body of your own work.
Conclusion
The pursuit of the perfect film look in a digital age is a testament to the timeless power of that aesthetic. Lightroom film presets have been an invaluable tool on this journey, allowing us to bring a touch of analog warmth and character to our digital files. They have democratized a style that was once the exclusive domain of darkroom experts.
However, the world of photography is always evolving, and the tools we use must evolve with it. The emergence of AI-powered editing solutions like Imagen marks a significant leap forward. By moving beyond the static, one-size-fits-all approach of presets, we can now achieve a level of consistency, speed, and personalization that was previously unimaginable. Tools like Imagen do not replace our creativity; they enhance it. They take on the burden of the tedious, repetitive tasks, allowing us to pour our energy into what truly matters: creating beautiful, emotionally resonant images that tell a story. Whether you are a seasoned professional or just starting, the combination of Lightroom’s powerful editing capabilities and Imagen’s intelligent automation offers a workflow that is not just more efficient, but also more creatively fulfilling. The future of photo editing is here, and it is a partnership between the artist and the algorithm.
