

The Image Sharpening Checklist for Concert Photographers Before Client Delivery
Table of contents
- Image Sharpening Checklist for Concert Photographers Before Client Delivery
- 1. Cull for true focus before you sharpen anything
- 2. Zoom to 100 percent on eyes, hands, and instrument detail
- 3. Separate motion blur from simple softness
- 4. Watch how sharpening interacts with high ISO noise
- 5. Apply sharpening consistently across the whole gallery
- 6. Check sharpening at the actual delivery size
- 7. Re-check your hero images last, at full size
- How Imagen helps with the sharpening pass
- 8. Build the check into your delivery routine, not just this shoot
- Frequently asked questions
Image Sharpening Checklist for Concert Photographers Before Client Delivery
A concert photographer’s sharpening checklist before delivery has one job: catch soft frames that will bother a client on a laptop screen or in a printed press kit, without wasting hours re-touching shots that were already lost to motion blur or missed focus in the pit. Run through culling for true focus first, then zoom in on the details that matter most (eyes, hands, instruments, faces lit by moving stage light), apply sharpening consistently across the whole set rather than frame by frame, and check that noise from high ISO settings does not fight with the sharpening you add. That order matters more than any single tool you use.
Concert and live music work is unusually hard on sharpness. Telephoto lenses compress distance but also amplify tiny amounts of camera shake, stage lighting shifts in color and intensity mid song, and the performers themselves are rarely standing still. Sharpening can genuinely add crispness and fine detail to a frame that is already acceptably in focus, and it can do that consistently across hundreds of images in one pass. What it cannot do is recover a shot where the singer’s head moved during a long shutter speed or where autofocus locked onto the wrong plane. This checklist walks through both halves so nothing slips past you before the gallery goes out.
1. Cull for true focus before you sharpen anything
Sharpening should never be the first filter you run on a concert set. Start by pulling every frame that is genuinely soft, whether from missed autofocus, subject movement during a slow shutter, or a stage fog layer that scattered the light. No amount of output sharpening restores detail that a lens never captured. Build your select pile from frames that are already reasonably sharp at normal viewing size, then treat sharpening as the finishing step that makes those selects look crisp and client ready, not as a rescue tool for the rejects.
This step is where most delivery time gets wasted. Photographers who skip a disciplined cull often end up sharpening an entire card, discover the soft frames later during final review, and have to redo the pass. Cull hard first. A smaller, genuinely sharp set will always look better than a large set padded with borderline frames.
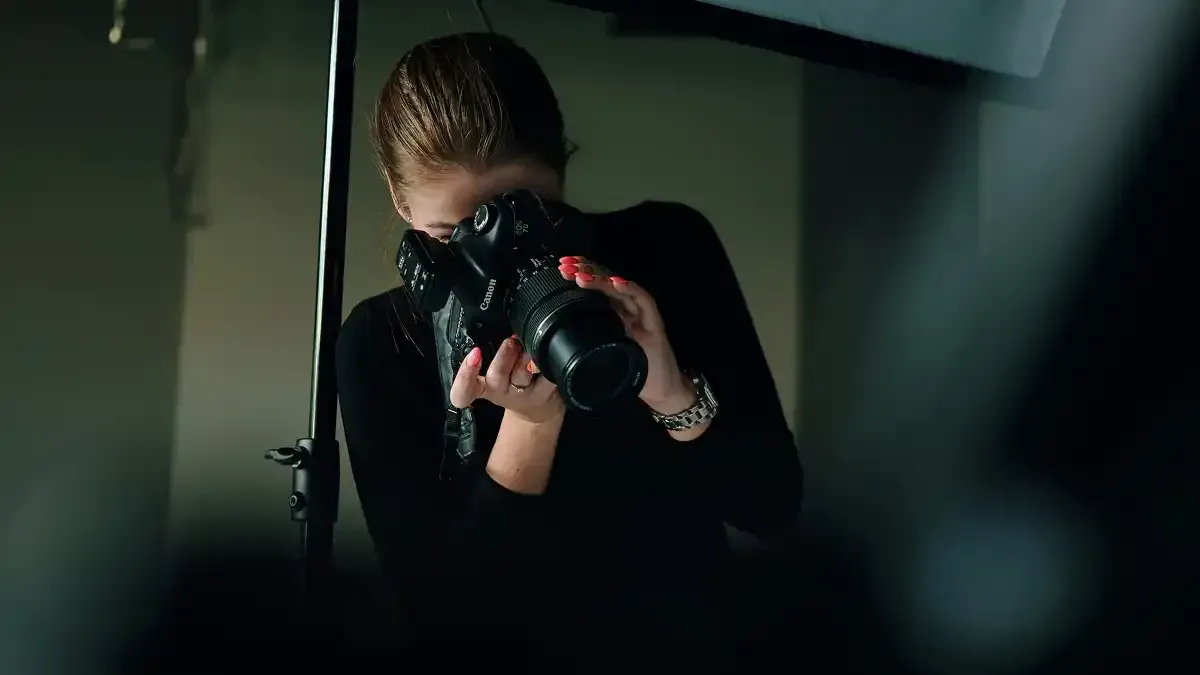
2. Zoom to 100 percent on eyes, hands, and instrument detail
Thumbnails and even full screen previews hide softness that becomes obvious the moment a client opens a file for print or a magazine crop. Before you commit to a sharpening pass, zoom to 100 percent on the areas viewers actually look at first: the performer’s eyes, the fretting hand on a guitar, drumsticks mid strike, a singer’s mouth near the microphone. These small, high contrast details are the fastest way to tell a genuinely sharp frame from one that only looks sharp when shrunk down.
Pay particular attention to shots taken with a telephoto lens wide open. Shallow depth of field at 200mm or longer means the plane of focus can sit millimeters off the eye, and that difference is invisible at a glance but obvious once a client zooms in on their phone.
3. Separate motion blur from simple softness
Not every soft looking frame has the same cause, and mixing them up wastes editing time. A frame that is uniformly a little soft across the whole image, with no directional streaking, is usually a focus or diffraction issue that sharpening can visibly improve. A frame with a directional smear on the hands, hair, or instrument, especially from a slower shutter speed used to let stage lighting register, is motion blur, and sharpening will not turn a blurred edge back into a clean one. It can even make the smear more visible by boosting contrast along it.
If a hero moment (a jump, a guitar swing, a stage dive) is only captured in a motion blurred frame, choose the sharpest available frame from that same sequence rather than trying to sharpen your way out of it. When no sharp alternative exists, a dedicated motion deblurring tool is a separate, specialized step, not something to expect from a batch sharpening pass built for output crispness.
4. Watch how sharpening interacts with high ISO noise
Concert lighting rigs push most photographers into high ISO territory, often 3200 and above, and that noise is already competing with fine detail before you touch a sharpening slider. Aggressive sharpening on a noisy file tends to exaggerate grain and can create a gritty, over processed look, particularly in shadow areas around the stage edges or in a performer’s dark clothing. Aim for a level of sharpening that improves edge definition on skin, instruments, and clothing without turning existing noise into a harsher texture.
If a shoot mixes bright spotlight moments with darker crowd or side stage shots, treat noise level as part of your sharpening decision, not a separate afterthought. A setting that looks right on a well lit frame can look rough on a darker one from the same set.
5. Apply sharpening consistently across the whole gallery
Clients and bands reviewing a concert gallery move quickly between frames, and an inconsistent sharpening level between shots reads as unfinished work even when each individual image looks fine on its own. Once you have culled for focus and checked for motion blur, the goal is even, consistent output sharpening across every delivered frame, not different manual settings per photo. Consistency is also what makes a printed set or a scrolling online gallery feel cohesive rather than assembled from mismatched exports.
This is where batch tools earn their place in a concert workflow. Editing one frame at a time invites drift, where the fifth image in a set ends up sharper or softer than the fiftieth simply because your eye adjusted along the way.
6. Check sharpening at the actual delivery size
A sharpening level that looks right on a full resolution file can look either too soft or oversharpened once it is resized for web galleries, social posts, or a smaller print run. Before sending a gallery, preview a handful of final frames at the sizes your client will actually use. Venue and press deliveries are often downsized for web use, while a band’s own promotional prints may need a larger, higher resolution export. Confirm the sharpening still reads well at both ends of that range rather than assuming one setting fits every output.
7. Re-check your hero images last, at full size
Every concert gallery has a handful of images that matter more than the rest, the cover shot, the wide crowd frame, the moment a client will crop into a poster or a magazine spread. Give these a final, individual look at full resolution after your batch pass, even if the rest of the gallery only gets the standard sweep. A slightly stronger or lighter touch on these frames is worth the extra thirty seconds, since they carry more weight in how the client judges the whole shoot.
How Imagen helps with the sharpening pass
Imagen is a desktop batch editor for Mac and Windows built for exactly this kind of consistency problem. Once you add a culled selection of concert images, Imagen applies AI batch color and exposure editing alongside AI sharpening that adds crispness and fine detail across the whole set in one pass, learned from your own personal editing style rather than a generic preset. That consistency is the part manual, frame by frame sharpening struggles to match on a 400 image gallery delivered on a tight post-show turnaround. Imagen also includes AI culling to help flag your strongest frames earlier in the process, and AI filters such as blur help you narrow a shoot, which pairs naturally with the focus and motion checks in this list. For photographers who want to see how a batch approach to AI sharpening across a full shoot works in practice, it is worth trying on an actual concert set rather than a single test image, since the value shows up most clearly across volume.
It is worth being direct about the limits here, since concert work runs into them often. Imagen’s sharpening adds definition to images that are already acceptably in focus, it does not recover frames lost to true motion blur or missed autofocus. If a key moment only exists in a blurred frame, the right move is choosing a sharper frame from the same sequence or, when neither exists, sending that specific shot to a dedicated deblurring tool built for that narrower job. Pricing on Imagen’s editing is straightforward: pay as you go is a monthly base fee plus a charge for the photos you export, tied only to the AI batch editing itself.
8. Build the check into your delivery routine, not just this shoot
A sharpening checklist only pays off if it becomes a habit rather than a one time exercise. Keep the order consistent from show to show: cull for focus, zoom in on details, separate blur from softness, watch noise, sharpen consistently, check at delivery size, and give hero shots one last look. Photographers who standardize this sequence tend to spend less time second guessing individual frames and more time reviewing the gallery as a whole before it goes out. If you want a broader look at how Imagen’s new Studio fits into a full concert editing workflow, with culling, editing, review, and export in one project, Imagen’s homepage outlines the batch editing, culling, and style profile tools together.
What’s new in Imagen: Imagen is now an intelligent, agentic Studio built for professional photographers: a single project where you cull, edit, review, and export together. Before delivery, ask the assistant in plain language to find the frames you want to double-check, such as the encore wides, and it acts on them with Imagen’s tools while you stay in charge of the final call. The Studio is rolling out gradually.
Frequently asked questions
Can sharpening fix a blurry concert photo? Sharpening can add crispness and definition to a frame that is already acceptably in focus, but it cannot restore detail that motion blur or missed autofocus erased in the first place. If a shot is genuinely blurred, choose a sharper frame from the same moment, or route that specific image to a dedicated deblurring tool rather than expecting a standard sharpening pass to fix it.
Why do my concert photos look soft even at a fast shutter speed? Low light forces wide apertures and shallow depth of field, especially with telephoto lenses, so the plane of focus can miss the eyes by a small margin even at a fast shutter. Stage fog, colored gel lighting, and camera shake at longer focal lengths can also soften detail independently of shutter speed, which is why zooming to 100 percent before delivery matters more for concert work than for most other genres.
Should I sharpen every image in a concert gallery the same amount? Generally yes, aiming for consistent output sharpening across the set reads better to clients than mismatched settings from frame to frame. The exception is noise level. A frame shot at a much higher ISO than the rest of the set may need a slightly lighter touch so sharpening does not exaggerate grain, even while the overall look stays consistent with the gallery around it.
How does batch sharpening handle a large concert gallery faster than manual editing? Batch tools like Imagen apply a learned sharpening and color profile across an entire uploaded set in one pass rather than requiring a photographer to adjust each frame individually. For a concert gallery running into the hundreds of images with a same night or next day turnaround expected by the venue or artist, that consistency at scale is usually the bigger time saver compared with manual, one by one adjustments.
