

9 Image Cropping Tips for Headshot Photographers
Table of contents
- Why cropping matters more for headshots than for any other portrait
- Tip 1: Put the eyes on the upper third
- Tip 2: Leave measured headroom, never too much
- Tip 3: Cut the shoulders with intention
- Tip 4: Match the aspect ratio to the destination
- Tip 5: Respect the rule of thirds, then break it on purpose
- Tip 6: Keep negative space working for you
- Tip 7: Watch the edges for awkward clipping
- Tip 8: Straighten and level before you finalize the crop
- Tip 9: Crop for consistency across the whole set
- How to apply consistent crops across an entire shoot without the grind
- Frequently asked questions
A strong headshot lives or dies by the crop. Where you place the eyes, how much space sits above the head, and where you cut the shoulders decide whether a portrait reads as confident and professional or awkward and amateurish. The good news is that great headshot cropping follows a handful of repeatable rules, and once you internalize them you can crop a corporate gallery of fifty faces without second-guessing every frame.
This guide walks through nine practical cropping tips built specifically for headshot work: LinkedIn profiles, corporate team pages, acting and modeling comp cards, and personal branding shoots. Each tip covers the reasoning, the common mistake to avoid, and how to keep the crop consistent across an entire set. At the end we look at how to apply all of this to a full shoot quickly, so your ratios and framing stay identical from the first frame to the last.
Why cropping matters more for headshots than for any other portrait
In a full-length or environmental portrait, the background and body language carry a lot of the message, so a slightly loose crop rarely hurts. A headshot removes almost all of that context. The face is the entire subject, which means every decision about margins, eye placement, and the shoulder line is magnified. A crop that would look fine on a wide portrait can feel claustrophobic or unbalanced when the face fills most of the frame.
Headshots also live in fixed containers. LinkedIn crops your image into a circle, most corporate directories force a square, and casting sites want a specific vertical ratio. If you crop without those containers in mind, the platform will re-crop for you, usually badly, slicing off the top of the head or shifting the eyes to a strange spot. Cropping deliberately for the destination keeps control in your hands instead of an algorithm’s.
Tip 1: Put the eyes on the upper third
The single most reliable rule in headshot cropping is to place the eyes roughly one third of the way down from the top of the frame. Eyes are where a viewer looks first, and the upper-third position feels natural and grounded. When the eyes drift toward the vertical center, the forehead gets too much room and the portrait starts to feel top-heavy and static.
Use the eye line, not the top of the head, as your anchor. Faces vary in length, hairstyles add height, and hats change everything, so anchoring on the eyes gives you a consistent reference that works across different people. If you are cropping a whole team, line the eyes up at the same height in every frame and the gallery will look cohesive even though the faces are all different shapes.
Tip 2: Leave measured headroom, never too much
Headroom is the space between the top of the head and the top edge of the frame. Beginners tend to leave far too much, which shrinks the face and wastes the frame. For a standard professional headshot, a small, deliberate sliver of headroom is plenty. For a tighter, more modern look, you can crop right at the hairline or even slightly into the top of the head.
Cropping into the top of the head is allowed and often looks intentional and current, as long as you commit to it. The framing that looks like a mistake is the in-between crop, where you clip just a tiny bit of hair by accident. Decide whether you want visible headroom or a confident crop into the head, and apply that choice consistently rather than landing somewhere ambiguous.
Tip 3: Cut the shoulders with intention
The bottom crop line matters almost as much as the top. Cutting across the middle of the chest can feel abrupt, while including too much torso turns a headshot into a half-body shot and shrinks the face. A dependable choice is to crop somewhere between the collarbone and the upper chest, leaving enough shoulder to anchor the head without letting the body compete with the face.
Avoid cropping exactly at a natural joint or line, such as right at the base of the neck or precisely at the armpit, because those cuts look accidental. Give the shoulders a little breathing room so the subject appears settled in the frame rather than squeezed. When the shoulders are turned at an angle, follow the diagonal so the crop feels balanced with the pose.
Tip 4: Match the aspect ratio to the destination
Before you crop, know where the image is going. A LinkedIn profile photo is displayed as a circle, so keep the face centered and give the sides a bit of margin so nothing important gets clipped by the round mask. Corporate directories often want a square, which changes how much shoulder and headroom you can include. Acting and modeling submissions frequently require a specific vertical ratio like 8x10.
Shoot a little looser than the final crop so you have room to produce several ratios from one frame. A single well-composed capture can yield a square for the company website, a vertical for a casting profile, and a horizontal for a speaker bio, all without losing the eye placement you worked to get right. Planning the ratios in advance saves you from re-shooting when a client asks for a format you did not anticipate.
Tip 5: Respect the rule of thirds, then break it on purpose
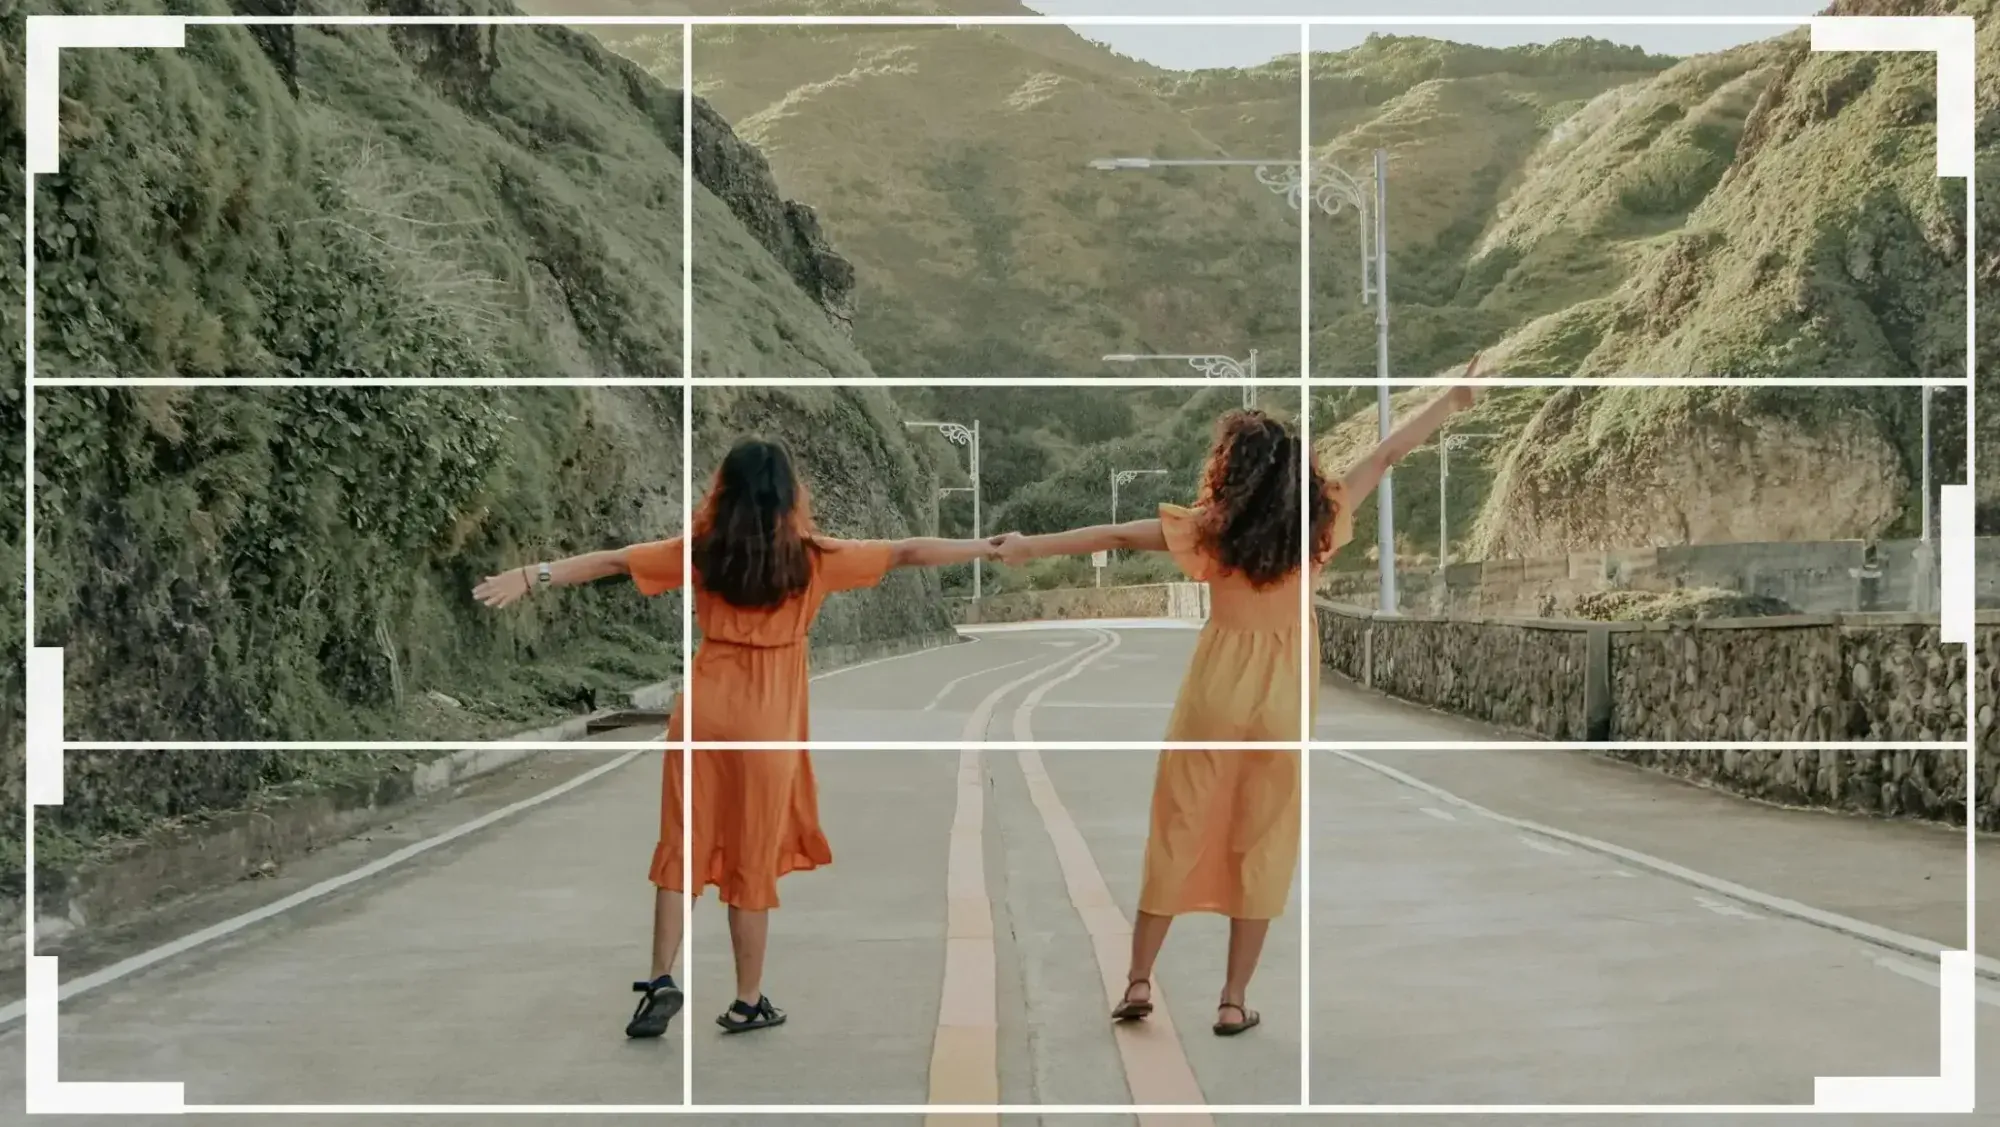
The rule of thirds gives you a dependable starting grid: eyes on the upper third, and for a three-quarter or angled pose, the face slightly off-center with more space in the direction the subject is looking. That looking room keeps the portrait from feeling cramped and gives the gaze somewhere to travel.
Dead-center framing is not wrong, though. For straight-to-camera corporate headshots and for circular crops like social avatars, a centered face often reads as direct and confident. The trick is to make centering a choice rather than a default. Use the thirds grid when the pose has direction and energy, and center the face when you want symmetry and directness.
Tip 6: Keep negative space working for you
Negative space is the empty area around the subject, and in a headshot it sets the mood. A tighter crop with minimal negative space feels personal, bold, and modern, which suits creative fields and personal branding. A slightly looser crop with more breathing room feels calmer and more classic, which suits executives, lawyers, and finance.
Whatever amount you choose, keep it consistent within a single project. If half your corporate team is cropped tight and the other half loose, the gallery looks disjointed even when each individual frame is fine on its own. Pick a negative-space budget for the shoot and hold to it, adjusting only when a particular face genuinely needs it.
Tip 7: Watch the edges for awkward clipping
Small clipping errors quietly undermine an otherwise clean headshot. Watch for hair that gets cut off at the side in a way that looks chopped, ears that touch the frame edge, and shoulders that vanish right at the corner. These near-misses read as carelessness even when the face itself is perfect.
When someone has big hair, a hat, or a strong hairstyle, give the top and sides a touch more room so the shape stays intact. It is far easier to crop tighter later than to invent hair that was never captured. During the shoot, glance at the edges of your frame between poses, not just the face, so you catch these issues while you can still fix them in camera.
Tip 8: Straighten and level before you finalize the crop
A crooked horizon or a tilted eye line makes a headshot feel subtly off even if the viewer cannot name why. Before locking your crop, level the image so the eyes sit on a roughly horizontal line, unless you are deliberately using a stylized tilt. Straightening usually costs you a few pixels at the edges, which is another reason to shoot a little loose.
Leveling on the eyes rather than the shoulders is the safer habit, because shoulders are often intentionally angled while eyes are the anchor a viewer reads for balance. Fix the rotation first, then crop, so you are not re-cropping after every small angle adjustment. Doing it in that order keeps your margins predictable across the set.
Tip 9: Crop for consistency across the whole set
For a single hero portrait, you can obsess over one perfect crop. For a corporate shoot with dozens of employees, the goal shifts to consistency: same eye height, same headroom, same shoulder line, same ratio, face after face. A directory where every headshot is framed identically looks polished and intentional, while a set of individually good but mismatched crops looks sloppy.
The practical challenge is that maintaining identical framing by hand across a large gallery is slow and error-prone. This is exactly where a consistent, batch-oriented approach pays off, and where the right tools turn a tedious afternoon into a few minutes of review. The next section covers how to keep that consistency without cropping every frame manually.
How to apply consistent crops across an entire shoot without the grind
Manually cropping a large headshot gallery is where consistency usually breaks down. By frame forty, small drifts creep in: the eye line slips, the headroom grows, the shoulder cut wanders. What you want is a way to define your framing once and have it applied evenly across the whole set, then spend your time reviewing rather than dragging crop handles.
This is where an AI editing platform built for photographers earns its place. Imagen learns your editing style from your past work through personal AI profiles, then applies consistent color, tone, and finishing across an entire shoot in a single batch, and the built-in editor (Beta) lets you crop and straighten inside the same project. For the framing side of headshot work specifically, Imagen’s auto headshot crop tool detects the face and applies a repeatable, headshot-aware crop across your gallery, so the eye placement and margins stay uniform from the first frame to the last without you cropping each one by hand.
Imagen is a desktop app for Mac and Windows that handles RAW files with the AI processing in the cloud and returns edited photos in batches as they process, which matters when a corporate client needs a hundred consistent headshots on a deadline. Pricing is straightforward pay-as-you-go, with a monthly base fee plus a charge for the photos you export, so the cost of automating the tedious parts is easy to estimate across large jobs. You still make the creative calls on style and framing; the platform handles the repetitive execution so every face lands the same way. You can start at the Imagen homepage to set up a profile and try Imagen’s new Studio, where you cull, edit and export in one project, on your own shoot.
A few kinds of edits sit outside a batch culling and grading workflow. Heavy compositing, removing a distracting object from behind someone’s head, or complex background replacement are jobs for a dedicated retouching tool. True HDR bracket-merging is a separate dedicated step as well. For the core headshot pipeline, though, the bottleneck is almost always consistent cropping and consistent color across many faces, and that is the part worth automating first.
What’s new in Imagen: Imagen is now an intelligent, agentic Studio for professional photographers, a single project where you cull, edit, review and export in any order. For headshot work, the built-in editor (Beta) adds crop and straighten next to manual sliders and a histogram, so you can fine-tune framing without leaving the project. The Studio is rolling out gradually as a beta.
Frequently asked questions
Where should the eyes be positioned in a headshot crop?
Place the eyes about one third of the way down from the top of the frame. This upper-third position feels natural and keeps the portrait from becoming top-heavy. Anchor on the eye line rather than the top of the head, since faces and hairstyles vary, and matching the eye height across a set keeps a gallery looking cohesive.
What is the best aspect ratio for a headshot?
It depends entirely on where the image will live. LinkedIn displays a circle, so a centered face with side margins works best. Corporate directories usually want a square, and acting or modeling submissions often require a vertical ratio like 8x10. Shoot slightly loose so one frame can produce several ratios without losing your eye placement.
Is it okay to crop into the top of the head?
Yes, cropping confidently into the top of the head is a modern, intentional look, as long as you commit to it across the set. The framing that reads as a mistake is the accidental in-between crop that clips just a sliver of hair. Decide between visible headroom or a deliberate crop into the head, and stay consistent.
How do I keep cropping consistent across a large corporate shoot?
Define your target framing once (eye height, headroom, shoulder line, and ratio) and apply it uniformly rather than eyeballing each frame. For big galleries, a batch tool such as Imagen’s auto headshot crop detects the face and applies a repeatable crop across every image, so consistency holds from the first headshot to the hundredth without manual dragging on each one.
