

The Image Cropping Checklist for Automotive Photographers Before Client Delivery
Table of contents
- Image Cropping Checklist for Automotive Photographers
- 1. Level the Horizon Before Anything Else
- 2. Keep the Full Car in the Frame
- 3. Lock One Aspect Ratio Across the Whole Set
- 4. Frame the Details That Sell: Wheels, Badges, and Chrome
- 5. Mind the Background and the Reflections
- 6. Compose for the Rule of Thirds and Negative Space
- 7. Standardize the Crop Across High-Volume Inventory
- How Imagen Helps Automotive Photographers Crop Faster
- 8. Do a Final Consistency Pass Before Delivery
- Frequently Asked Questions
Image Cropping Checklist for Automotive Photographers
Automotive photography lives and dies by the crop. A car is a long, low, geometric subject, so the way you frame the body, level the horizon, and set the aspect ratio decides whether a gallery looks like a professional inventory set or a pile of random snapshots. This checklist walks through every crop decision that matters for cars, from leveling a wide body against a slanted background to keeping a whole dealership shoot on one consistent aspect ratio.
The short version: crop to a straight horizon first, keep the full car in the frame with intentional breathing room, hold one aspect ratio across the entire set, and protect the details that sell the car, the wheels, the badges, and the chrome. Do that by hand on a ten-image feature and it feels easy. Do it across three hundred inventory photos before a listing deadline and the manual work becomes the bottleneck, which is where automated crop and straighten tools earn their place.
1. Level the Horizon Before Anything Else
Cars are full of long horizontal lines, the rocker panels, the roofline, the belt line under the windows. A tilt of even one degree reads instantly to the eye because those lines betray it. Before you touch composition, straighten the shot so the horizon and the ground plane sit level. On a wide car body shot against a landscape or a showroom wall, use the wall base, the curb, or the horizon itself as your reference line rather than the car, since a parked car can sit on a cambered road and fool you.
When you straighten, the frame rotates and the corners get clipped, so leveling and cropping are really one combined move. Plan for that lost margin when you compose in camera by leaving a little extra room on all four sides. That buffer is what lets you rotate a degree or two later without cutting into the bumper or the roof.
2. Keep the Full Car in the Frame
For listing and inventory work, the rule is simple: show the whole car. A buyer scanning a gallery wants to see the complete vehicle, not a cropped-off front lip or a tire that runs out of frame. Leave a consistent margin of space around the body so nothing important kisses the edge. Tires especially should sit fully inside the frame with a little ground beneath them, because a wheel clipped by the bottom edge looks like a mistake even when everything else is perfect.
Detail and beauty shots are the exception. A tight crop on a headlight cluster, a fender curve, or a badge can be gorgeous and deliberate. The checklist point is to be intentional: full-car framing for the catalog images, tight crops only where you mean them, and never a half-cut car that reads as an accident.
3. Lock One Aspect Ratio Across the Whole Set
This is the single biggest lever for a professional-looking gallery. When every image in a listing shares the same aspect ratio, the set scrolls cleanly and the car looks consistent from angle to angle. Mixed ratios, some 3:2, some 4:5, some square, make a gallery feel chaotic even when each individual photo is well shot.
Pick your ratio based on where the images live. Marketplace and dealership listing platforms often favor 4:3 or 16:9 for the main gallery, while social crops lean toward 4:5 or 1:1. Decide the target before you start cropping, then apply it to every frame. If a car needs to appear in more than one place, crop a master ratio first and derive the tighter social versions from it, so the framing stays intentional rather than chopped.
4. Frame the Details That Sell: Wheels, Badges, and Chrome
Within a full-car crop, small framing choices change how premium the car looks. Give the wheels room to breathe rather than jamming them against the frame edge, since wheels and tires are a major buying signal. Keep chrome trim and brightwork clean at the edges so a reflection or a bright strip is not awkwardly bisected by the crop line. When you shoot a three-quarter hero angle, position the car so the badge and grille sit in a strong part of the frame rather than drifting toward a dead corner.
Think of the crop as directing the eye. The lines of the body should lead toward the front three-quarter, the part of the car buyers connect with most, and your framing should keep that area clean and uncluttered by background poles, other cars, or a cut-off wheel.
5. Mind the Background and the Reflections
Automotive bodies are giant mirrors, so cropping is not only about the car, it is about what the panels reflect. Before you finalize a crop, check the edges for distracting background elements that the paint is bouncing back, a bright doorway, a person, a cluttered lot. Sometimes a slightly tighter crop removes a distracting reflection at the frame edge without touching the car itself.
Reframing can also hide a busy background. If the top of the frame includes a messy ceiling or a tangle of overhead cables, a considered crop that keeps the full car but trims the dead space above it cleans up the shot. Just keep that trim consistent with the rest of the set so you do not break your aspect ratio.
6. Compose for the Rule of Thirds and Negative Space
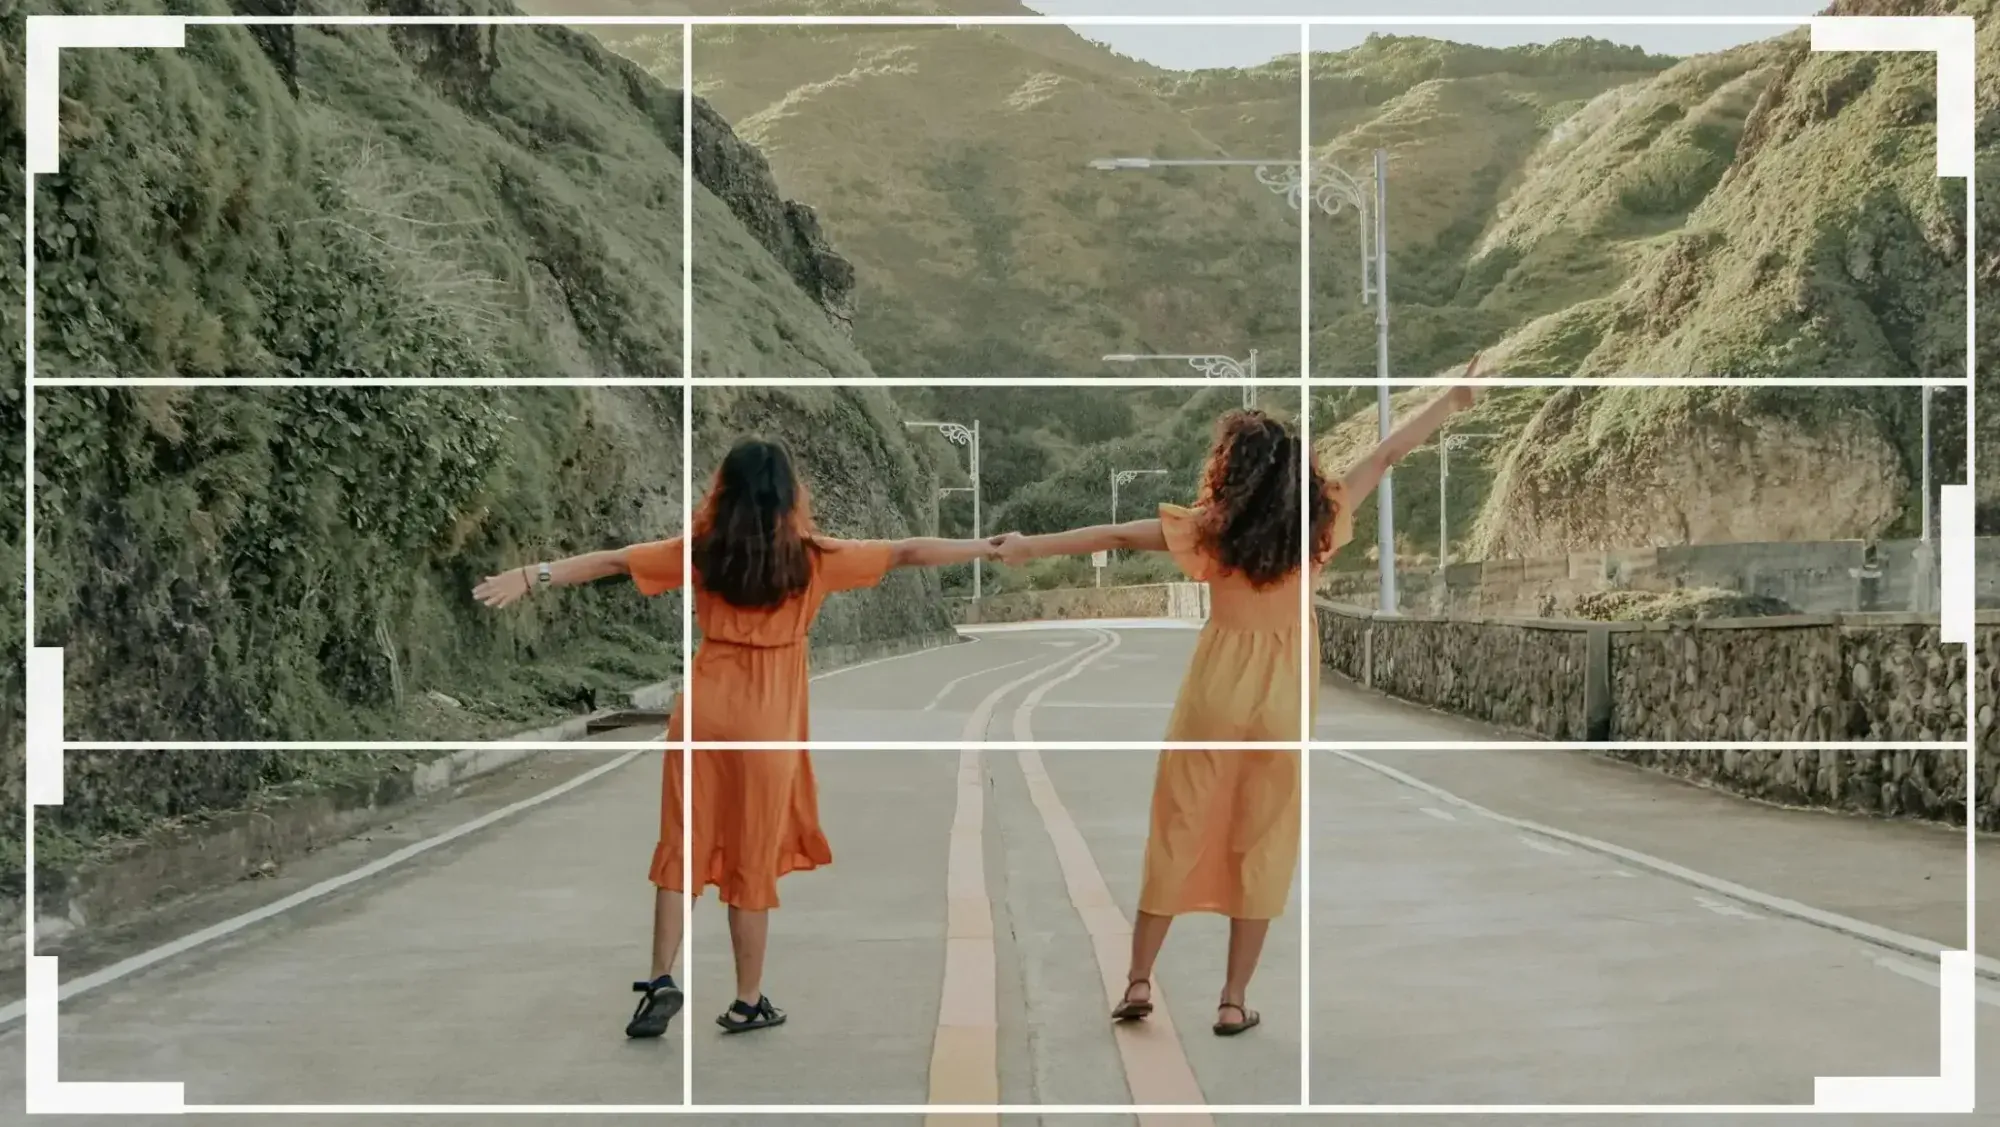
Once the horizon is level and the car is fully in frame, use the crop to place the vehicle deliberately. Positioning the car off-center along a thirds line often looks more dynamic than dead center, especially for hero and lifestyle shots. Leave negative space in the direction the car faces so it has somewhere to go, which gives a static parked car a sense of motion.
For straight catalog images, centered and symmetrical framing is usually the safer choice because it reads as neutral and honest, which is what a buyer wants from an inventory photo. Match the composition to the job: expressive framing for the marketing hero, clean and centered for the listing grid.
7. Standardize the Crop Across High-Volume Inventory
A single feature car is a joy to crop by hand. A lot of forty cars, each with fifteen to thirty angles, is a different problem. At that volume, the goal shifts from artful individual crops to a fast, uniform standard: same aspect ratio, same leveling discipline, same margin around the body, applied identically to hundreds of frames so the whole inventory feed looks like one coherent set.
This is exactly the stage where manual cropping stops scaling. Straightening each shot, nudging each crop, and checking each ratio one at a time can add hours to a delivery that a dealer needs the same day. Consistency at volume is a batch problem, and it wants a batch solution.
How Imagen Helps Automotive Photographers Crop Faster
When the crop-and-straighten step becomes the bottleneck on a high-volume shoot, this is where automation pays off. Imagen’s AI photo crop and straighten tool automatically levels tilted horizons, rotates and straightens each frame, and applies one consistent aspect ratio across an entire batch, so a full inventory set lands with uniform framing instead of hours of manual nudging. It runs in the cloud as part of Imagen’s broader batch editing, which learns your personal style profile and delivers consistent color and tone across the whole shoot alongside the crop, and you can fine-tune any single crop in the built-in editor (Beta).
The value for automotive work is speed with consistency. You set the framing standard once, and Imagen applies straightening and a locked aspect ratio to every car in the lot, then you deliver same-day. On pricing, Imagen’s pay-as-you-go option is a monthly base fee plus a charge for the photos you export, which keeps the cost predictable even when a single dealership job runs into the hundreds of frames. You can see the full workflow, and try Imagen’s new Studio where you cull, edit and export in one project, on the Imagen homepage.
Keep in mind what automated cropping does and does not cover. Leveling, straightening, rotation, and consistent aspect ratios are a natural fit for a batch tool. Heavier reframing work, like extending the canvas beyond the original frame with generative expand, content-aware fill to invent background, removing a stray cone or a reflected bystander, or compositing a car onto a new backdrop, is a separate job for a dedicated editing tool and sits outside a straighten-and-crop pass.
8. Do a Final Consistency Pass Before Delivery
Before the gallery goes out, scan the whole set as a grid, not one image at a time. You are checking for three things: every horizon level, every car fully framed with matching margins, and every image on the same aspect ratio. A single tilted shot or one oddball crop stands out immediately in a grid view and undermines an otherwise clean set. Fix the outliers, confirm the ratio is uniform, and only then export. This final pass is what separates a set that looks professionally produced from one that looks assembled.
What’s new in Imagen: Before delivery, Imagen now gives you one place for the last look: it is an intelligent, agentic Studio for professional photographers where you cull, edit, review and export in one project, in any order. AI filters such as blur and closed eyes help you narrow a dealership shoot, and you can export finished JPG, TIFF or PNG files straight from Imagen. This beta is rolling out to photographers gradually.
Frequently Asked Questions
What aspect ratio should I use for car listing photos?
Match the platform where the images will live. Many dealership and marketplace galleries favor 4:3 or 16:9 for the main listing images, while social posts lean toward 4:5 or 1:1. The more important rule is to pick one ratio and apply it to the entire set, so the gallery scrolls cleanly. If you need multiple destinations, crop a master ratio first and derive the tighter versions from it.
How do I keep horizons level on wide car body shots?
Use a fixed background reference rather than the car itself, since a parked car can sit on a cambered surface. Line up the wall base, a curb, or the true horizon as your level line, then rotate to match it. Because straightening clips the corners, leave a little extra margin when you shoot so you can rotate a degree or two without cutting into the bumper or roof.
Can I crop hundreds of inventory photos to a consistent standard quickly?
Yes. Manual cropping does not scale well past a few dozen frames, but a batch crop and straighten tool can apply the same leveling and the same aspect ratio across an entire shoot at once. Imagen’s crop and straighten tool does this automatically, with the AI processing in the cloud, and pay as you go is a monthly base fee plus a charge for the photos you export, which keeps large dealership jobs fast and predictable.
Should I crop detail shots differently from full-car shots?
Yes, and intentionally so. Catalog and listing images should show the complete car with consistent margins and no clipped tires. Detail shots, a headlight, a badge, a fender line, are meant to be tight and deliberate. The mistake to avoid is an accidental half-crop on what should be a full-car image, which reads as an error rather than a creative choice.
