

How to build a photo editing workflow: A Complete 2026 Guide
Table of contents
- Why a Repeatable Workflow Beats Raw Talent on Deadline
- Stage 1: Import and Back Up Before You Touch a Single Edit
- Stage 2: Cull Fast to Find the Keepers
- Stage 3: Batch Grade for One Consistent Look
- Stage 4: Finish the Frames That Need Individual Attention
- Stage 5: Export and Deliver on a Fixed Recipe
- How to Keep the Whole Workflow Consistent Over Time
- Bring the Stages Together
- Frequently Asked Questions
If you want to know how to build a photo editing workflow that survives a busy season, the answer is to stop treating editing as one big task and start treating it as a short chain of repeatable stages: import, cull, batch grade, finish, and deliver. Each stage has one job, each hands clean work to the next, and none of them depends on your mood or your memory. Build the chain once, and every shoot after that flows through the same path, which is what turns a weekend of editing into an evening.
This guide walks through that chain stage by stage for working photographers who deliver full shoots, not single hero frames. You will see where automation genuinely saves hours, where careful manual work still matters, and how to keep the whole process consistent from one job to the next.
Why a Repeatable Workflow Beats Raw Talent on Deadline
A great eye gets you great frames. It does not get you through 2,000 of them by Friday. The photographers who deliver on time are rarely the fastest at any single edit. They are the ones who never have to decide what to do next, because the sequence is already fixed. When your process is a set path, you spend your attention on the images instead of on the logistics of editing them.
A repeatable workflow also protects your style. When every shoot runs through the same grading and finishing steps, your galleries look like they came from one photographer with one voice, not from five different late nights with five different moods. Consistency is a business asset, and a fixed workflow is how you manufacture it on purpose rather than hoping for it.
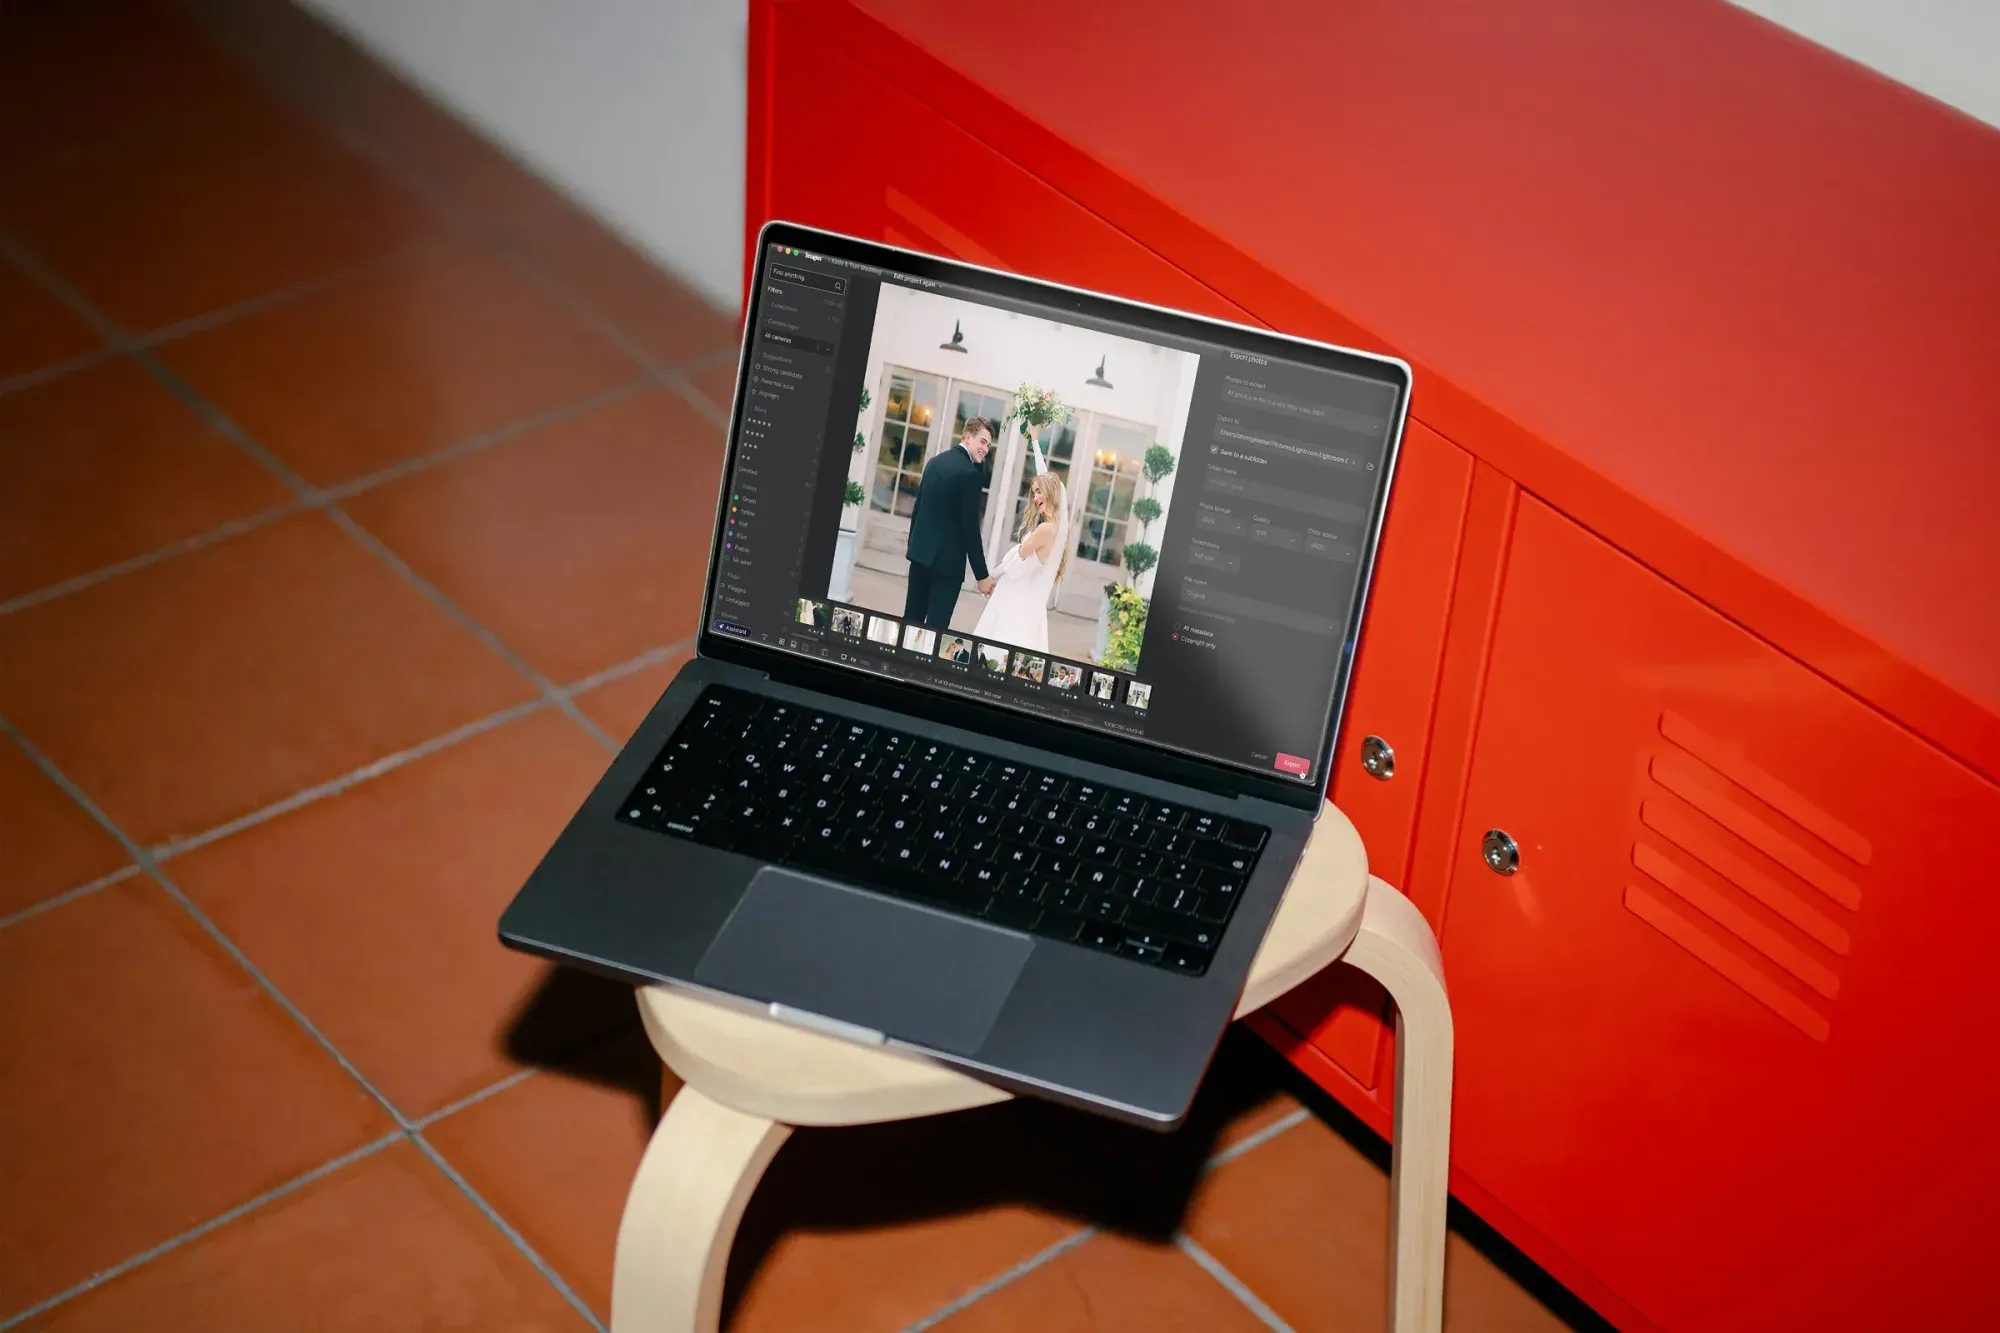
Stage 1: Import and Back Up Before You Touch a Single Edit
The workflow starts the moment the cards come out of the camera, not when you open an editor. Copy every file to your working drive, then immediately copy it again to a second location, whether that is an external drive, a NAS, or cloud storage. The rule is simple: no shoot is safe until it lives in two places. This is a neutral, tool-agnostic step, and almost any import or catalog utility handles it well.
While you import, do the small housekeeping that saves confusion later. Rename files to a consistent pattern, add the client or shoot name, and apply basic metadata like copyright and location. None of this is glamorous, but a clean, well-labeled set of originals is the foundation the rest of the workflow stands on. Skip it, and you will pay for it later when you cannot find the frame a client is asking about.
Stage 2: Cull Fast to Find the Keepers
Culling is where most photographers quietly lose their evenings. A burst of ten near-identical frames, a dozen test shots, a run of blinks and half-smiles: someone has to sort the keepers from the rest, and doing it by eye across thousands of frames is slow and draining. The goal of this stage is to shrink the set to the images actually worth editing, as quickly as possible.
This is a stage where AI culling earns its place. A tool that narrows down near-duplicate bursts and flags the sharpest, best-exposed frame in each group lets you skim a first pass in a fraction of the manual time. You still make the final creative calls, but you make them on a shortlist instead of the full dump. Imagen includes culling in the same project as its editing, so the burst of ten narrows down before you spend a second scrolling through them one by one, and you can skip AI culling and cull manually for free. For a deeper look at speeding up this stage, culling is worth treating as its own skill.
Stage 3: Batch Grade for One Consistent Look
Once you have your keepers, the biggest time sink is applying a coherent look across all of them. A ceremony shot in shade and a reception shot under warm tungsten should come back looking like one gallery, not a patchwork. Doing that frame by frame is exactly the kind of repetitive work that a batch pass is built to eliminate.
This is the heart of an automated workflow, and it is where Imagen fits most naturally. You point Imagen at a full shoot and it applies your personal AI editing style (Personal AI Profile), covering color correction, exposure balancing, and white balance in your own consistent style across every frame. Because it learns and applies your look, the output is not a generic filter but your grade, repeated at scale. You build a style profile once, and every future shoot inherits the same treatment, which is the real engine of a repeatable workflow. Imagen is a desktop app for Mac and Windows that you download and install, you do not need a desktop catalog running underneath it, and it works directly from your RAW files. You can learn how the batch pass works, and how culling, editing and export now share one project in Imagen’s intelligent Studio, on the Imagen site.
Pricing here is transparent and pay-as-you-go, so you pay for the photos you export. Exploring the tools is free, so you can run a real shoot through the batch and see the consistency for yourself before you commit. The point of this stage is that once your style profile is set, grading a whole gallery becomes a single step instead of a hundred.
Stage 4: Finish the Frames That Need Individual Attention
A batch grade gets the whole set to a consistent, delivered-ready baseline. A handful of frames will still need hands-on work, and this stage is where you give it to them. The key discipline is to keep this list short. If you find yourself hand-editing half the gallery, your grading stage was not dialed in, and the fix belongs upstream.
Some finishing is light and stays inside an automated flow. Removing a distracting object from a frame or blurring a busy background plate are per-photo touches Imagen’s AI Assistant can help with when you ask in plain language, with you steering, without leaving the workflow. For light manual touches, the built-in editor (Beta) offers sliders, crop and straighten, and versions. Heavier work is a different job and belongs in a dedicated tool. Frequency-separation skin retouching on a beauty portrait, full background replacement and compositing, recovering a soft or missed-focus frame through sharpening or deblurring, noise reduction on a high-ISO capture, or geometry and perspective surgery are all manual, specialist tasks. Describe them honestly to yourself: they are not batch steps, and no consistent-grade pass replaces them. Hand the one hero frame to the specialist app, and let the workflow carry the other nine hundred.
Stage 5: Export and Deliver on a Fixed Recipe
The final stage should be the most boring, and that is a good thing. Build export presets once, one for high-resolution client files, one for web and social sizing, one for print if you sell it, and reuse them on every job. A fixed export recipe means you never second-guess dimensions, color space, or compression at the end of a long edit.
Delivery itself is a neutral step that many gallery and proofing services handle well. Pick one, standardize your folder structure and naming so every client gets the same clean handoff, and document the steps so a second shooter or an assistant could deliver a job the same way you would. The moment your delivery is a checklist rather than a memory, your workflow is genuinely repeatable.
How to Keep the Whole Workflow Consistent Over Time
A workflow is only repeatable if it stays fixed while you get faster inside it. Write the five stages down as a simple checklist and keep it where you work. When you shoot a new genre or take on a bigger volume, resist the urge to reinvent the chain. Instead, tune the settings inside each stage: refine your style profile, tighten your culling criteria, add an export preset. The structure stays the same, and your speed compounds.
The single biggest lever for consistency is the grading stage, because a saved style profile applied automatically is what makes twenty shoots look like one photographer’s work. Get that dialed in, keep your culling honest, and hold your finishing list short, and the workflow will carry you through your busiest weeks without ever asking you to remember what comes next.
Bring the Stages Together
Building a photo editing workflow is not about finding one magic tool. It is about assigning each stage one clear job and connecting them into a chain you run the same way every time. Import protects your files, culling finds your keepers, batch grading applies your look at scale, finishing handles the exceptions, and delivery hands off a clean gallery. Automate the repetitive middle, reserve your hands for the frames that truly need them, and you stop paying for the time a scattered process wastes.
Three parts of this chain reward extra depth. For the grading stage, see how to color grade photos consistently and the mechanics of batch photo color correction. For the stage that eats the most evenings, read how to cull photos fast. You can also browse the full library of photography workflow tips for more on batch editing, culling, and consistent finishing.
What’s new in Imagen: A workflow no longer has to run in a straight line. Imagen is now an intelligent, agentic Studio for professional photographers, where you cull, edit, review and export in one project, in any order. Use AI culling or cull manually for free, edit in your own style with a Personal AI Profile or a ready-made AI Profile, and start reviewing as edited photos arrive in batches. It is rolling out gradually, and for now it is a beta.
Frequently Asked Questions
What are the core stages of a photo editing workflow?
A repeatable photo editing workflow has five stages: import and back up your files, cull to find the keepers, batch grade for a consistent look, finish the frames that need individual attention, and export and deliver on a fixed recipe. Each stage has one job and hands clean work to the next, so you never have to decide what comes next mid-edit.
Which stages of the workflow can I actually automate?
Culling and batch grading are the stages that benefit most from automation, because they are repetitive and volume-heavy. A tool like Imagen narrows down near-duplicate bursts during culling and applies your consistent style across an entire shoot during batch grading. Import and delivery are largely automated through presets and utilities, while heavy per-image retouching stays manual.
How do I keep my editing style consistent across shoots?
Consistency comes from the grading stage. When you build a style profile once and apply it automatically to every shoot, your galleries look like one photographer’s work rather than a series of separate late nights. Imagen applies your personal AI editing style (Personal AI Profile) across the whole shoot, which is what makes the same treatment repeatable job after job.
How much does Imagen cost, and can I try it for free?
Imagen is pay-as-you-go, so you pay for the photos you export. Exploring the tools is free, which lets you run a real shoot through the batch grade and culling stages before committing.
Can an automated workflow fix a soft or out-of-focus photo?
No automated grading pass restores focus that was never captured. Sharpening, deblurring, noise reduction, and upscaling are separate specialist jobs handled by dedicated detail-enhancement tools, and even those work within limits. Imagen does not sharpen or deblur soft frames, so a missed-focus image belongs in the finishing stage with a specialist tool, not the batch grade.
