The Ultimate Guide to Business Portrait Photography: From Client Prep to AI-Powered Editing
Table of contents
- Key Takeaways
- The Purpose and Power of a Professional Business Portrait
- Planning Your Business Portrait Session
- The Photoshoot: Techniques for Success
- Post-Production Workflow: From RAW to Polished
- Common Types of Business Portraits
- Building Your Business Portrait Photography Business
- Conclusion
- Frequently Asked Questions
In today’s visually-driven world, a business portrait is more than just a picture; it’s a critical piece of personal and corporate branding. It’s often the first impression a potential client, employer, or business partner has of you. A professional, high-quality portrait conveys confidence, competence, and approachability, while a poor one can communicate the exact opposite. For us photographers, mastering business portrait photography isn’t just about technical skill; it’s about understanding branding, connecting with subjects, and delivering a final product that truly represents them and their professional goals. This is a lucrative and rewarding genre, but it demands a blend of artistry, technical precision, and business acumen.
Key Takeaways
- It’s All About Brand: A business portrait must align with the subject’s personal or corporate brand identity. Consultation is key to understanding their goals, target audience, and desired message.
- Preparation is Paramount: A successful shoot starts long before the camera comes out. Detailed planning, including location scouting, wardrobe consultation, and shot list creation, ensures a smooth and effective session.
- Lighting is Everything: Mastering lighting is non-negotiable. Whether using natural light or studio strobes, the right lighting setup shapes the mood, flatters the subject, and creates a professional look.
- Posing and Direction Matter: Your ability to guide and pose subjects who may be uncomfortable in front of the camera is crucial. The goal is to create expressions that are both authentic and confident.
- Efficiency is Your Ally: The business portrait world often involves high volume and tight deadlines. A streamlined post-production workflow is essential for profitability and client satisfaction.
- AI Can Revolutionize Your Workflow: Tools like Imagen can dramatically speed up post-production. By using AI for culling and editing, you can cut your desk time by up to 96% while maintaining your unique, personal style and ensuring consistency across every single photo.
The Purpose and Power of a Professional Business Portrait
So, what makes a business portrait so important? Think about it. Where do we see these images? They’re on LinkedIn profiles, company websites, email signatures, press releases, and marketing materials. A great portrait builds trust and credibility. It humanizes a brand and makes an individual appear more professional and accessible. In a digital landscape flooded with information, a strong visual identity helps people stand out and be remembered.
For companies, consistent, high-quality headshots of their team project a unified and professional image. It shows they value their people and their brand. For an individual, a powerful portrait can open doors to new career opportunities. It’s a personal branding tool that works 24/7. As photographers, our job is to create an image that not only looks good but also serves a strategic purpose for our clients.
Planning Your Business Portrait Session
Great portraits don’t happen by accident. They are the result of careful planning and collaboration with the client. This pre-production phase is where you lay the groundwork for success.
The Client Consultation: Understanding the ‘Why’
Before you even think about your camera settings, you need to have a detailed conversation with your client. This is your discovery phase. What is the primary use for these photos? Who is their target audience? What message do they want to convey?
Here are some key questions to ask:
- Where will these images be used? (e.g., LinkedIn, company website, print brochure) This dictates orientation, composition, and even the amount of negative space needed.
- What is your brand’s personality? (e.g., formal and traditional, modern and innovative, friendly and approachable)
- Who is your target audience? A portrait for a lawyer targeting corporate clients will look very different from one for a graphic designer targeting startups.
- Are there any existing brand guidelines I need to follow? (e.g., specific background colors, overall tone)
This conversation helps you define the creative direction and ensures you and your client are on the same page. It’s all about managing expectations and delivering a final product that meets their specific needs.
Choosing the Right Style and Location
Based on your consultation, you can decide on the style of the portrait. The three main categories are:
- Traditional Headshots: Typically shot from the chest up against a neutral, seamless paper or muslin backdrop. These are clean, classic, and focus entirely on the subject. They are perfect for corporate directories, LinkedIn profiles, and ID badges.
- Environmental Portraits: These are captured in the subject’s work environment, like their office, a workshop, or a location that tells a story about their profession. This style adds context and personality, making the portrait more dynamic and engaging.
- Lifestyle or Branding Portraits: This is a more casual and candid approach. These photos often show the subject in action or interacting with their environment in a way that feels authentic and less posed. They are great for social media content and website branding.
The location should support the chosen style. A studio offers complete control over lighting and background, which is ideal for traditional headshots. For environmental and lifestyle portraits, shooting on-location adds authenticity, but requires more planning to manage lighting and potential distractions.
Wardrobe and Grooming Advice
What your subject wears has a huge impact on the final image. Your guidance here is invaluable. Advise clients to choose outfits that they feel confident and comfortable in, and that align with their professional image.
A few solid tips to share:
- Solid colors are best. Busy patterns and large logos can be distracting. Jewel tones (like emerald, sapphire, and ruby) tend to look great on almost everyone.
- Fit is crucial. Clothes should be well-fitted—not too tight, not too baggy.
- Think about the neckline. A collared shirt, a blazer, or a simple V-neck or crew neck top are usually safe bets.
- Keep accessories simple. Minimalist jewelry is best. The focus should be on the person, not their accessories.
- Come prepared. Advise them to bring a couple of different options. It’s always better to have more choices.
- Pay attention to grooming. Simple things like a fresh haircut, a neat shave, and clean, manicured nails make a noticeable difference.
The Photoshoot: Techniques for Success
This is where the magic happens. Your technical skills and your ability to connect with your subject come together.
Lighting Setups for Professional Portraits
Lighting is the single most important technical element in portrait photography. It shapes the face, creates mood, and adds a professional polish. While natural light can be beautiful, using strobes gives you consistency and control.
Here are a few classic lighting setups:
- Three-Point Lighting: The foundation of studio portraiture.
- Key Light: Your main light, placed at a 45-degree angle to the subject, providing the primary illumination.
- Fill Light: Placed on the opposite side of the key light, this softer light “fills in” the shadows created by the key light, controlling the contrast.
- Hair Light (or Rim Light): Placed behind the subject, it separates them from the background and adds a pleasing highlight to their hair and shoulders.
- Rembrandt Lighting: Characterized by a small triangle of light on the cheek opposite the key light. It’s dramatic and flattering, created by placing the key light higher and more to the side than in a standard setup.
- Clamshell Lighting: A very flattering setup for beauty and headshot work. It involves placing one light above the subject, angled down, and another light (or a reflector) below them, angled up. This wraps the face in soft, even light and reduces shadows under the chin and eyes.
Camera Settings and Lens Choices
Your camera settings will depend on your lighting and desired aesthetic, but here are some solid starting points for business portraits:
- Aperture: A wider aperture (like f/2.8 to f/5.6) helps to blur the background and make your subject pop. For environmental portraits where the background is important, you might use a narrower aperture (like f/8) to keep more of the scene in focus.
- ISO: Keep your ISO as low as possible (typically 100-400) to ensure a clean, noise-free image.
- Shutter Speed: When using strobes, your shutter speed will be limited by your camera’s sync speed (usually around 1/200s). If you’re using natural light, ensure your shutter speed is fast enough to prevent motion blur (at least 1/125s, but preferably higher).
When it comes to lenses, a short telephoto prime lens is the classic choice for portraiture.
- 85mm Lens: This is often called the “king of portrait lenses.” It provides beautiful compression, which is flattering to facial features, and allows you to work at a comfortable distance from your subject.
- 50mm Lens: A versatile option that offers a more natural field of view. It’s great for environmental portraits where you want to include more of the background.
- 70-200mm f/2.8 Lens: A fantastic, flexible zoom lens that covers the ideal portrait focal lengths. It allows you to quickly change your framing without moving your feet.
Posing and Directing: Capturing Confidence
Most people are not professional models. Many feel awkward and self-conscious in front of a camera. Your job is to be their guide. You need to direct them into poses that are flattering and project confidence, all while making them feel relaxed and at ease.
- Build Rapport: Start with a friendly chat. Ask about their day, their work, anything to get them talking. This helps them forget about the camera for a moment.
- Give Clear, Simple Directions: Instead of saying “look natural,” give specific instructions. “Turn your shoulders slightly away from me,” “Bring your chin forward and down just a bit,” or “Think about a project you’re really excited about.”
- Pay Attention to the Details: Watch for stray hairs, crooked ties, or bunched-up clothing.
- The “Turtle” Trick: A go-to move for eliminating double chins and defining the jawline. Ask your subject to push their forehead towards the camera, like a turtle sticking its head out of its shell. It feels strange, but it looks great on camera.
- Shoot in Bursts: Capture a series of shots while they are transitioning between expressions or poses. Often, the most authentic moments happen in between the “posed” shots.
Post-Production Workflow: From RAW to Polished
The shoot is done, but your work is far from over. A professional and efficient post-production workflow is what separates the amateurs from the pros. This is where you can save an enormous amount of time and ensure your final images are consistent and polished.
Step 1: Culling Your Images with AI
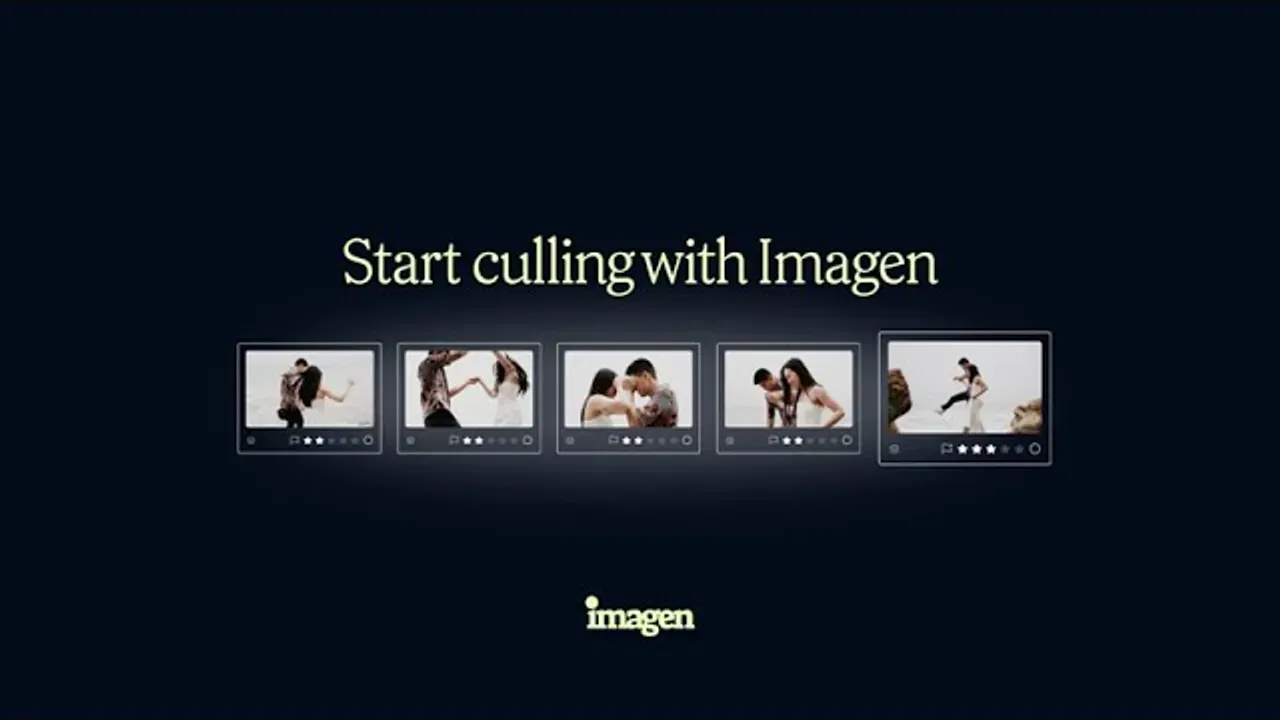
After a shoot, you might have hundreds, if not thousands, of images. The first step is to cull them—to select the best of the best. Manually going through every photo is incredibly tedious and time-consuming. This is where AI can be a game-changer.
Imagen’s AI Culling is designed to mimic how a human photographer makes selections, but it does so in a fraction of the time. You simply upload your project, and Imagen’s AI gets to work. If you would rather cull by hand, you can skip it and cull manually for free.
- Intelligent Grouping: It automatically groups similar images together, so you can quickly compare nearly identical shots and pick the winner.
- Smart Ratings: The AI analyzes each photo for technical and aesthetic qualities. It flags blurry photos, shots with closed eyes (while being smart enough to recognize intentional kisses or blinks that work!), and poorly exposed images.
- You’re in Control: Imagen presents you with its selections, but you always have the final say. You can quickly review the AI’s choices in your Imagen project, adjust ratings with familiar keyboard shortcuts, and finalize your selects.
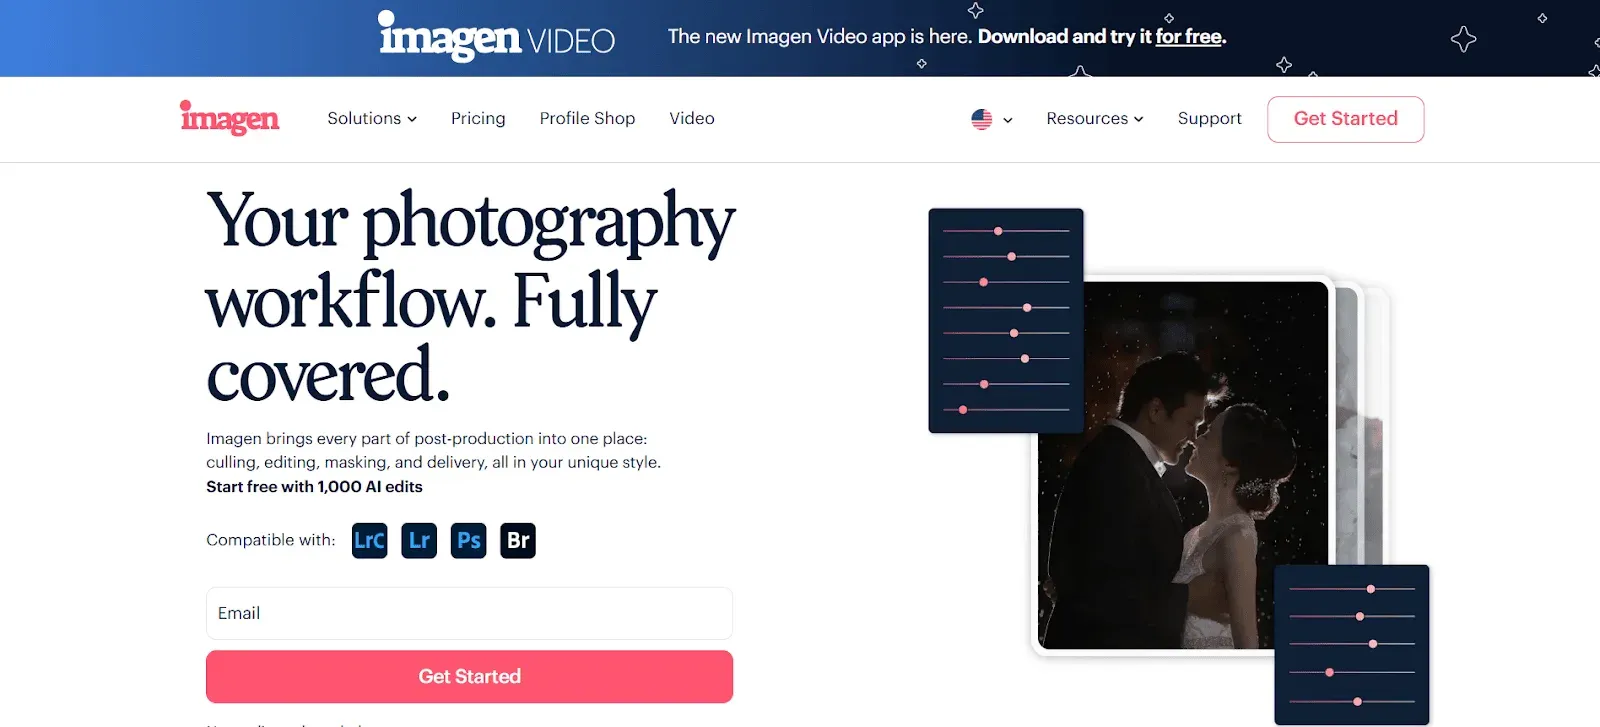
A feature I find particularly useful is the ability to Cull Edited Previews. You can apply one of your AI editing profiles to the photos before you cull, allowing you to make your selections based on how the final images will look. This helps you visualize the end result and make more confident choices.
Step 2: Editing with Your Personal Style, Powered by AI
Once you’ve culled your photos, it’s time to edit. Consistency is crucial in business portrait photography, especially when shooting a whole team. Every photo needs to have the same look and feel. Traditionally, this meant relying on presets, but presets are a one-size-fits-all solution. They don’t adapt to the unique lighting and color of each individual photo.
This is where Imagen’s Personal AI Profile comes in, and honestly, it has completely transformed my workflow.
Creating Your Personal AI Profile
Imagen learns your unique editing style from your own past work. To create your profile, you need to provide at least 3,000 of your previously edited photos from your Adobe Lightroom Classic catalogs. Imagen analyzes these photos and learns how you adjust everything—exposure, contrast, white balance, HSL, and more—in different lighting conditions.
The training process usually takes up to 24 hours. Once it’s done, you have an AI Profile that edits new photos exactly like you would, but in under half a second per photo. It’s not a preset; it’s your personal editing assistant, built from your own creative decisions.
Don’t have 3,000 edited photos? No problem.
- Lite Personal AI Profile: You can create a “Lite” profile in minutes by uploading a favorite Lightroom preset and answering a few questions about your style. It’s a fantastic way to get started.
- Talent AI Profiles: You can also choose from a collection of profiles created by leading international photographers. This is a great way to start editing immediately with a proven, professional style.
The Editing Process in Imagen
The workflow is simple. Imagen is a desktop app that works seamlessly with Lightroom Classic, Photoshop, and Bridge.
- Create a Project: In the Imagen app, you create a new editing project and select the photos from your Lightroom Classic catalog.
- Choose Your Profile: Select your Personal AI Profile (or a Talent Profile).
- Add AI Tools: This is where you can add powerful, targeted adjustments. For business portraits, the following are incredibly useful:
- Smooth Skin: Intelligently softens skin while retaining natural texture.
- Whiten Teeth: Brightens smiles for a clean, polished look.
- Subject Mask: Automatically creates a mask for your subject, allowing for targeted adjustments.
- Portrait Crop: An intelligent cropping tool (free while in Beta) that centers the main subject with optimal spacing, perfect for headshots.
- You can also add Straighten and Crop for a small additional fee per photo.
- Upload and Edit: Imagen sends your photos to the cloud for AI processing. This is a big benefit because the heavy lifting happens on Imagen’s servers, not your computer. Your machine stays free for other tasks, and the edits come back to your project. The editing itself is fast.
Step 3: Review and Fine-Tune
Once the edits are ready (which is usually just a few minutes), you get a notification. Edited photos arrive in batches as they process, so you can start reviewing early frames while the rest finish. From there you can send the edits straight back into your Lightroom Classic catalog or export finished JPG, TIFF or PNG files from Imagen. When you send edits to Lightroom, Imagen doesn’t alter your original files; it simply applies the editing settings as if you had moved all the sliders yourself. You’ll see “Imagen” in the History panel in Lightroom.
Now you can do your final review. Most of the time, the edits are 95-100% perfect. You might want to make a few minor tweaks here and there. And this is where the system gets even smarter.
After you’ve made your final adjustments in Lightroom, you can use Imagen’s Fine-Tune feature. You upload your final edits back to Imagen, and it uses this new information to update and refine your Personal AI Profile. This means your profile is a living thing; it evolves and gets more accurate with every shoot you do. It’s constantly learning from you, ensuring it always stays perfectly in sync with your style.
Step 4: Backup and Delivery
Imagen also has Cloud Storage backup on its roadmap, though it is not available yet. For now, keep a separate backup process so your work stays secure, whether that means external drives, a NAS or a cloud service.
Once your photos are finalized, you can even use Imagen’s Deliver feature to export final JPG, TIFF or PNG files directly to a folder on your computer, and publishing to a Pic-Time gallery is on the roadmap, which will close the loop on your post-production process.
Common Types of Business Portraits
While the principles of lighting and posing are universal, different types of business portraits require slightly different approaches.
The Classic Headshot
This is the bread and butter of many corporate photographers. The focus is tight, from the chest up, and the background is simple. The goal is a clean, professional, and approachable image.
- Lighting: Clamshell lighting is a fantastic choice here for soft, flattering light.
- Posing: Shoulders should be angled slightly to the camera, with the head turned back towards you. This creates a more dynamic and less “mugshot-like” pose.
- Expression: Coach them to give a genuine smile. A great trick is to have them give a soft laugh on the count of three. The resulting expression is often perfectly natural.
The Environmental Portrait
Here, the location plays a key role. You want to show the person in their element.
- Composition: Use a wider composition to include meaningful elements of the environment. Use the rule of thirds to place your subject off-center for a more dynamic feel.
- Lighting: You’ll often be blending ambient light with your own strobes. Use your flashes to add a pop of light to your subject and separate them from the background, without overpowering the natural light of the scene.
- Storytelling: The environment should add to the story. An architect in front of a building they designed, a chef in their kitchen, a CEO in a modern boardroom—the location should feel authentic to their profession.
The Team Photo
Photographing a group presents its own set of challenges. The goal is to create a cohesive image where everyone looks their best.
- Posing the Group: Avoid lining everyone up in a straight row. Create triangles and vary the head heights for a more visually interesting composition. Have people angle their bodies towards the center of the group to create a sense of unity.
- Lighting a Group: You’ll need larger light sources to ensure everyone is evenly lit. A large octabox or two strobes shot through large umbrellas can create a beautiful, soft light that wraps around the entire group.
- Getting the Shot: The more people in the photo, the higher the chance that someone will be blinking or making an odd expression. Shoot in high-speed burst mode and take lots of frames. This gives you more options and makes it easier to do a head swap in Photoshop if needed.
Building Your Business Portrait Photography Business
Breaking into and succeeding in business portrait photography requires more than just taking great pictures. You need to be a good business person.
Marketing and Finding Clients
- Your Portfolio is Your #1 Tool: Your website and social media should showcase your best work, clearly organized by portrait type (e.g., headshots, branding, teams).
- Network, Network, Network: Attend local business events, join your Chamber of Commerce, and connect with marketing managers and HR directors on LinkedIn.
- Corporate Contracts: One of the most lucrative avenues is to become the go-to photographer for a company. Offer a package for new hire headshots and regular updates for the entire team. This provides a steady stream of income.
- Partner with Other Professionals: Build relationships with web designers, branding specialists, and marketing agencies. They are often in a position to recommend a photographer to their clients.
Pricing Your Services
Pricing can be tricky, but don’t undervalue your work. Your prices should reflect your skill, the quality of your gear, your insurance, your software costs, and the time you invest in every aspect of the process, from consultation to final delivery.
Consider offering packages that include:
- A set amount of time for the photoshoot.
- A specific number of final, retouched digital images.
- Different licensing options (e.g., for web use, for print advertising).
Many photographers charge a session fee that covers their time and talent for the shoot, and then clients purchase the digital images they want afterward. Others prefer an all-inclusive package model. Find what works best for you and your market.
The Client Experience
A great client experience leads to repeat business and referrals.
- Be Professional and Punctual: From your first email to the final delivery, every interaction should be professional.
- Make it Easy for Them: Have a clear and simple process for booking, payment, and photo selection.
- Deliver on Time: Set realistic deadlines for photo delivery and stick to them. This is where an efficient workflow with a tool like Imagen is a massive advantage. Being able to promise a fast turnaround time is a huge selling point.
- Go the Extra Mile: A handwritten thank-you note or a follow-up email a few weeks after delivery can make a lasting impression.
What’s new in Imagen: Imagen is now an intelligent, agentic Studio for professional photographers, one project where you cull, edit, review and export in any order. For corporate headshots, your Personal AI Profile keeps tone and lighting consistent across a whole team session, and the built-in editor (Beta) lets you fine-tune a single headshot with manual sliders and a histogram without leaving the project. The Studio is rolling out gradually, so take a look at Imagen.
Conclusion
Business portrait photography is a dynamic and rewarding field. It’s a craft that blends technical lighting and camera skills with the very human art of connection and direction. It requires careful planning, a keen eye for detail, and a commitment to professionalism. In a competitive market, success often comes down to efficiency. By embracing tools that streamline your workflow, like the AI-powered culling and editing in Imagen’s new Studio, where you cull, edit and export in one project, you can free yourself from the most time-consuming parts of the job. This allows you to spend more time behind the lens, building your business, and doing what you love: creating powerful portraits that help your clients succeed.
Frequently Asked Questions
1. How do I help a client who is very nervous about having their picture taken?
Building rapport is key. Start the session with a casual conversation to help them relax. Give them clear, positive directions, and show them a few great shots on the back of your camera early on. Seeing a good result can boost their confidence immensely. Keep the energy light and encouraging throughout the shoot.
2. What’s the biggest mistake photographers make with business headshots?
One of the biggest mistakes is poor lighting. Harsh, unflattering shadows, or flat, boring light can ruin a portrait. Another common error is not directing the subject enough, resulting in stiff, awkward poses and expressions. Your job is to be both a technician and a director.
3. Can I really trust AI to edit in my personal style?
Yes, with a tool like Imagen’s Personal AI Profile, you can. Because it learns directly from your thousands of previously edited photos, it’s not applying a generic “look.” It’s applying your specific creative decisions. The ability to continuously Fine-Tune the profile with your latest work ensures it always stays true to your evolving style.
4. How much should I retouch a business portrait?
The goal is to look like the best version of yourself on a really good day. Retouching should be natural. This typically includes softening skin slightly, reducing blemishes, whitening teeth, and brightening eyes. Avoid over-smoothing skin to the point that it looks plastic or altering facial features. Tools like Imagen’s Smooth Skin are great because they are designed to look natural.
5. What’s the best way to light a subject who wears glasses to avoid glare?
Glare on glasses is a common challenge. The key is to raise your main light source higher and move it more to the side. You can also have the subject tilt their head down slightly or adjust the angle of their glasses. Feathering your light source (angling it so the edge of the light hits the subject) can also help reduce specular highlights.
6. How many photos should I deliver to a business portrait client?
This should be clearly defined in your package. For a standard headshot session, delivering 3-5 fully retouched images is common. For a more extensive personal branding session, you might deliver 20-30 images. It’s better to deliver a smaller number of perfectly polished photos than a large gallery of mediocre ones.
7. How does Imagen’s AI Culling handle situations with multiple people, like a team photo?
Imagen’s culling AI is sophisticated. It uses face recognition to identify subjects and can detect when eyes are closed. When grouping similar shots of a team, it helps you quickly see the best options where the most people look good, dramatically speeding up the selection process for these complex shots.
8. Do I need a studio to be a professional business portrait photographer?
No, you don’t. While a studio provides a controlled environment, many clients prefer environmental portraits shot at their office or another location. You can create professional results on-location with a portable lighting kit (a couple of strobes, stands, and modifiers). Being a versatile on-location photographer can be a major selling point.
9. How is using an Imagen Personal AI Profile different from just creating a Lightroom preset?
A preset applies the exact same set of adjustments to every photo, regardless of how it was shot. An Imagen Personal AI Profile is dynamic. It analyzes each photo individually and adjusts the settings (like exposure and white balance) based on that specific photo’s needs, all while adhering to your overall style. This results in far more accurate and consistent edits across a gallery with varying lighting conditions.
10. What’s a good way to organize files for a team headshot session for a large company?
Organization is critical. Before the shoot, get a list of all the employees you’ll be photographing. During the shoot, use a simple system to keep track of who is who—a small whiteboard with the person’s name that you photograph at the beginning of their session is a great method. When you import your photos, create a folder for the company and then subfolders for each individual, named clearly (e.g., “LastName_FirstName”).
11. Is it better to shoot tethered for business portraits?
Shooting tethered (connecting your camera to a laptop so images appear on a larger screen in real-time) can be a huge advantage. It allows you and the client to see the results instantly and make adjustments to posing, lighting, or wardrobe on the fly. This collaborative process can lead to a better final product and a happier client.
12. Can Imagen help if I shoot in different styles for different clients?
Absolutely. You can create multiple Personal AI Profiles. For instance, you could have one profile for your bright and airy “natural light” headshots and another for your more dramatic, studio-lit corporate portraits. You simply choose the appropriate profile for each project in the Imagen app.
13. What licensing rights should I give my clients for their business portraits?
For standard business portraits, it’s typical to grant the client a license for personal professional use. This includes use on their website, social media profiles (like LinkedIn), email signatures, and internal company materials. If they want to use the image for broader commercial advertising (like a billboard or a national magazine ad), that would typically require a separate, more expensive commercial license. Always have a clear contract that outlines the usage rights.