

Beginner Wedding Photo Editing for Engagement Sessions: Where to Start
Table of contents
- Why engagement sessions are the right place to learn
- Step one: cull before you edit anything
- Step two: set a global look before local touch-ups
- Step three: build repeatable color and tone consistency
- How Imagen fits into an engagement session workflow
- What to fix by hand versus what to batch
- Pricing and what to budget for editing tools as a beginner
- Common mistakes beginners make on their first engagement edit
- Building your turnaround time as a new photographer
- Frequently asked questions
If you just shot your first engagement session and you are staring at a folder of 400 to 800 RAW files with no idea where to begin, start with culling, then build one consistent look, then apply it to the whole set before you touch a single image one by one. Engagement sessions are the perfect place to learn wedding editing because the stakes are lower than a wedding day, the shoot is shorter, and the couple is usually relaxed and forgiving of a slightly slower turnaround.
The biggest mistake new photographers make is treating every photo as its own project, opening each file, adjusting sliders from scratch, and hoping the whole gallery looks like it belongs together. Wedding and engagement editing is fundamentally a batch problem, not a single-image problem. Once you separate the steps, decide what needs a global edit versus a local fix, and pick a repeatable workflow, an engagement session that felt overwhelming becomes a two or three hour job instead of a two week ordeal.
Why engagement sessions are the right place to learn
Engagement sessions are typically shot in one or two locations, often during a single hour of light, which means the lighting conditions repeat far more than they do across a full wedding day. That consistency is a gift for a beginner. You are not juggling harsh midday sun in the getting-ready room, warm string lights at the reception, and a dim church interior all in the same set. You are usually working with one location, one time of day, and one general mood, whether that is golden hour in a park or blue hour on a city rooftop.
Because the variables are limited, engagement sessions are ideal for building your first real editing style. Decide early whether you want warm and romantic tones, clean and neutral color, or moody and desaturated shadows. Whatever you choose, apply it consistently across the set. Couples remember the feeling of their gallery more than they remember any single frame, and a unified look is what creates that feeling.
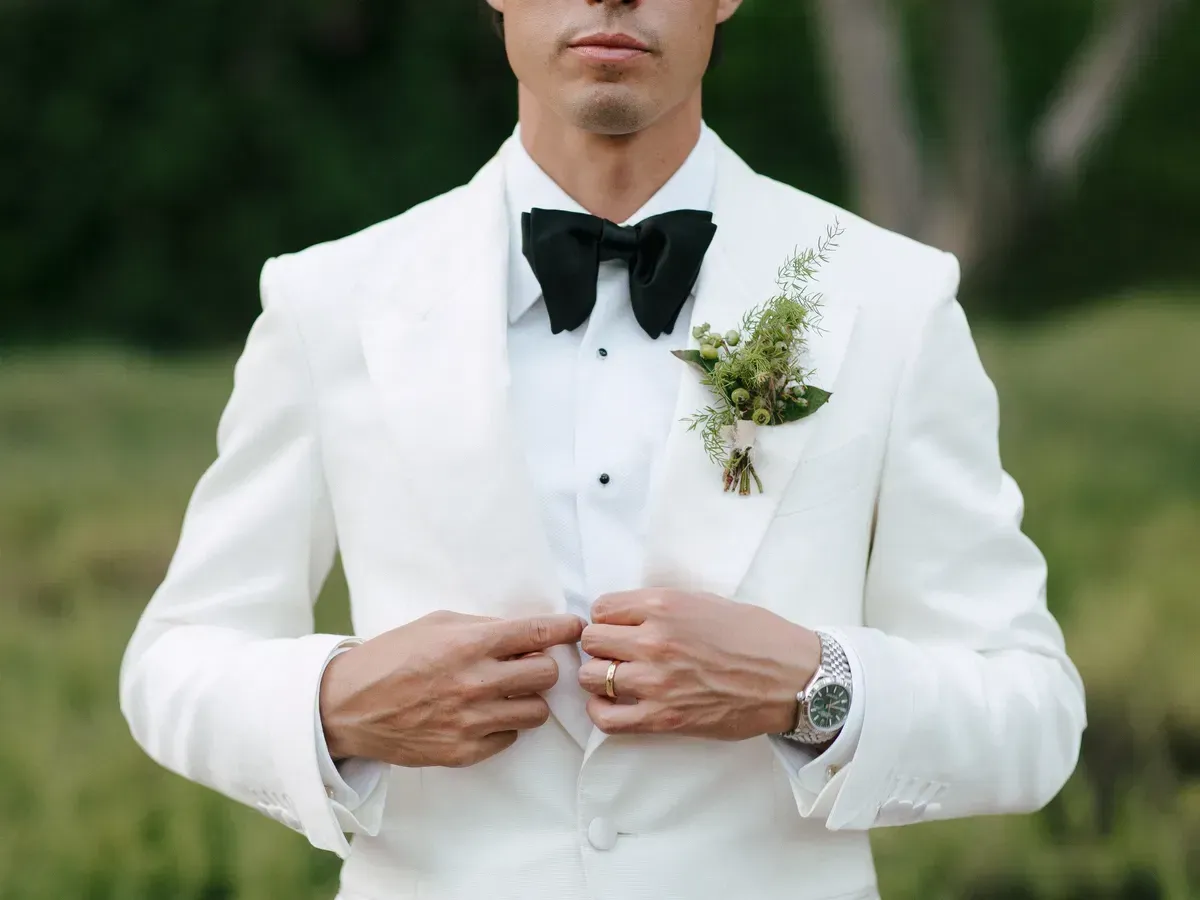
Step one: cull before you edit anything
Culling means picking your best frames and discarding duplicates, blinks, motion blur, and awkward expressions before you spend a single minute in your editor. Skipping this step is the single biggest time waster for new photographers, because it is common to burst through 15 near-identical frames of the same pose and then edit all 15 instead of the one or two that actually work.
A realistic culling target for a one hour engagement session is somewhere between 60 and 120 final images, pulled from several hundred captures. Work through the set once, marking clear rejects, then do a second lighter pass on what remains to pick your favorites from similar poses. Do not try to make this decision perfectly on the first pass. Speed matters more than precision here, because the real editing work has not even started yet.
Step two: set a global look before local touch-ups
Once you have your selects, resist the urge to jump straight into spot corrections. Start with a global adjustment, meaning exposure, white balance, contrast, and color grading applied to the whole image at once. This single pass should get every photo roughly 80 percent of the way to finished. Only after the global look is set should you move to local adjustments like brightening a face, dodging a shadow, or cleaning up a stray hair.
New editors often reverse this order. They zoom into one photo, perfect the skin tone and the shadows under the eyes, then move to the next photo and start from zero again. That approach means every image gets a slightly different interpretation of “correct,” and the gallery ends up looking inconsistent even if every individual photo looks fine in isolation. Setting the global look first and batching it across similar frames is what makes a gallery feel cohesive.
Step three: build repeatable color and tone consistency
Consistency across a shoot is not about making every photo identical. It is about making sure skin tones stay natural across the set, shadows do not swing from warm in one frame to cool in the next, and the overall mood holds steady from the first photo to the last. This is where most beginners plateau, because manually matching 80 photos to the same color and exposure baseline by eye is slow and easy to get slightly wrong.
This is exactly the kind of repetitive, whole-shoot problem that Imagen was built to solve. Imagen is a desktop AI photo editing tool that learns your personal editing style from a handful of edits you make yourself, then applies that same look consistently across an entire shoot. It works directly on RAW files, so you keep full flexibility for any later adjustments, and because the AI processing runs in the cloud there is little to configure before your first batch.
How Imagen fits into an engagement session workflow
A practical order for a beginner looks like this: cull your selects, edit a small handful of representative photos by hand to define your look, then let an AI style profile apply that same color and tone treatment across the rest of the set in one batch pass instead of repeating the same adjustments hundreds of times. For wedding and engagement work specifically, Imagen’s wedding ring photo editing tool is a useful example of this batch approach applied to a single recurring shot type, since ring detail shots show up in nearly every engagement and wedding gallery and benefit from the same consistent color and exposure treatment every time, and the new Studio lets you cull, edit and export that whole sequence in one project.
Imagen also handles culling as part of the same project, with AI culling or free manual culling, which means the first and third steps in this guide, picking your best frames and applying a consistent look, can live inside one project instead of two separate pieces of software. For a beginner still building speed, cutting out that handoff between a culling app and an editing app removes one more place where things slow down or go wrong.
What to fix by hand versus what to batch
Not every correction belongs in a global batch pass. Global tools are excellent for exposure, white balance, color grading, and overall contrast because those adjustments genuinely apply across most or all of the photos in a shoot. Local, image-specific problems still need individual attention. A stray flyaway hair, a wrinkle in a jacket, or a distracting object in the background of one particular frame is not something a batch tool should try to guess at.
For heavier fixes like removing an object from the background, smoothing skin in extreme close-ups, or correcting lens distortion on a wide architectural shot, plan on a dedicated retouching tool for that narrow task rather than expecting your batch editor to handle it. Keep the two categories separate in your head: broad, repeatable, whole-shoot adjustments go into your batch workflow, and narrow, single-image fixes get handled individually, only on the photos that actually need them.
Pricing and what to budget for editing tools as a beginner
If you are evaluating AI batch editing tools for the first time, understand how the pricing typically works before you commit to a workflow. Imagen’s pay as you go pairs a monthly base fee with a charge for the photos you export. For a 90-image engagement gallery, that puts the editing cost for the entire batch in a range that is easy to plan around per booking, rather than an open-ended hourly cost that grows the longer manual editing takes.
As a beginner, it is worth comparing that cost against the actual hours you would otherwise spend manually editing a full gallery one photo at a time. Time saved on repetitive batch edits is time you can reinvest in culling more carefully, spending more attention on the handful of hero images from each session, or simply taking on more bookings without extending your turnaround time.
Common mistakes beginners make on their first engagement edit
Over-editing is the most common early mistake. New editors often push saturation, contrast, and sharpening too far because the effect feels dramatic on a single image viewed alone. Viewed as part of a full gallery, over-processed images tend to feel inconsistent and heavy-handed next to more naturally treated frames. Build restraint into your process by comparing your edited photo side by side with the unedited RAW before finalizing it.
The second common mistake is inconsistent white balance across a session, especially when the light shifts as the sun sets during golden hour. Photos taken ten minutes apart can carry noticeably different color casts if you correct each one in isolation rather than as a connected sequence. Grouping similar-lighting photos together and adjusting them as a batch, rather than jumping around the timeline, helps keep the color temperature coherent from the first frame to the last.
Building your turnaround time as a new photographer
Clients booking engagement sessions are often first-time clients testing whether they want to book you for their wedding, so turnaround time matters more than it might seem. A one to two week delivery window for an engagement gallery is a reasonable target once your workflow is efficient. Getting there as a beginner means cutting steps that do not add value, not cutting corners on quality.
Track how long each stage of your workflow actually takes for a few sessions in a row: culling, global edits, local touch-ups, and export. Most new photographers find that global batch editing is where the most time disappears when done manually, and it is also the stage most easily compressed once a consistent style and a batch tool are in place. Shaving hours off that single stage often does more for your turnaround time than trying to speed up every step evenly.
What’s new in Imagen: A beginner can now cull, edit, review and export engagement galleries in one project, because Imagen has become an intelligent, agentic Studio for professional photographers that works in any order. Start with a ready-made AI Profile, apply more than one profile to a selected set of photos when you want to compare looks (that takes some processing time), and use the built-in editor (Beta) for quick manual tweaks. The Studio is rolling out gradually as a beta.
Frequently asked questions
How many photos should I deliver from an engagement session? Most photographers deliver between 60 and 120 final edited images from a one hour engagement session, though this varies with session length and shooting style. The goal is a gallery that tells a complete story without repeating near-identical poses, not hitting a specific number.
Should I edit engagement sessions differently than the wedding day itself? The core workflow, cull first, set a global look, then handle local fixes, stays the same. The main difference is that engagement sessions usually involve fewer lighting changes, so building a consistent color and tone treatment tends to be faster and more forgiving than a full wedding day with multiple venues and lighting setups.
What is the difference between global and local edits? A global edit applies to an entire image or a whole batch of similar images at once, things like exposure, white balance, and overall color grading. A local edit targets one specific area of one specific photo, like brightening a face or removing a distracting object from the background. Beginners get the most consistent results by handling global edits first, across the whole shoot, before moving to local fixes on individual images.
Do I need expensive software to start editing wedding and engagement photos? No. What matters more than the price of your software is having a repeatable process: cull deliberately, define one consistent look, and apply it across the shoot rather than editing every photo from scratch. AI batch tools like Imagen, which does its AI processing in the cloud and lets you explore its tools for free before you pay on export, can replace a large chunk of manual batch editing time without requiring you to buy or learn a full desktop editing suite up front.
