

Building a Faster Client Photo Delivery Workflow for Food Photographers
Table of contents
- Why delivery speed matters more in food photography
- Step one: a clean ingest and immediate backup
- Step two: cull fast and cull once
- Step three: batch style and grade for menu and brand consistency
- Step four: handle the specialty edits without slowing the batch
- Step five: export with the right specs for every destination
- Step six: build the gallery and send the share link
- Step seven: run revisions and archive cleanly
- Frequently asked questions
The fastest way to deliver a food shoot is to remove the two bottlenecks that eat most of your evening: culling hundreds of near-identical plate variations, and hand-editing every frame for consistent color and tone. A modern workflow front-loads a clean ingest, hands the repetitive editing to AI batch tools that learn your look, and ends with a ready-to-share gallery link. Done well, a full menu or brand shoot can be graded, exported, and delivered by the next morning instead of days later.
This guide walks the whole pipeline end to end for food photographers: ingest and backup, culling, batch style and grade for menu and brand consistency, export specs for print, web, and delivery apps, gallery build, the share link, and revision rounds. The goal is a repeatable system you can run after every restaurant, cookbook, or product shoot so clients get their images while the dishes are still fresh in everyone’s mind.
Why delivery speed matters more in food photography
Food clients work on tight publishing calendars. A restaurant wants menu images live before the new seasonal dishes launch. A brand needs hero shots for a product page or an ad set with a fixed go-date. A recipe developer or magazine has a layout deadline that will not move for you. When your turnaround is slow, you become the blocker in someone else’s schedule, and that is the fastest way to lose repeat bookings.
Speed also protects the look of the work. Food styling is perishable. The garnish wilts, the sauce sets, the ice cream melts, and the memory of how the plate was meant to read fades within a day or two. Delivering while the art director still remembers the intent means fewer confused revision requests and cleaner sign-off. A faster workflow is not about rushing the craft. It is about spending your hours on the decisions that need a human, and letting software handle the mechanical work in between.
Step one: a clean ingest and immediate backup
Every fast delivery starts with a boring, disciplined import. Pull your cards into a dated, clearly named folder using a consistent structure, for example client, then shoot date, then a short job name. Rename files on import so a plate never gets confused with a detail shot later. The naming you set here follows the image all the way to the client, so a little care now saves confusion at the gallery stage.
Back up before you touch a single frame. The simplest reliable rule is to keep the images in two places at once, a working drive and a second copy, before you format any card. Food shoots are often impossible to reshoot on the same terms, since the kitchen, the stylist, and the fresh ingredients were all booked for that one window. Treat the original RAW files as the master you never overwrite, and do all of your editing on top of them non-destructively.
Step two: cull fast and cull once
Food shoots generate a lot of very similar frames. You bracket a hero plate, nudge a prop, wait for steam, and shoot the same composition ten times to get one clean moment. Culling that down is where hours quietly disappear, so the trick is to make one confident pass rather than three timid ones.
Work in rounds. First pass, reject anything technically broken: soft focus on the point of interest, a blown highlight on the sauce, a distracting reflection, or a shifted prop. Second pass, pick the single best frame from each cluster of near-duplicates. Resist the urge to keep two “just in case,” because every extra frame you carry forward multiplies the editing and review work behind it. AI culling can take the first pass off your plate by grouping similar shots and flagging the sharpest, best-exposed frame in each group, so you review selects rather than hunting through the whole take.
Step three: batch style and grade for menu and brand consistency
This is the heart of a fast food workflow and the stage that makes or breaks consistency. A restaurant menu that mixes warm, golden frames with cool, flat ones looks careless, even if each image is fine on its own. Your job is to make thirty dishes look like they belong to one visual world: consistent white balance, consistent contrast, a repeatable approach to how the food reads appetizing under your lighting.
The old way was to nail one hero edit and then hand-sync settings across the rest, tweaking each frame because the lighting drifted between setups. That works, but it is slow, and it gets slower the larger the shoot. The faster path is to apply a consistent grade across the entire take in one batch pass, then spend your human attention only on the few frames that need individual care, like a dish with a tricky reflective glaze or a mixed-lighting corner of the table.
How Imagen fits the batch editing step
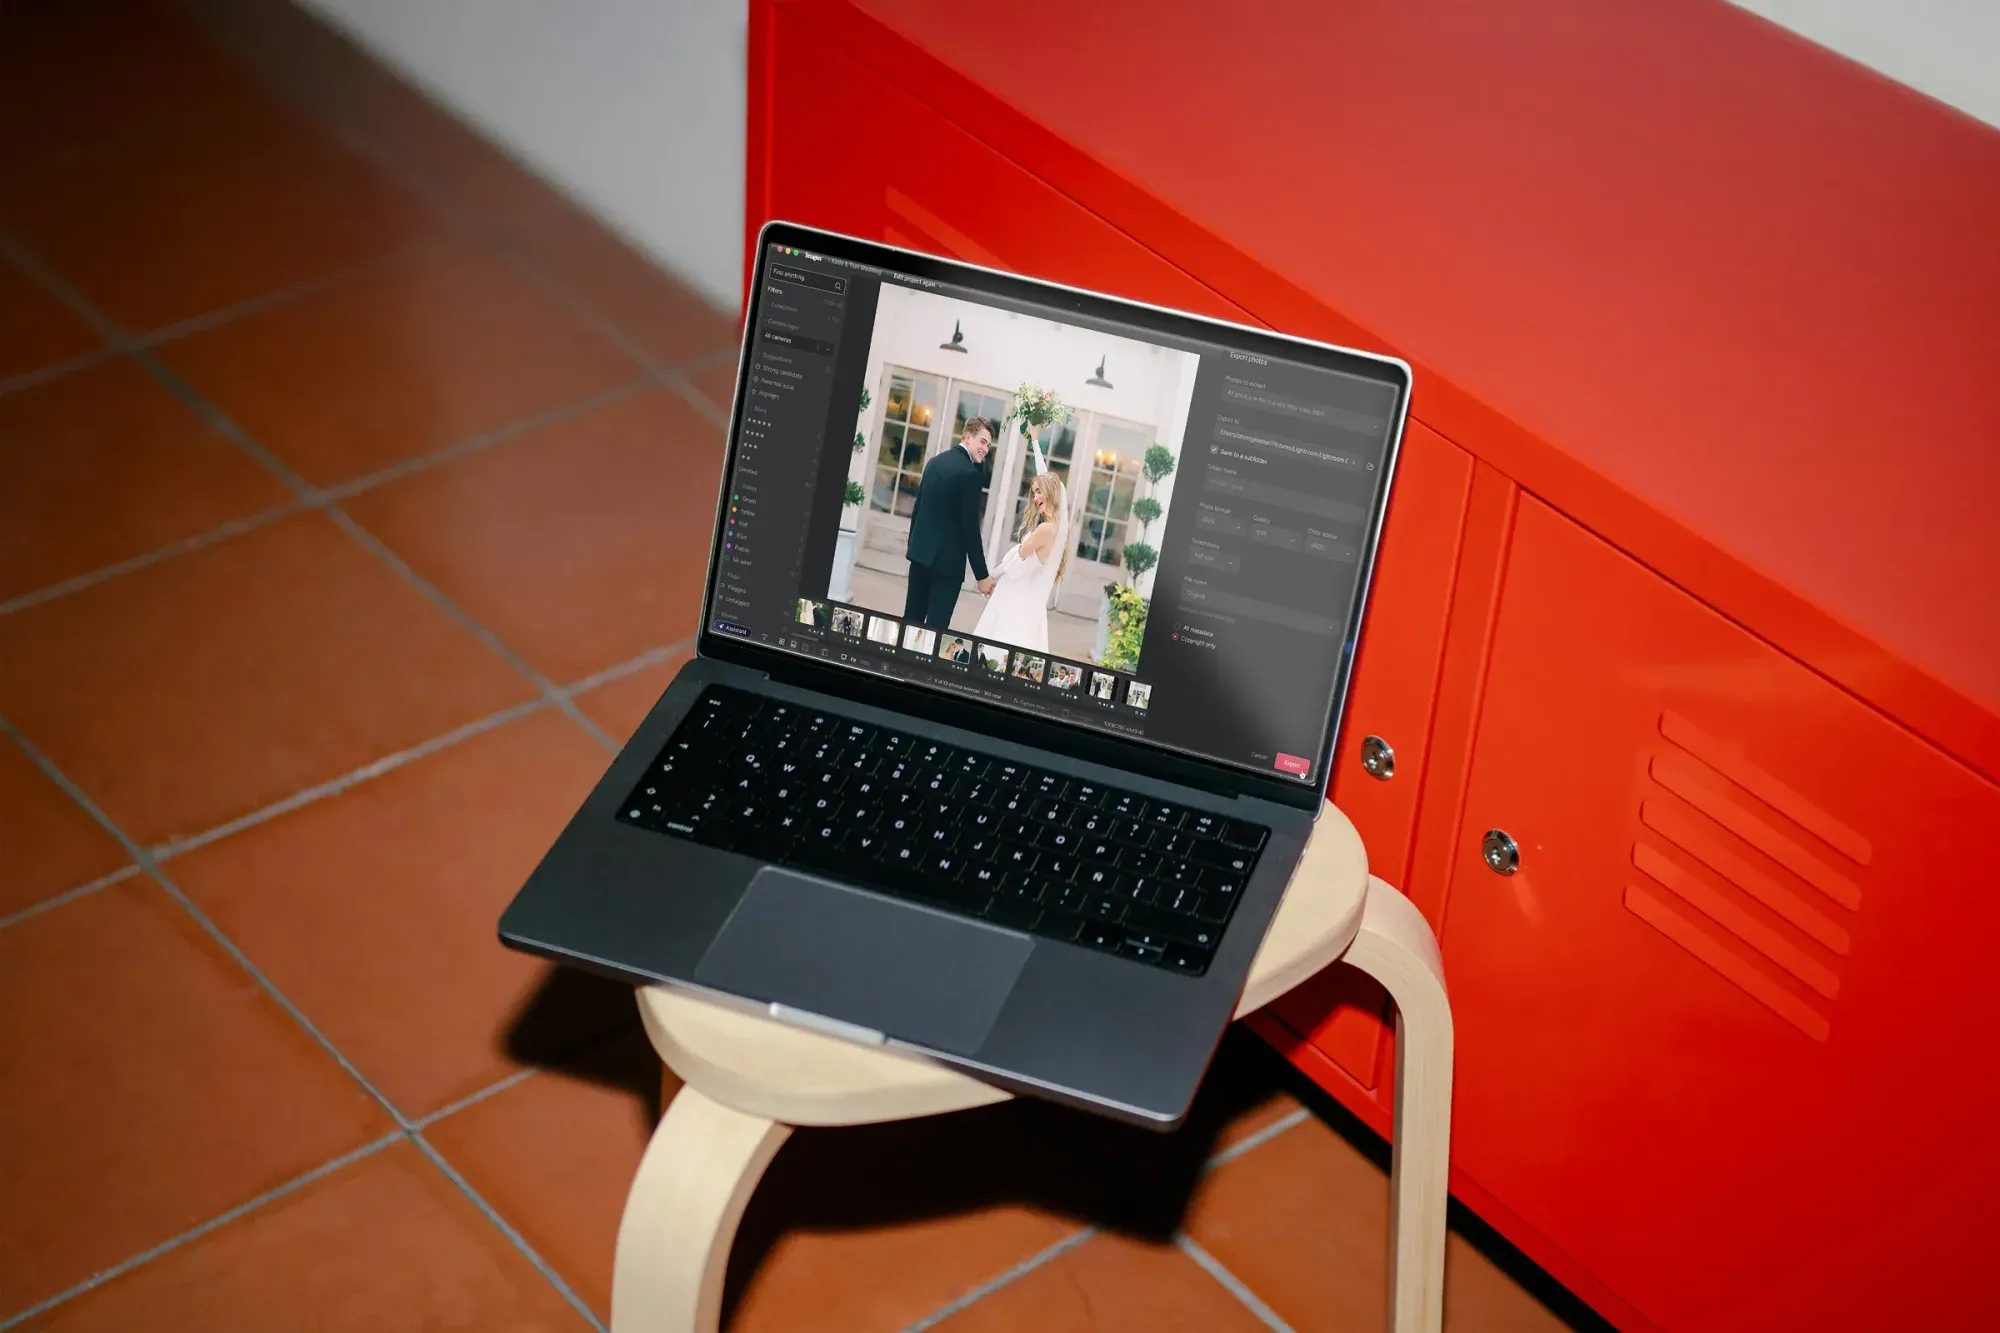
This is where an AI batch editor removes the bottleneck. Imagen’s macOS photo editor built for 9am delivery learns your personal editing style from your own past edits, then applies that look consistently across an entire food shoot in one pass. Because it builds a personal AI profile from how you actually edit, the output matches your taste for how a plate should read, not a generic preset, and it holds that grade steady across every frame so the menu feels coherent.
It is a desktop app for Mac and Windows with cloud processing, editing your RAW files non-destructively, so you keep full control to fine-tune any frame afterward in the built-in editor (Beta). On pricing, editing is pay-as-you-go, so exploring the tools is free and you pay for what you export, which makes the cost of a large menu shoot predictable up front. The practical win for delivery speed is simple: the grade that used to hold up your evening now happens while you make coffee, and you arrive at export with a consistent, finished set instead of a folder of raw selects. You can start from the Imagen homepage, try the new Studio, where you cull, edit and export in one project, and set up your first profile.
Step four: handle the specialty edits without slowing the batch
Some food images need work that is not part of a color grade, and the mistake is letting those few frames stall the whole delivery. Keep them in a separate lane. If a hero shot needs a stray crumb removed, a background object taken out, or a composited element blended in, route that single frame to a dedicated retouching tool and let the rest of the shoot move forward. The same goes for heavy geometry or perspective correction on an architectural table-scape, or true bracket-merging when a scene’s dynamic range genuinely needs exposure blending, which belongs in a dedicated tool built for that step.
The principle is separation. Batch editing gives you a consistent, delivered-ready set for ninety percent of the take. The handful of frames that need surgical retouching get their own short queue and rejoin the gallery when they are done. Mixing the two, and trying to hand-finish everything before you deliver anything, is the single most common reason food shoots ship late.
Step five: export with the right specs for every destination
Food images rarely go to just one place, and exporting the wrong file for the destination creates a second round of work. Plan your export presets once and reuse them on every job. A typical food delivery needs three flavors at minimum.
- Print: full-resolution files, usually TIFF or high-quality JPEG, in the color space your printer or publication requests, sized for menus, packaging, or editorial layouts. Get the target requirements from the client before you export, not after.
- Web and social: right-sized JPEGs in sRGB, compressed for fast page loads, with sensible dimensions for a product page, a menu site, or an ordering app tile. Oversized web files slow the client’s site and waste your upload time.
- Delivery and ordering apps: many food-delivery and reservation platforms have strict aspect ratios and file-size caps. Build a preset that matches those specs so the client can upload straight from your gallery without re-cropping.
Because your batch edit already produced a consistent set, exporting these variants is a one-click operation rather than a per-image chore. Save the presets with clear names and you never think about pixel dimensions again mid-delivery.
Step six: build the gallery and send the share link
The delivery itself should be effortless for the client. Upload the finished set to a gallery your client can view, favorite from, and download without creating friction. Organize it the way the client thinks, for example by dish, by course, or by campaign, rather than by your file numbers. Label images with the dish names when you can, so the art director is not guessing which file is the burrata.
Send a single, clear share link with a short note: what is included, which resolution is where, and how to request a change. A clean gallery link does double duty. It delivers the work, and it quietly demonstrates that you run an organized, professional operation, which is exactly what earns the next booking. Keep the link and its access settings tidy so the client is not hunting for a download button.
Step seven: run revisions and archive cleanly
Even a fast workflow needs a revision path, and a defined one keeps a single tweak from spiraling into a week of email. Ask clients to collect all their notes into one round rather than sending changes piecemeal. When notes come in, handle global changes, like a warmer overall grade, as another quick batch pass, and handle single-frame requests individually. Because your original edits were non-destructive on top of the RAW masters, adjustments are fast and never degrade the files.
When the job is signed off, archive it properly: the RAW masters, your final edit settings, and the delivered exports, in a structure you can find a year from now when the client comes back for a reprint or a matching new dish. A tidy archive is part of a fast workflow, because the fastest reshoot is the one you do not have to do. For related reading, see our guides on culling large shoots and building consistent color across a brand’s image library.
What’s new in Imagen: Imagen now works as an intelligent, agentic Studio for professional photographers, so culling, editing, review and export share one project and can happen in any order. For food work, start from a ready-made AI Profile or your Personal AI Profile, and edited photos arrive in batches as they process, so you can review early dishes while the rest finish. The Studio is rolling out gradually as a beta.
Frequently asked questions
How long should food photo delivery actually take?
For most restaurant, product, or editorial food shoots, a same-day or next-morning delivery is realistic once you batch the editing rather than hand-editing every frame. The variable is not the number of images, it is how much of the grade is automated. When a consistent look is applied across the whole take in one pass, culling and review become the only manual steps, and a full menu shoot can be graded, exported, and shared by the next morning.
How do I keep thirty dishes looking consistent?
Consistency comes from applying one editing approach across the entire shoot instead of editing each frame from scratch. Lock your white balance and contrast intent, then grade the full take in a single batch pass so every plate shares the same color and tone. An AI editor that learns your personal style is built for exactly this, since it holds your look steady across every frame while still letting you fine-tune the few images that need individual attention.
What export files do food clients usually need?
Plan for three destinations. Print needs full-resolution files in the requested color space for menus, packaging, or editorial. Web and social need right-sized sRGB JPEGs compressed for fast loading. Food-delivery and ordering apps often have strict aspect ratios and file-size caps, so build a preset that matches them. Confirm the exact specs with the client before exporting, and save the presets so future jobs are one click.
Should I retouch every image before delivering?
No. Batch the color and tone across the whole shoot to get a delivery-ready set quickly, and keep specialty work in a separate lane. Frames that need object removal, compositing, heavy perspective correction, or true exposure blending go to a dedicated retouching tool and rejoin the gallery when finished. Trying to hand-finish every frame before delivering anything is the most common reason food shoots ship late.
