
Unlock FREE AI Color Grading with Imagen Video for Adobe Premiere!
Discover how to simplify your color grading process using the FREE beta version of Imagen Video for Adobe Premiere. In just three steps, you'll learn how this innovative tool can enhance your footage while saving you time and effort!
Transcript
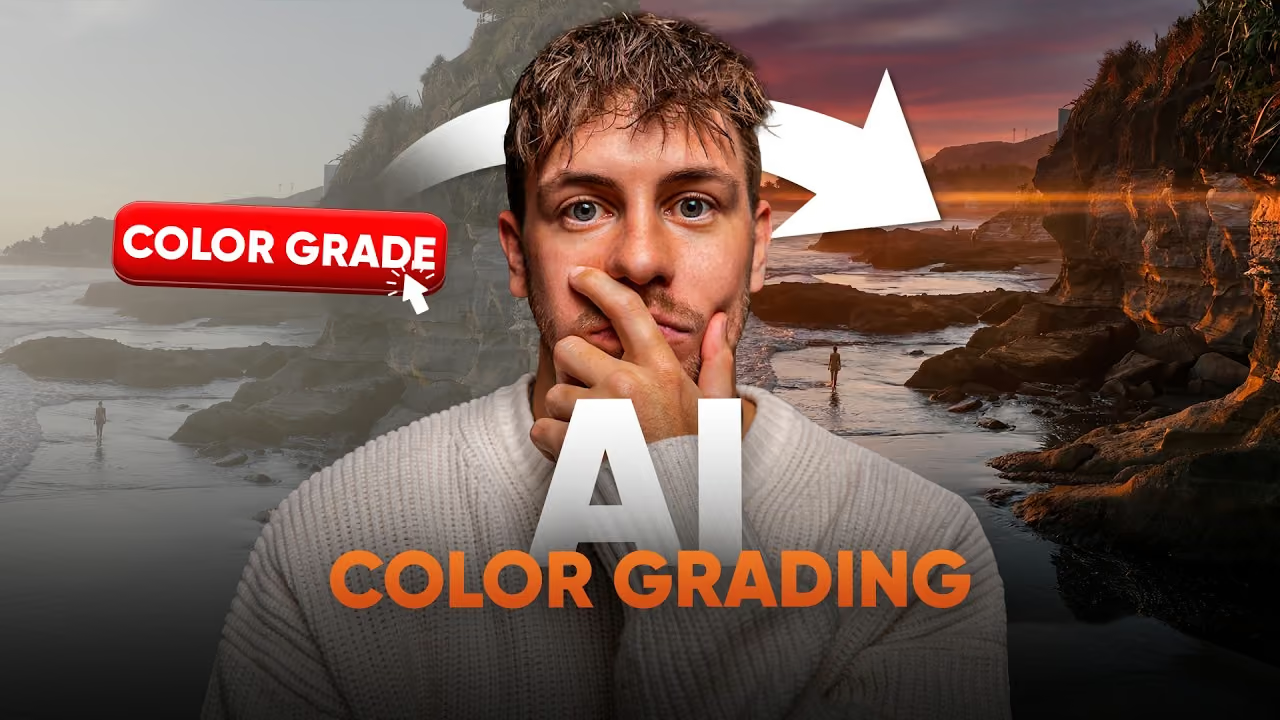
This has been fully color graded with a free AI tool in Adobe Premiere. It’s called Imagen Video and it currently is in its free beta version. So, make sure to grab it with the link down below as long as you can.
Step 1: Getting Started
Today I will show you in three simple steps how AI will not steal your color grading job, but will support you in it. It’s available for Mac OS and Windows. So, let’s get right into it.
Step one starts in Adobe Premiere. And I’m so excited to show you this tool because it’s just such a timesaver. I have a variety of footage. This right here is DJI Mavic 4 Pro footage from El Salvador, some shot on the zoom lens, some shot on the normal lens. Then, we’ve got footage of the DJI Mini 5 Pro and a few clips that are vertical just to try it.
So, we’ve got DJI Mini 5 Pro clips and also Lumix S1 M I clips. With all these clips, I’m going to show you how it works, and our goal is to let AI color grade all of them for free. The Mavic 4 Pro footage is in DLOG, Mini 5 Pro is in DLOG M, and Panasonic Lumix is in VLOG.
Step 2: Uploading Your Footage
Let’s see how that works. We first need a Premiere Pro project with all the clips we want to color grade. Let’s save the project and close it.
The next step is to open up Imagen Video. As you can see, it’s currently in beta. What we have to do first is create a project and choose a type for our project. I mainly choose documentary because for me, it’s mainly travel footage, but you have lots of options.
There are two options for the AI color grading: First, we could let AI color grade all of our clips without giving any input by choosing a style, a predefined preset or style that we like. Alternatively, we can use our own LUTs, and I’ve linked down below some free LUTs for you to try this feature together with me.
We’ve got technical LUTs which transform DLOG M for example to Rec 709. This is cool if you use flat color profiles. We can also add a creative LUT or do both, which is what I do most of the time.
First, we choose a project by browsing. You’ll see all the sequences in this project. Select the sequence you want to color grade, go to the next step, and upload our technical LUTs.
As mentioned, there are links in the description for free conversion LUTs. I’ll simply drag and drop my LUTs for Mavic 4 Pro, Mini 4 Pro, and VLOG. Now we just upload the LUTs and inform Imagen Video about which clips need which technical LUT.
It’s best to sort your footage in your Windows Explorer or Mac OS Finder by camera as all clips auto-list by their folder. Assign each footage to its relevant LUT, and if you have footage in the normal color profile, simply press ‘no LUT’ and assign.
Step 3: Reviewing AI Color Grading
Next is to add the creative LUT, which I’ve also linked down below. You can grab one free LUT which is my signature LUT, part of a bundle of six LUTs I’ve used for the past two years. All we have to do now is press ‘correct color’ and wait.
What does Imagen Video do? Imagen will upload your footage, but not in full resolution. Don’t worry; it won’t take hours. It uses Adobe Media Encoder to compress your files. First, it will upload your project footage and then color correct and grade them. Once that’s finished, you will get either an email or can find it under projects. That’s step three.
Now it’s time to review what the AI color grade looks like. I have already color graded this project before. So, all you have to do is press ‘review’ in Premiere and then again press ‘review’ in Premiere. And it will tell you, did it work? It worked! Download completed!
We’ve got 24 color-corrected clips. You don’t download new video files; you get the Lumetri color automatically implemented into your Premiere Pro project in every clip.
As you can see in the first clip, look at the before and after. It’s so close to how I would have color graded this clip myself. Without Imagen Video, my process would have needed one adjustment layer with color correction and a conversion LUT. The biggest effort here would be the color correction that Imagen did on its own.
I would still fine-tune it, but that’s super simple. On basic correction, you’ve got the input Lumetri added. To maintain full quality, avoid exposure adjustments or color correction fine-tuning here. Instead, just add another Lumetri color effect above the old one for slight adjustments.
Now, let’s check out some more clips. You can definitely tell the colors are much better. Look at this! It’s a huge difference, and I would just adjust the shadows, highlights, and perhaps add some saturation.
This shot of the surfers, again, I’m impressed; AI handled the technical and creative LUTs beautifully! Just imagine the time saved in big projects: upload to Imagen overnight, and in the morning, you have a color-graded project.
Color grading and sorting the best clips are the two most time-consuming parts of my editing workflow. With this tool, I can still define my own style while letting AI do the heavy lifting.
Right now, you can use it for free with the link below. Happy editing!
More suggestions just for you

Wedding Photographers Conquer the Food Photography Challenge in 15 Minutes!
Join top Canadian wedding photographers Kim and Gary Evans as they face a thrilling 15-minute food photography challenge in a Las Vegas bar. Watch as they capture the beauty of an overflowing truffle explosion burger while navigating creativity and time constraints.
How to Choose Your First AI Profile in Imagen: A Step-by-Step Guide
In this tutorial, learn how to select your first AI profile in the Imagen app to enhance your photo editing experience. Discover three options for building your profile: a light personal AI profile, profiles from the showcase, and profiles from the shop.

Getting Started with Imagen: Your Ultimate Tutorial for Smooth Photo Editing
Welcome to your essential guide for starting with Imagen, the AI-powered photo editing software that streamlines your workflow. In this tutorial, Orly, your guide and customer support specialist, will walk you through the app's interface and incredible features designed to enhance your editing experience.
Create Stunning Photos in One Room: Two Unique Shoots with Jeff Chang
Join photographer Jeff Chang as he transforms the same space into two incredibly distinct photo shoots with the same couple. Discover how to harness the environment to create unique vibes and meaningful moments behind the camera.
