

How to Do Editing Consistency for Concert Photographers: A Step-by-Step Guide
Table of contents
- How to Do Editing Consistency for Concert Photographers: Step-by-Step Guide
- Why Concert Lighting Breaks Editing Consistency
- Step 1: Shoot With Consistency in Mind
- Step 2: Cull Before You Edit
- Step 3: Build One Base Edit as Your Reference Look
- Step 4: Group Images by Lighting Scene, Not by Song
- Step 5: Apply Your Look Consistently Across the Whole Gallery
- Step 6: Spot-Check Outliers and Fine-Tune
- Step 7: Build a Repeatable Workflow for Every Show
- Keeping Multiple Shooters Consistent on the Same Show
- How Editing Consistency Affects Delivery Speed
- Common Editing Consistency Mistakes to Avoid
- Frequently asked questions
How to Do Editing Consistency for Concert Photographers: Step-by-Step Guide
Editing consistency for concert photographers comes from building one repeatable process, not from adjusting each photo on its own. That means picking a reference look before you touch a single image, grouping shots by lighting scene rather than by song order, and applying the same color and tone treatment across the whole gallery so every frame reads as part of one cohesive set, even when the stage lighting shifted every few seconds.
The reason concert galleries so often look disjointed is simple: stage lighting is the least stable variable in photography. A guitarist lit in blue during the verse can be washed in red by the chorus, and a single set might swing through a dozen color temperatures in twenty minutes. Chasing each of those changes photo by photo invites drift. The fix is a workflow that locks in a house style early, then applies it methodically. Below is a step-by-step approach that keeps a full show, and an entire tour, looking like one artist’s work.
Why Concert Lighting Breaks Editing Consistency
Most editing inconsistency in live music photography starts at the light source. Colored gels, moving LED PARs, haze, strobes, and spotlights all shift hue and intensity from one moment to the next, and your camera’s white balance is reacting in real time along with them. Two frames shot seconds apart, of the same performer, can come out of the camera with completely different color casts and exposure values. If you edit each photo in isolation, chasing what looks “right” for that single frame, you end up with a gallery where skin tones, backgrounds, and mood all bounce around unpredictably. Consistency requires treating the lighting as a variable to plan around, not a surprise to react to after the fact.
Step 1: Shoot With Consistency in Mind
Editing consistency starts on the shoot floor. Lock your white balance to a fixed Kelvin value instead of leaving it on auto, since auto white balance will hunt and change with every lighting cue, making your files harder to align later. Always shoot RAW so you retain the latitude to correct color and exposure without banding or crushed shadows. Expose for the highlights, since blown-out stage lights are unrecoverable while shadow detail in RAW can usually be lifted. As you shoot, mentally note the lighting changes between songs. A quick glance at your camera’s histogram between sets helps you catch exposure drift before it becomes a bigger fix in post.
Step 2: Cull Before You Edit
Culling comes before color work, not after. Concert photography produces a high ratio of unusable frames: blinks, motion blur from headbanging or jumping, awkward mid-expression shots, and near duplicates from burst mode. Sorting these out first means your editing time and consistency effort go only into the images you will actually deliver. As you cull, group the survivors loosely by lighting scene, meaning by the dominant color and intensity of the stage light in each frame, rather than strictly by chronological song order. This grouping becomes the foundation for the batch adjustments in the next steps, since photos under similar lighting need similar corrections.
Step 3: Build One Base Edit as Your Reference Look
Pick one strong, representative image from the set and develop it fully. This is your reference look, the color grade, contrast curve, black point, and tone treatment that will define the rest of the gallery. Pay close attention to skin tones under colored stage light, since red or purple gels can push faces toward unnatural hues if you correct too aggressively or not enough. Decide how moody versus how neutral you want the final look, and commit to it. This single edit becomes the “sound” of the shoot, the reference every other image gets measured and matched against as you move through the rest of the gallery.
Step 4: Group Images by Lighting Scene, Not by Song
Once your reference look exists, organize your keepers into clusters based on lighting condition, warm wash, cool wash, strobe-heavy, near-silhouette, and so on, instead of by the order songs were performed. Two photos from completely different songs might share nearly identical lighting and need the same correction, while two photos from the same song under a lighting change might need very different treatment. Working scene by scene, rather than song by song, means your batch adjustments actually match the light each photo was shot under, which is the core of consistent results across a full concert gallery.
Step 5: Apply Your Look Consistently Across the Whole Gallery
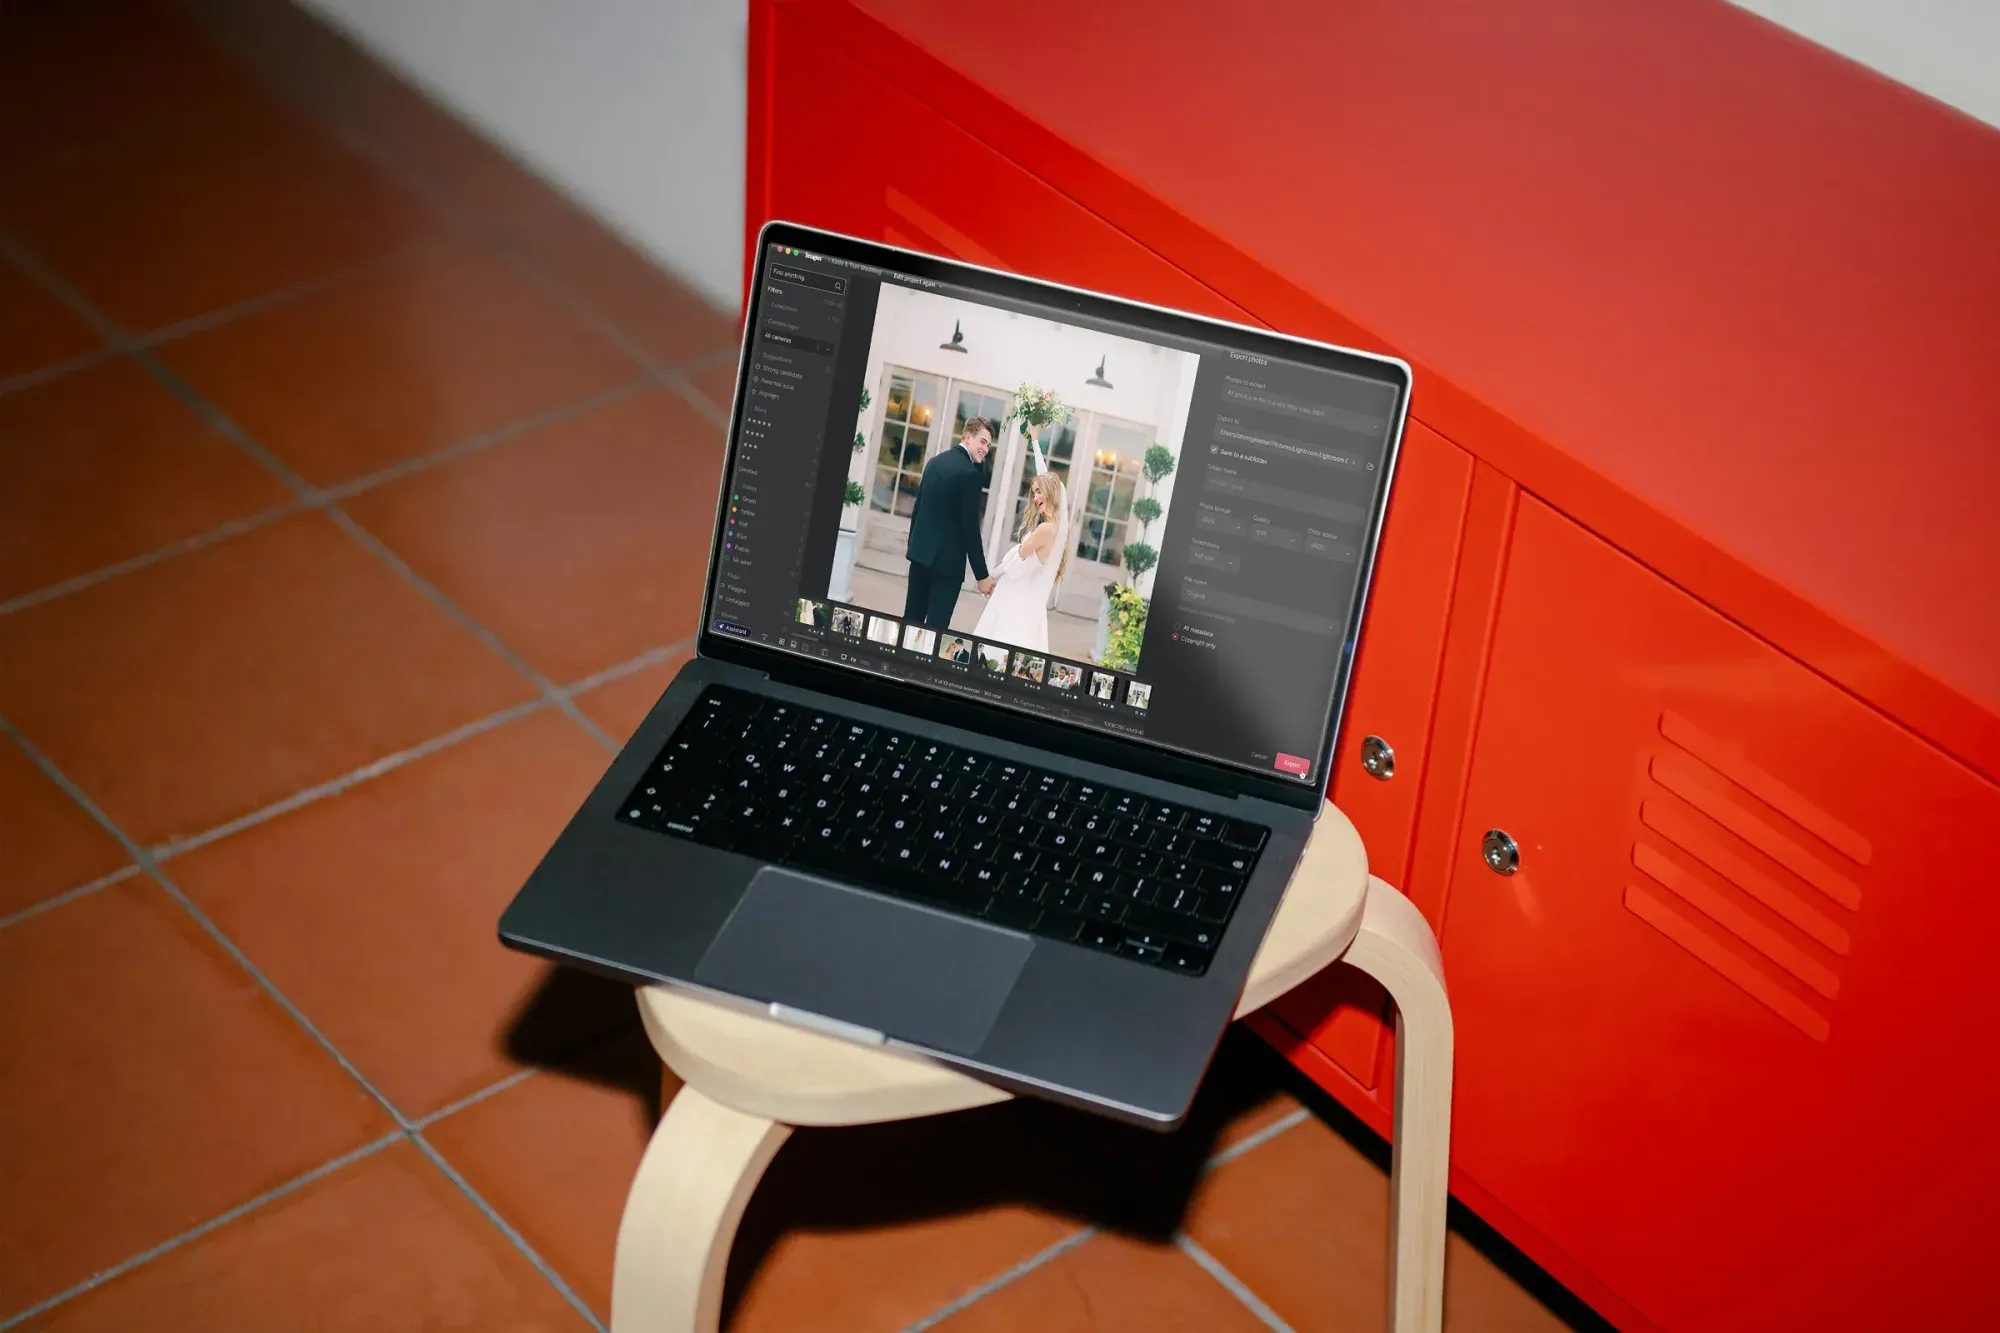
This is the step where most photographers either lock in consistency or lose it. Manually re-creating your reference edit on every remaining photo, one at a time, is slow and invites drift, since even small, unintentional variations compound across hundreds of images. This is where Imagen’s personal AI style profile helps. Imagen learns the editing style from your reference edit, or lets you turn your existing presets into an AI profile, and then applies that exact look consistently across the entire shoot, and shoot to shoot for future concerts, through Imagen’s AI batch photo editing, alongside AI culling to help clear out weak frames faster. With pay as you go pricing you pay for the photos you export, and exploring the tools is free, so you can try them on a whole shoot and pay when photos leave Imagen. Edited photos also arrive in batches as they process, so you can begin spot-checking early frames while the rest finish. The result is a gallery where your established color and tone treatment carries through every lighting scene without you re-deriving it image by image.
Step 6: Spot-Check Outliers and Fine-Tune
No batch pass, however consistent, handles every extreme lighting moment perfectly. After applying your look across the gallery, review the frames shot during strobe bursts, total blackouts, or unusually saturated color washes. These are the outliers most likely to need an individual nudge, a touch more shadow recovery, a small white balance shift, or a slight exposure correction, on top of the base treatment. Keep these fine-tunes minor and true to your reference look rather than starting a fresh edit from scratch, since the goal is refinement within the established style, not a departure from it.
Step 7: Build a Repeatable Workflow for Every Show
True editing consistency is not about one gallery looking cohesive. It is about every show you shoot for a band, venue, or festival looking like it belongs to the same body of work. Save your reference look and your grouping process as a repeatable routine you apply to every new set: shoot with a locked approach, cull first, group by lighting scene, apply your saved style, then spot-check. Carrying the same personal AI profile from show to show means a band’s full tour archive, or a venue’s ongoing photo library, reads as one continuous visual identity rather than a series of disconnected edits. It also speeds up delivery, since photographers and outlets working under tight post-show turnaround windows benefit when the heavy batch work is handled quickly rather than frame by frame.
Keeping Multiple Shooters Consistent on the Same Show
Larger festivals and tours often have more than one photographer covering the same stage across different nights or different sets. When that happens, consistency has to extend beyond one person’s habits to a shared reference standard everyone edits against. Start by agreeing on the same base look, the same contrast and color philosophy, before the tour begins, and share that reference edit as a file everyone can compare against rather than describing it verbally. Each photographer can still shoot their own frames, but keeping the final color and tone treatment aligned to one shared style profile means a client scrolling through a combined gallery from three different photographers should not be able to tell where one shooter’s work ends and another’s begins. A shared, saved profile applied consistently across contributors removes most of the guesswork that verbal style guides leave behind.
How Editing Consistency Affects Delivery Speed
Consistency and turnaround time are closely linked, even though photographers often treat them as separate goals. A gallery edited frame by frame, with each photo re-judged individually, takes far longer to finish than one processed against an established reference look, and it is also more likely to show small inconsistencies that a client or publication will notice. Press outlets covering a concert often need a select gallery within hours, not days, and management or record labels reviewing tour photography expect a unified look delivered on a predictable schedule. Locking in your reference edit and your grouping method before you start the bulk of the work means the editing phase becomes faster precisely because you are applying a known treatment rather than making hundreds of separate creative decisions under time pressure.
Common Editing Consistency Mistakes to Avoid
A few habits quietly undermine consistency even when photographers think they are being careful. Relying entirely on camera auto white balance without a fixed reference invites color drift you will fight all the way through post. Editing photo by photo without first committing to a reference look means your definition of “correct” quietly shifts as you work through the set. Skipping the cull step and editing everything, including unusable frames, wastes time that should go toward refining the keepers. Treating every lighting change as a reason to redesign your color grade from scratch, rather than applying small corrections on top of your base look, is another common trap. Working from a different monitor or lighting environment between editing sessions, without checking calibration, can also quietly shift how your reference look reads from one session to the next. For adjustments genuinely outside editing, like removing unwanted objects from a stage backdrop, correcting lens distortion, or merging bracketed exposures for a true HDR venue shot, a dedicated tool built for that specific task is usually a better fit than trying to force it into your color workflow. If you want a fast way to see how a consistent, learned style applies across a full gallery, Imagen’s website walks through the process from upload to delivery and introduces the new Studio, where you cull, edit and export in one project.
What’s new in Imagen: Imagen is now an intelligent, agentic Studio for professional photographers, where you cull, edit, review and export in one project, in any order, which suits a show-night routine. Cull with AI or by hand for free, apply your Personal AI Profile to the keepers, and review the results before you export. The Studio is rolling out gradually.
Frequently asked questions
How do I keep concert photo colors consistent when the stage lighting keeps changing? Build one reference edit from a representative photo, group the rest of your images by lighting scene rather than by song, and apply that reference treatment to each group. Fixing your white balance in camera, rather than leaving it on auto, also reduces how much correction each group needs in the first place.
Should I cull before or after editing a concert gallery? Cull first. Removing blurry, duplicate, or unusable frames before you start color work means your editing and consistency effort only goes into the images you plan to deliver, which saves time and keeps your final gallery tighter.
Can I apply the same edited look across an entire tour, not just one show? Yes. Saving your reference look as a reusable profile, rather than recreating it from memory each time, is what lets a personal style carry consistently from one concert to the next. An AI style profile that learns your editing approach can apply that same look across many shoots automatically.
What should I do with photos from extreme lighting moments, like strobes or blackouts? Handle these as individual spot-checks after your main batch pass, not as the basis for your overall reference look. A small, targeted adjustment on top of your established style usually works better than building your entire edit around the most unusual lighting moment in the set.
