
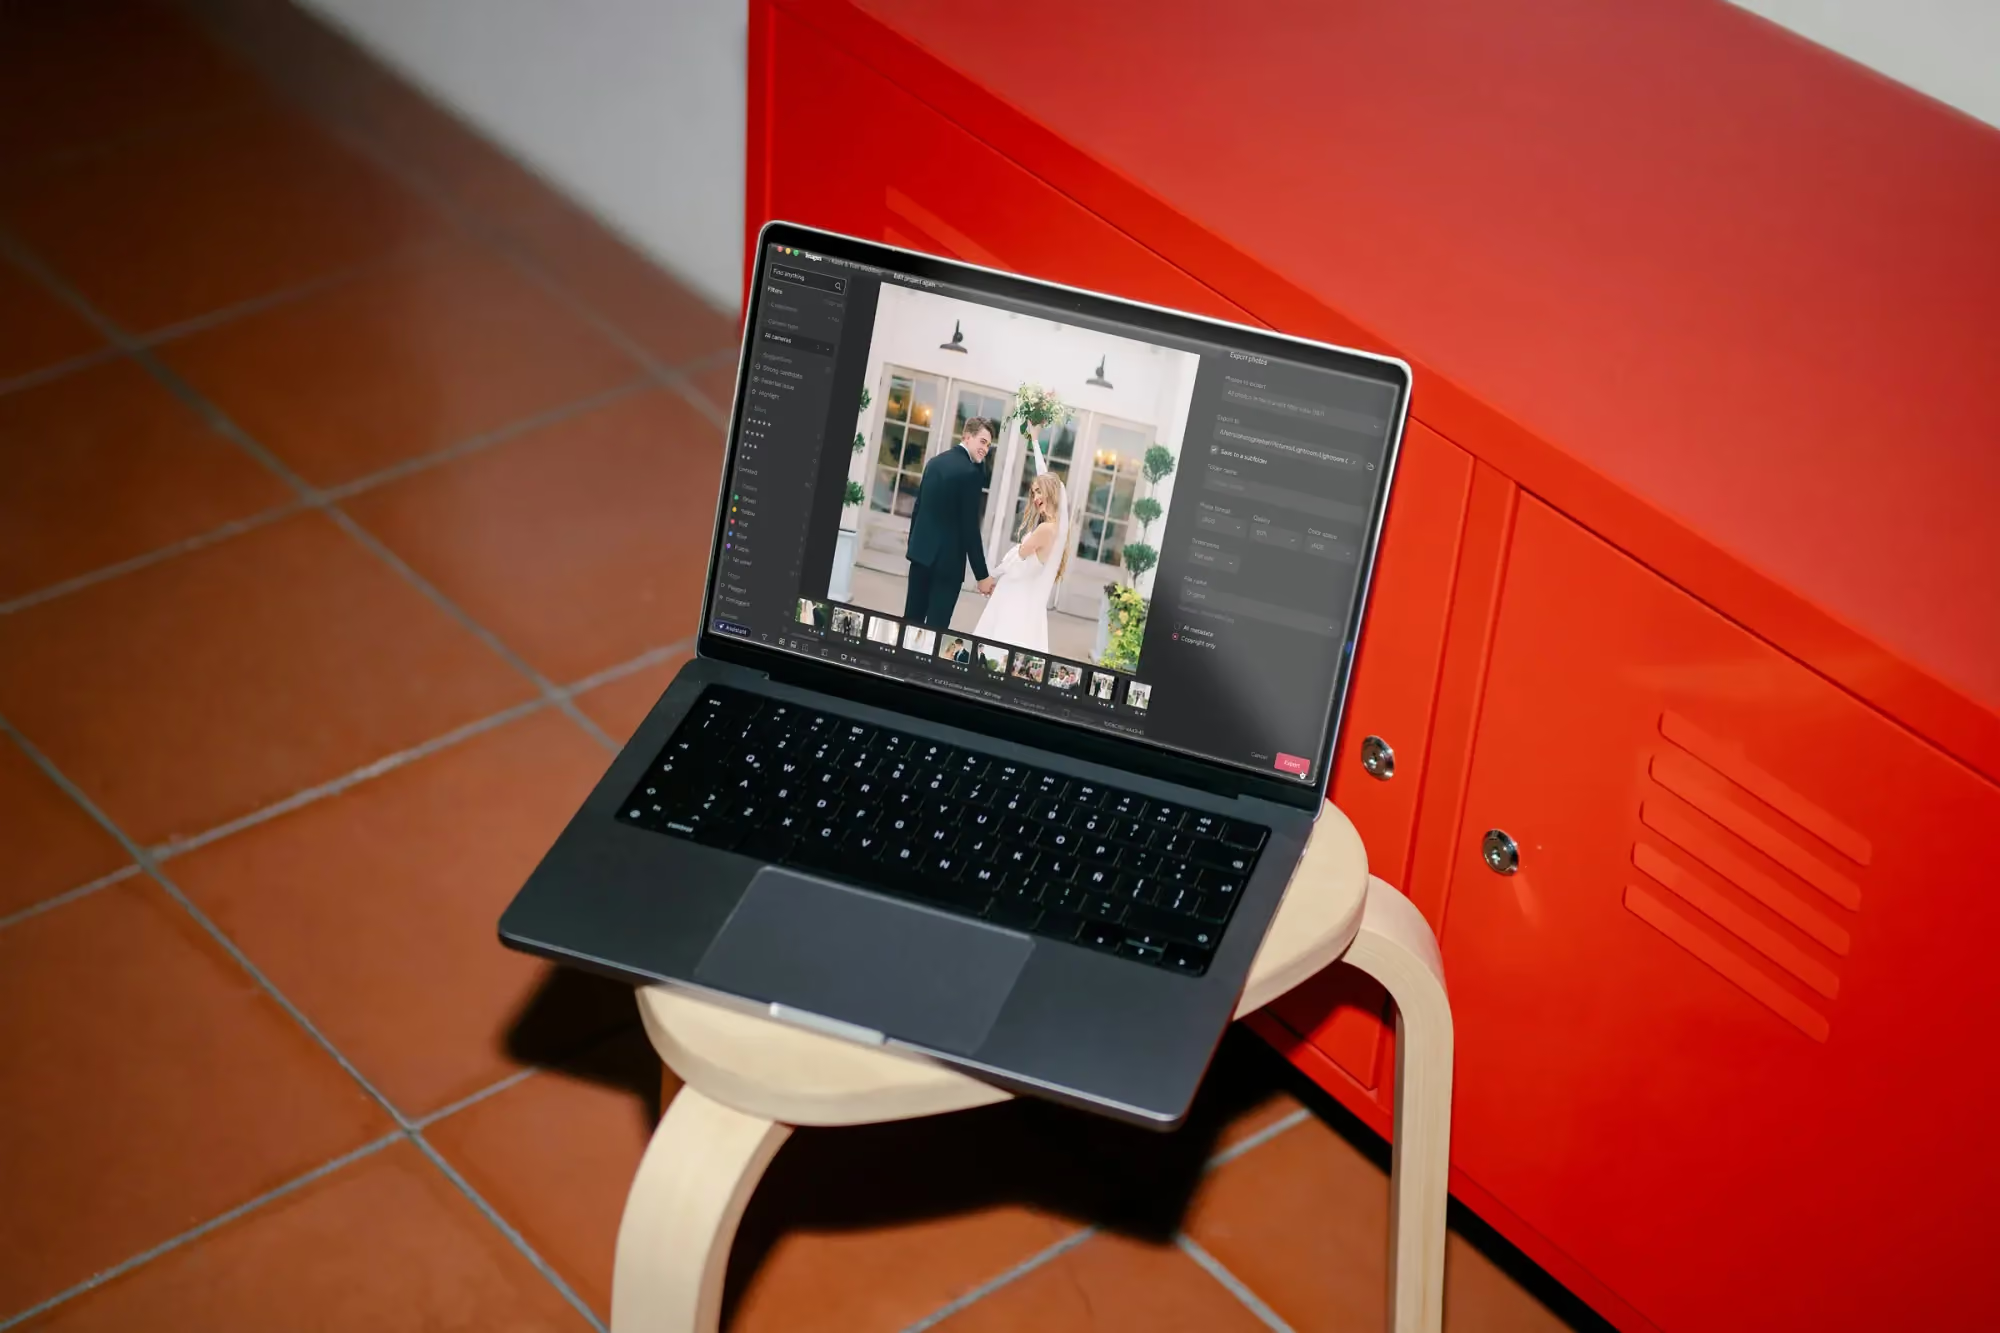
Cull, Edit, and Export in a Single Project
Table of contents
- The old way: two projects for one shoot
- One project now, start to finish
- Setting up a project once
- What happens right after you upload
- A studio session, start to finish
- Editing and culling side by side
- Skipping AI culling when you already know your selects
- Exporting from the same place you started
- Frequently asked questions
A single wedding used to require two separate projects inside Imagen: one to cull the shoot down to a working set, and a second to send those selects off for editing. Anyone who shot regularly built a habit around that split, nesting one project inside another, or manually tracking which project held which stage of a given shoot. That split is gone. Every project now handles culling, editing, review, and export together, and this article walks through exactly what that looks like day to day.
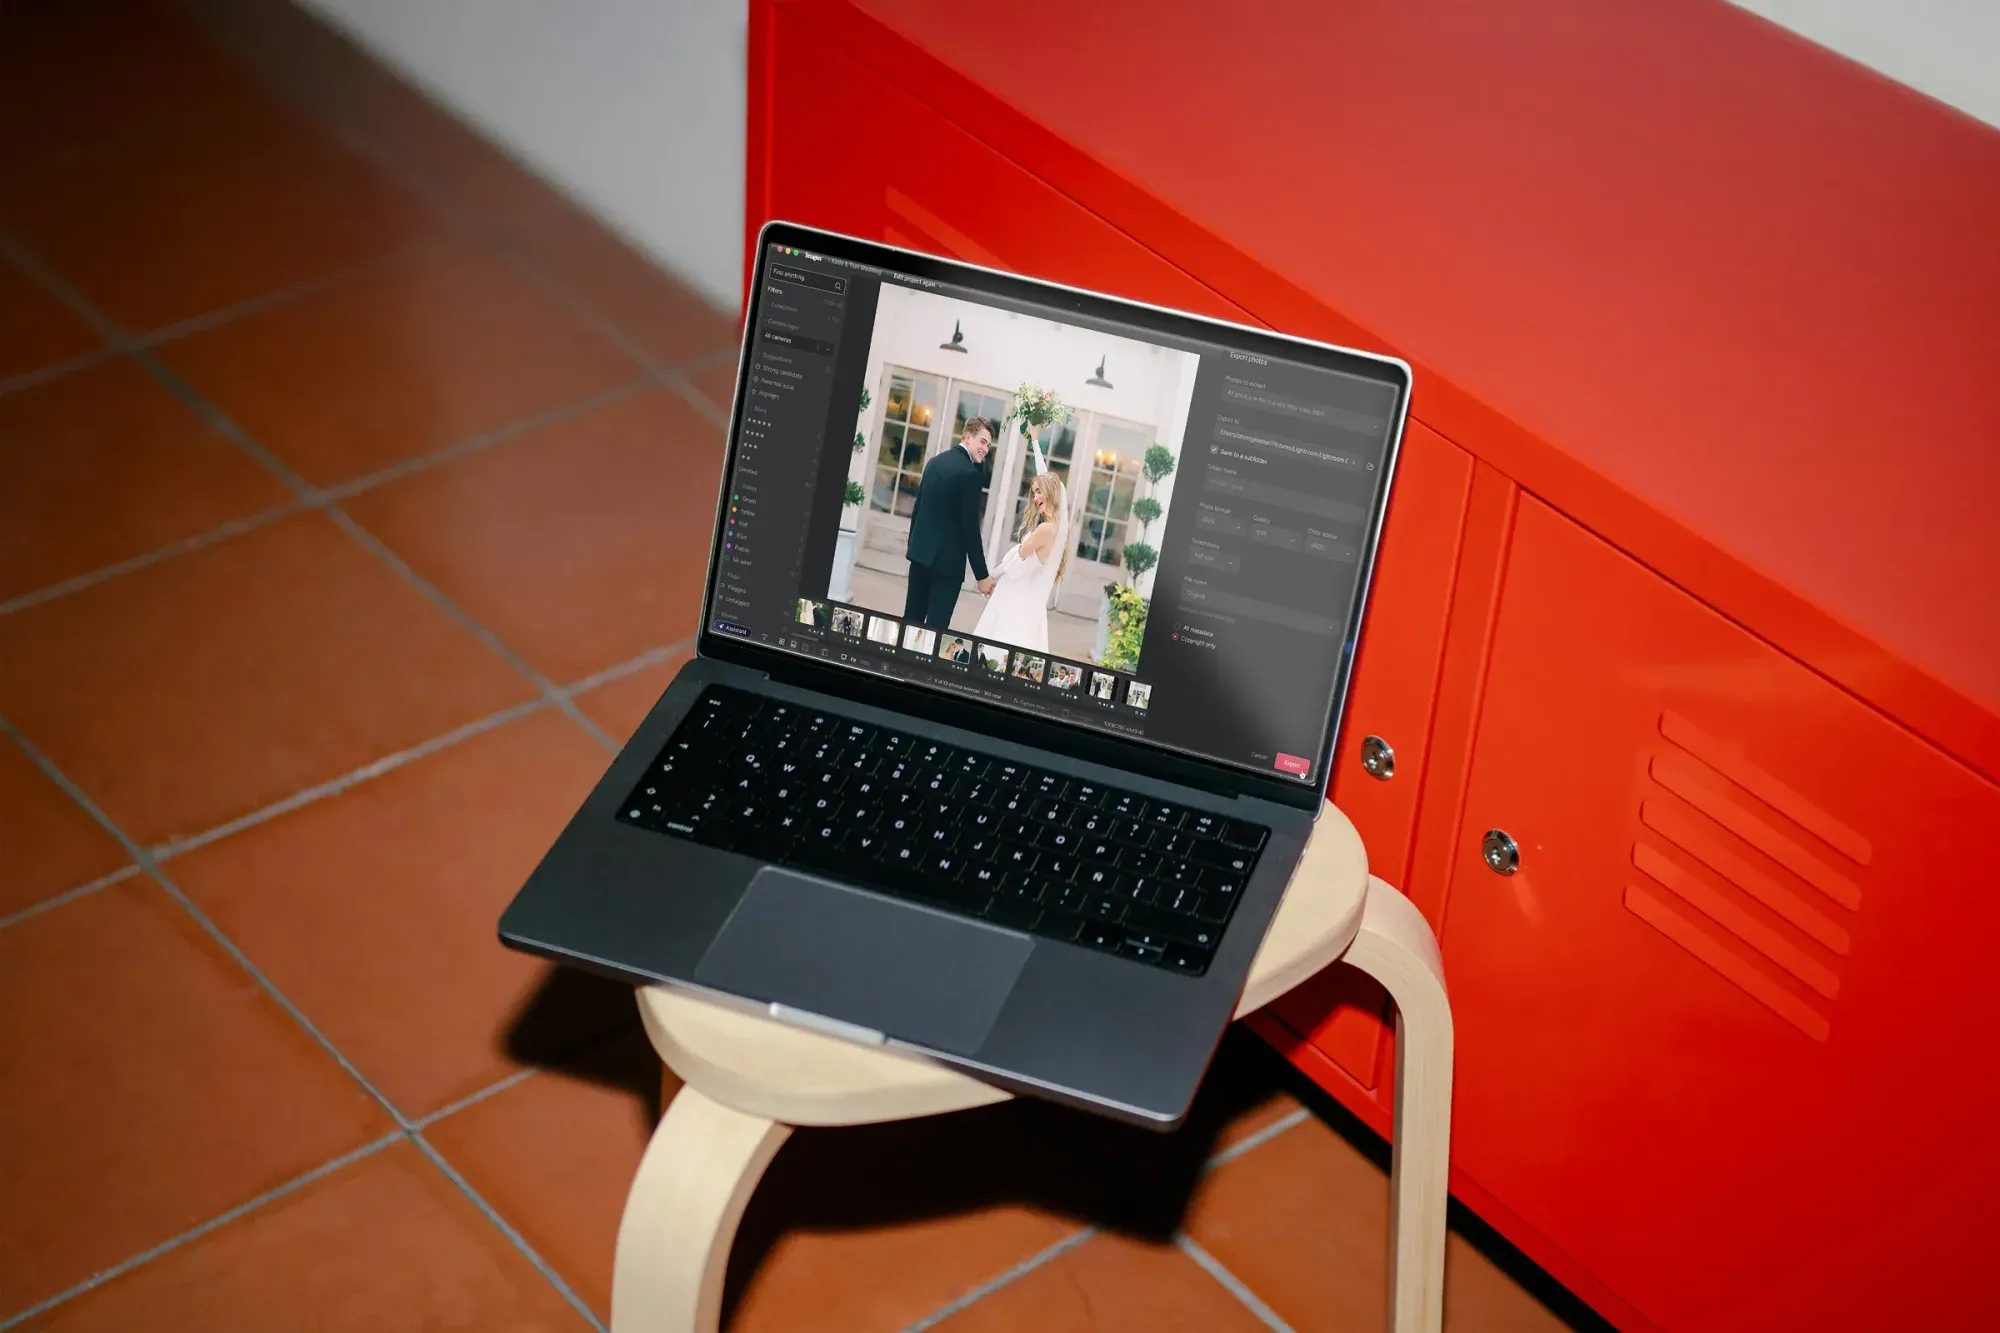
The old way: two projects for one shoot
The previous structure asked you to decide, before you had even looked at your photos, whether you were starting a culling project or an editing project. Most real shoots needed both, so the common pattern was to cull first, then either start a second project for editing or nest an editing project inside the culling one to keep the shoot together. It worked, but it added an administrative step to every single shoot, and it meant your Projects page carried twice as many entries as the number of shoots you actually had.
That administrative cost was easy to underestimate because no single instance of it felt like much. Creating a second project took a minute, maybe two. But across a full month of shoots, especially for a studio running several photographers, those minutes added up to real hours spent on bookkeeping rather than photography, hours nobody would have chosen to spend that way if there had been a simpler option. It also created room for mistakes: a culling project and its matching editing project could drift out of sync if someone forgot which one they were supposed to be looking at.
One project now, start to finish
The new model collapses that into a single project type. Culling, editing, review, and export all happen inside the same project, and you move between them in whatever order the shoot calls for. There is no second project to create, no nesting to manage, and no need to remember which project holds the selects and which one holds the edits, because there is only one project holding all of it. The Projects page reflects the same simplification: each entry shows a representative photo, a single clear status, and one obvious next action, instead of a longer list split across culling and editing entries for the same shoot.
The benefit compounds for anyone running more than a couple of shoots at a time. A wedding photographer with three galleries in progress on the same day used to be tracking up to six projects between them. Now it is three, one per shoot, each one a single source of truth for that shoot’s status. Fewer projects to open means fewer chances to check the wrong one, or to forget that a matching project even exists for a shoot you started days ago.
Setting up a project once
Creating a project now takes the same handful of steps it always did: upload your JPEG, TIFF, or RAW files, choose your Personal AI Profile, and decide whether you want AI culling or plan to handle selects yourself. That single setup covers the entire shoot from here forward. You are not asked to make a second, separate setup decision once culling finishes, because editing was never a separate project to begin with. Everything from that first upload through final export happens inside the project you just created. That single decision point, rather than a series of decisions spread across two separate projects, is itself part of what makes the new structure faster to use, not just simpler to explain.
What happens right after you upload
Editing doesn’t wait for the upload to finish. It starts while your shoot is still uploading, and edited photos arrive in batches grouped by timestamp as Imagen works through the gallery. If you chose AI culling, it starts as soon as the upload finishes, and large shoots are split into parts and culled in parallel. You don’t have to keep checking back: one Workspace ready notification tells you when the shoot is culled and edited, and both processes report their status inside the same project view, so there is one place to check on a shoot’s progress instead of two.
From there, you review your picks already edited, with closed eyes and out-of-focus shots marked so they’re quick to spot. If the AI’s selection isn’t what you had in mind, cull again with new settings, right inside the same project.
A studio session, start to finish
Walk through an actual shoot to see the difference. A product photographer shoots forty items for a catalog on a Tuesday morning. She uploads the cards into a single project, selects her Personal AI Profile, and chooses to skip AI culling because she already flagged her favorite angle for each item on set. Editing starts immediately on those flagged frames.
By early afternoon, the edited batch is back inside the same project. She reviews it, adjusts two product shots with the built-in editor’s manual sliders to match a brand color guideline exactly, and exports the finished set as PNG files for the client’s catalog system. From upload to export, she never left the project, never created a second one, and never had to remember which project held which part of the job. The whole session lived in one place because it was designed to.
Editing and culling side by side
Because both stages live in the same project, you can move between them without switching context. Rate and flag a batch of edited photos, then jump over to review culling suggestions on a different part of the shoot, all without leaving the project or losing track of what you were doing. The built-in editor, currently in beta, sits inside this same project too, with manual sliders and a histogram, crop and straighten, presets you can import from Lightroom or build yourself, and versions for branching a photo to try an alternate treatment. Quality is comparable to Lightroom, though not every AI tool is available inside the editor in this first release, so it is best approached as a strong early version rather than a complete replacement for your existing setup. You can also apply more than one AI Profile to a chosen set of photos within the project, for a treatment that only some frames need. Because that switch happens inside a single project, it never involves opening a second window, waiting for a different project to load, or losing your place in either task.
Culling a shoot inside the Imagen project view
Skipping AI culling when you already know your selects
Not every shoot needs AI culling, and the single-project model makes skipping it simple rather than something you have to work around. Choose to skip AI culling when you set up the project, and cull manually at no cost, on your own schedule, inside that same project. Editing still proceeds through the rest of the shoot exactly as it would otherwise. This matters most for photographers who already have a tight, practiced eye for their own selects and would rather spend Imagen’s processing time on editing than on a culling pass they do not need. It is a genuinely common choice among photographers who shoot a lot of repeat clients or tightly art-directed sessions, where the selects were effectively decided on set, before the memory card was even uploaded.
Exporting from the same place you started
Export follows the same one-project logic. Once frames are reviewed and ready, whether that is a whole shoot or a smaller shortlist pulled from one batch, you export directly from the project, choosing JPEG, TIFF, or PNG, or continuing on to Lightroom Classic, Bridge, Photoshop, or Camera Raw. AI Profile and AI-tool edits carry across as XMP, while manual adjustments, ratings, flags, and color labels made inside Imagen’s editor stay inside Imagen. For pay-as-you-go photographers, charges apply at export, at the same per-tool price as before, and exploring or comparing tools beforehand remains free.
Because export happens inside the same project as everything else, you are never digging through a separate export queue or a different section of the app to finish a shoot. A wedding gallery might export in two passes from the exact same project: a same-night shortlist exported first, then the complete, fully reviewed gallery exported a few days later once every batch has been checked. Both exports draw from the same set of edits and the same project history, so there is no risk of the two passes drifting apart or representing different versions of your work.
To see how these pieces connect across a full shoot, our valuable tips library has focused guides worth a look.
What’s new in Imagen: Imagen is now an intelligent, agentic Studio for professional photographers, the next step for the same Imagen you already know. Instead of separate projects, one project lets you cull, edit, review and export together, in any order. Use AI culling or skip it and cull manually for free, then export finished JPG, TIFF or PNG files straight from Imagen or send AI edits back to Lightroom Classic. It is rolling out gradually as a beta.
Frequently asked questions
Do I still need to create two projects for one shoot?
No. A single project now covers culling, editing, review, and export for the entire shoot.
What happens to projects I already split into two before this change?
Existing projects are not disrupted. The single-project model applies to how you work going forward.
Can I skip culling entirely inside the single project?
Yes. Choose to skip AI culling when you set the project up and cull manually at no cost whenever you are ready.
Can I try AI culling for free?
Yes. Every Imagen account gets 2 AI culling projects for free, so you can try Imagen’s AI culling software on a real shoot. You can also skip AI culling and cull manually at no cost.
Where do I export from once editing and culling are both done?
From the same project. There is no separate export step outside of it, whether you are exporting to Imagen’s own formats or on to Lightroom.
Ready to run a full shoot through one project? Start in Imagen’s new Studio at imagen-ai.com and see culling, editing, and export come together.
