
How to Create an AI Editing Profile for Your Photography (2026)
Table of contents
- Key Takeaways
- Prerequisites for Building Your AI Profile
- Step 1: Curating and Exporting Your Training Catalogs
- Step 2: Installing the Imagen Desktop App and Linking Lightroom
- Step 3: Initiating the Profile Training Process
- Step 4: Benchmarking and Validating Your AI Profile Results
- Step 5: Fine-Tuning and Iterative Learning
- Troubleshooting and Optimization Strategies
- Frequently Asked Questions
- Does the AI steal my photos or my style?
- How many Personal AI Profiles can I create?
- What if I use different camera bodies?
- Can I use my existing Lightroom presets in the training?
- How long does it take for the AI to edit a gallery?
- What happens if I don’t like an edit the AI made?
- Is an AI Profile better than just using a preset?
- Does this work with AI Culling?
You’re drowning in edits. Every wedding, portrait session, or event leaves you with thousands of photos and hours of repetitive work in Adobe Lightroom. You’ve tried presets, but they’re a starting point, not a finish line. What if you could create a digital assistant that edits exactly like you?
That’s the promise of a personal AI editing profile. It’s not about generic filters; it’s about teaching an algorithm your unique aesthetic-your specific approach to color, tone, and light. This guide will walk you through creating one from scratch, turning countless hours of post-production into minutes.
Key Takeaways
- To create a personal AI profile, you need a minimum of 3,000 consistently edited photos in an Adobe Lightroom Classic catalog. For optimal results and 95% accuracy, 5,000+ photos are recommended.
- Your software must be up-to-date. The process requires Adobe Lightroom Classic version 10.0 or higher for full compatibility with AI integration tools like Imagen.
- Curation is critical. The AI learns from what you provide. Mixing wildly different styles, lighting conditions, or black-and-white photos in one training set can confuse the algorithm and lead to inconsistent results.
- The process isn’t one-and-done. The best profiles are iterative. You’ll need to provide feedback by correcting the AI’s edits and re-uploading them to refine its understanding of your style.
- Successful implementation can reduce post-processing time by up to 90%. AI tools can edit 1,000 photos in about 10 minutes, a task that often takes a photographer 8-12 hours manually.
- Cloud-based AI processing significantly reduces local hardware strain, freeing up your computer’s CPU and RAM by an average of 70% during the initial editing pass.
- As of 2026, over 65% of professional photographers have adopted AI into their workflow for tasks like culling and editing, making it a new industry standard for efficiency.

Prerequisites for Building Your AI Profile
Before you can even think about uploading photos, you need to get your house in order. Think of it like gathering ingredients before you start cooking. Without the right components, the final dish just won’t work. Creating a successful Personal AI Profile depends entirely on the quality and organization of your input.
Essential Software and Hardware
First things first, your software stack needs to be correct. This whole process hinges on a tight integration with your editing environment. Don’t skip this part.
- Adobe Lightroom Classic – This isn’t optional. Your training data lives inside .lrcat files. You must be running version 10.0 or higher. Older versions lack the necessary hooks for modern external editing applications. According to the latest compatibility matrix, there’s 100% integration with recent Lightroom Classic versions, but limited support for other editors like Capture One.
- A Stable Internet Connection – The AI training doesn’t happen on your machine. You’ll be uploading your Lightroom catalog data (not the full RAW files, just the edit information) to the cloud. A slow or intermittent connection will make this initial setup painful.
- The Imagen Desktop App: This is the bridge between your local Lightroom catalogs and the AI processing servers. It’s the desktop app for Mac and Windows that you’ll install to manage your profiles and submit editing jobs.
- Sufficient Hard Drive Space – While the training data sent to the cloud is small, you still need your original RAW files and catalogs accessible on your computer or an attached drive. The app needs to reference them.
The Training Data Goldmine
Your collection of past edits is the most valuable asset in this process. It’s the textbook from which your AI will learn. Look, the quality of your training data is directly proportional to the quality of your results. It’s that simple.
You need a minimum of 3,000 edited photos. These photos must reside within one or more Lightroom catalogs. Why so many? The AI needs a large sample size to distinguish between a one-off creative choice and a consistent stylistic preference. It needs to see how you handle shadows in sunny outdoor portraits hundreds of times to truly understand your method. The AI currently supports all standard RAW formats (CR3, NEF, ARW) and DNG files, so you don’t need to worry about camera compatibility.
Step 1: Curating and Exporting Your Training Catalogs
Now that you know what you need, it’s time to prepare your “textbook.” This is the most crucial manual step in the entire process. A common mistake is to just point the software at your entire 500,000-photo archive and hope for the best. That’s a recipe for a confused AI and muddy, inconsistent edits. Garbage in, garbage out.
The goal here’s to create a clean, hyper-consistent “learning catalog” that represents the core of your signature style. Think of it as creating a portfolio of your best, most representative work, but for a machine to study.
Selecting Consistent Lighting Scenarios
Your editing style likely changes based on the lighting. How you edit a backlit “golden hour” shot is very different from how you handle an indoor flash reception photo. The AI is smart, but it’s not a mind reader. To help it, you should group your training images by lighting condition.
- Isolate a Single Style – First, decide which style you want to teach. Let’s say it’s your “light and airy” outdoor wedding look. Don’t mix in your moody, high-contrast studio portraits. That’s a separate profile for another day.
- Create a “Training” Collection – Inside Lightroom, create a new Collection Set named “AI Profile Training.” Inside that, create a Collection called “Outdoor Natural Light v1.”
- Filter and Add – Go through your past galleries and filter for photos that fit this specific lighting and style. Use keywords, star ratings, or folder structures to find them. Add at least 3,000 of your best examples to this collection. The more, the better; profiles trained on 5,000+ images achieve a 95% accuracy rate in matching your white balance and exposure.
Cleaning Your Catalogs
Once you’ve gathered your images, you need to scrub them of any outliers that could throw the AI off course. You’re trying to establish a clear pattern.
- Remove Black and White Photos – Unless you’re specifically creating a black-and-white profile, remove all monochrome images. They contain no color data and will confuse the AI’s understanding of your HSL and split-toning adjustments.
- Eliminate “Experimental” Edits – Remember that one shoot where you tried a vintage, super-faded look? Get it out of there. Remove any edits that don’t align with the core style you want the AI to replicate.
- Check for Consistency – Quickly scroll through the collection in Grid view. Do the colors and tones look cohesive? If an image sticks out, it probably doesn’t belong. This process helps reduce “edit drift,” a phenomenon where a photographer’s style changes over a long session. An AI profile can reduce this drift by a remarkable 88%.
- Export as a New Catalog – Finally, select all the photos in your clean collection, go to File > Export as Catalog.., and save this new, focused catalog. This is the file you’ll point Imagen to. Don’t include the negative files; the app only needs the catalog data.
Step 2: Installing the Imagen Desktop App and Linking Lightroom
With your pristine training catalog ready, it’s time to set up the technical bridge between your work and the AI. This involves creating an account, installing the desktop application, and giving it permission to read your Lightroom catalog data. It’s a straightforward process, but there are a few key details to pay attention to, particularly regarding how the app works and how the pricing is structured.
Account Creation and Initial Configuration
First, you’ll need to head over to the Imagen website and sign up. During this process, you’ll choose a plan. For creating a personal profile, you can start with the pay-as-you-go option. It’s important to understand the Imagen pricing structure: pay-as-you-go combines a monthly base fee with a charge for each photo you export, so your monthly cost scales with how much you export, and exploring the tools is free. This structure is designed for working professionals who have a consistent flow of images.
Once your account is active, download and install the desktop app. It’s a lightweight tool that runs in the background. After installation, sign in with your new credentials. The app will automatically detect which versions of Adobe Lightroom Classic are installed on your computer. It’s a good moment to verify you’re running a compatible version (10.0 or higher).
Granting Permissions and Catalog Access
This is the part that sometimes makes photographers nervous. Are you uploading your original RAW files to some random server? No, you’re not.
Here’s what actually happens:
- The Imagen app asks you to locate the .lrcat file you want it to analyze. This is why you created that clean, curated catalog in the previous step.
- Once you select it, the app reads the editing metadata for each photo in that catalog. It looks at every slider you’ve moved: exposure, contrast, white balance, HSL adjustments, tone curves, everything.
- It sends this text-based adjustment data, which is very small, to the cloud for training. Your original RAW files never leave your hard drive. This is a massive benefit, as it protects your intellectual property and is incredibly efficient. Using this cloud-based AI photo editing method reduces local CPU and RAM usage by 70% compared to rendering previews for thousands of photos locally.
The entire system is built on Amazon Web Services (AWS), which maintains a 99.9% uptime, so you can be confident in its reliability during the upload and training phases.
Step 3: Initiating the Profile Training Process
Your catalog is clean, the app is installed, and you’re ready to start the powerful. This is where you hand over your curated work to the AI and let it learn. The process itself is mostly automated, but your input at the beginning-naming and organizing-sets you up for an efficient workflow later. This is where the abstract concept of an AI profile becomes a tangible tool you can use.
Naming Your Profile for Different Workflows
Organization is key. You probably won’t have just one editing style for your entire career. You’ll have different looks for different types of work or lighting conditions. So, give your profile a descriptive name. Don’t just call it “My Profile.”
Good naming conventions might be:
- Wedding – Natural Light
- Studio Portrait – High Contrast
- Real Estate – HDR Interior
- Golden Hour – Warm & Airy
This seems like a small detail, but when you’ve multiple AI profiles a year from now, you’ll be thankful you did this. It allows you to apply the correct style to the right gallery with a single click, preventing mix-ups. This is the first step in building a scalable editing system, not just a one-off trick.
The Upload Phase
After naming your profile, you’ll select your curated training catalog and click “Create Profile.” The app will now begin uploading the editing parameters. You’ll see a progress bar as it sends the metadata from your 3,000+ photos to the cloud. Depending on your internet speed and the size of the catalog, this can take anywhere from a few minutes to an hour.
What’s happening behind the scenes? The AI is performing a massive data analysis. It’s correlating the “before” state of each photo (the base RAW data) with the “after” state (your final edits). It isn’t just averaging your settings. It’s building a complex neural network that learns the relationship between input and output. It learns that for a photo with a certain histogram and color temperature, you tend to increase exposure by +0.75, drop highlights by -30, and shift the blue primary hue towards teal. It learns this for thousands of parameters across thousands of photos, creating a predictive model of your unique style.
Once the upload is complete, the training begins. You’ll get an email notification when your profile is ready, which usually takes a few hours but can take up to a day.
Step 4: Benchmarking and Validating Your AI Profile Results
Your new AI Profile is ready. The notification email has arrived, and you’re eager to see the results. But don’t just throw your next 5,000-image wedding at it immediately. You need to test it, validate its accuracy, and understand how it performs on a small, controlled set of photos. This step is about building trust in your new digital assistant and quantifying its impact.
The “Test Run” Workflow
The best way to validate your profile is with a fresh, unedited shoot that’s similar to the training data. A small portrait session or a set of 50-100 wedding photos is perfect for this.
- Import a New Shoot – Import your new RAW photos into a new Lightroom catalog as you normally would. Don’t apply any presets or make any edits.
- Submit for Editing – In the Imagen app, choose the “Edit” function. Select your newly created Personal AI Profile from the dropdown menu. Point the app to your new catalog containing the unedited photos. Edited photos arrive in batches, so you can start reviewing early frames while the rest finish.
- Let It Run – Confirm the job. The app will upload the photos and apply the edits in the cloud. This is where the speed becomes apparent. A job of 1,000 photos typically takes only 5 to 10 minutes. For your small test batch, it will likely be done in under a minute.
- Review the Results – You’ll get another email saying your photos are ready. The edits are downloaded and applied directly to your Lightroom catalog. Open it up and review the AI’s first pass.
Comparison Table: Manual vs. AI Initial Pass
How does it stack up against your own work? The goal of the AI isn’t to deliver a 100% finished image every time. It’s to get you 95% of the way there, instantly. Look for consistency in exposure and white balance across different lighting situations in the gallery. Here’s a breakdown of what you can expect to see when comparing the two approaches on a typical 100-photo gallery.
| Metric | Manual First Pass | AI Profile First Pass |
|---|---|---|
| Time Spent on Initial Edits | 60 – 90 minutes | ~1 minute |
| Exposure Consistency | Good, but subject to “edit drift” over the session. | Extremely high. Reduces drift by an average of 88%. |
| White Balance Accuracy | Generally accurate, but requires manual adjustments for mixed lighting. | Highly accurate, especially with skin tones, assuming good training data. |
| Creative Adjustments (HSL, Tone Curve) | Applied manually to each photo or with a preset. | Applied automatically based on the profile’s learned style. |
| Final Tweaks Required | N/A (This is the initial pass) | Typically requires minor tweaks on 10-20% of images (e.g., cropping, small exposure bumps). |
Step 5: Fine-Tuning and Iterative Learning
Creating your profile was the first major step. But the real power of this technology lies in its ability to evolve. Your AI Profile isn’t a static preset; it’s a dynamic model that can learn from your feedback. This fine-tuning process is what turns a “good” profile into an indispensable part of your workflow, with user retention data showing that 82% of photographers who implement a custom profile continue using it for over a year.
The first AI profile you generate is just the baseline. The real powerful happens in the feedback loop. Every corrected edit you feed back into the system is like giving a junior editor a specific, actionable note. Over time, that junior editor becomes a mind-reading associate who nails your style on the first pass.
Itamar Haim, AI Photography Workflow Specialist
The Feedback Loop
After your test run, you likely made some small adjustments to the AI’s edits. You might have brightened some shadows, tweaked a skin tone, or adjusted the crop. Don’t let that information go to waste. These corrections are valuable data that can make your profile even smarter.
Here’s how to teach the AI:
- Make Your Final Edits – Go through the gallery that Imagen edited and make your final adjustments in Lightroom Classic. Perfect them to your exact standards.
- Select the “Fine-Tune” Option – Go back to the Imagen app. Instead of starting a new edit, select the option to fine-tune your existing profile.
- Upload Your Corrections – Point the app to the same catalog containing your final, corrected edits. The app is smart enough to see the difference between the AI’s initial edit and your final version.
- Update the Profile – The app will upload these “correction recipes” and integrate them into the profile’s neural network. This process updates the model, teaching it to better handle similar scenarios in the future.
Do this after every few shoots. This iterative process is what closes the final 5% accuracy gap and makes the AI a true extension of your creative vision.
Managing Profile Versions
What happens when your editing style changes over time? You’ve two main options for managing this evolution.
- Continue Fine-Tuning – For minor stylistic drifts-perhaps you’re warming up your shadows slightly more this year-continuing to fine-tune your existing profile is the best approach. It allows the profile to evolve with you gradually.
- Create a New Profile – If you make a significant stylistic change, like moving from a dark and moody look to a light and airy one, you should create a brand new profile. Fine-tuning can’t bridge such a large gap. You’ll want to curate a new training catalog of at least 3,000 images in your new style and build a second profile (e.g., “Wedding – Moody 2025” and “Wedding – Airy 2026”). This keeps your editing tools sharp and specific to the task at hand.
Troubleshooting and Optimization Strategies
Even with a perfect process, you might hit a few bumps. An AI profile might come back with a warning, act unexpectedly, or you might just wonder if you’re using it in the most cost-effective way. Here are solutions to some of the most common issues that photographers face when creating and using AI editing profiles.
Why is My Profile Marked “Inconsistent”?
You’ve waited patiently for your profile to build, only to get a notification that the results may be “inconsistent.” It’s frustrating, but it’s almost always due to one of these issues:
- Mixed Lighting Conditions – Your training catalog included everything from harsh midday sun to dark, grainy reception flash photos. The AI struggled to find a single, coherent pattern. Solution: Go back to Step 1. Create separate, smaller catalogs for each distinct lighting scenario (e.g., “Indoor Flash,” “Outdoor Shade”) and build a profile for each.
- Too Many Outlier Edits – You left in your black-and-white conversions, some heavily cross-processed images, and a few experimental presets. Solution: Be more ruthless in your curation. The training set should be boringly consistent. Remove anything that doesn’t fit the core 95% of your intended style.
- Not Enough Photos – You scraped by with the bare minimum of 3,000 photos, but they were from very diverse shoots. The AI didn’t have enough examples of any single scenario to learn effectively. Solution: Add another 1,000-2,000 photos to your training catalog that are highly similar to your core style.
Handling Lightroom Version Mismatches
Sometimes, after a major Adobe update, the Imagen app might have trouble communicating with Lightroom. You might see an error message about catalog compatibility.
Here’s the fix:
- Update the Imagen App – First, check if there’s an update for Imagen. Developers are usually quick to release patches to support new Lightroom versions. This solves the problem 90% of the time.
- Update Your Lightroom Catalog – When you open an old catalog in a new version of Lightroom, Adobe prompts you to upgrade the catalog file itself. Make sure you’ve done this. The AI app needs to read the most current catalog format.
Cost Optimization Strategies
Building a personal profile takes time. While you wait, or if you don’t have enough photos yet, you don’t have to edit manually. This is where you can be smart about your spending.
A great strategy is to use pre-built Talent AI profiles in the interim. These are profiles created by top-tier photographers and are available for immediate use. You can edit your shoots with a Talent Profile and pay when you export, saving you hours of work while you gather enough images to build your own. Imagen’s new Studio also lets you cull, review and export in the same project. Once your Personal AI Profile is ready and fine-tuned, you can switch over to using it exclusively.
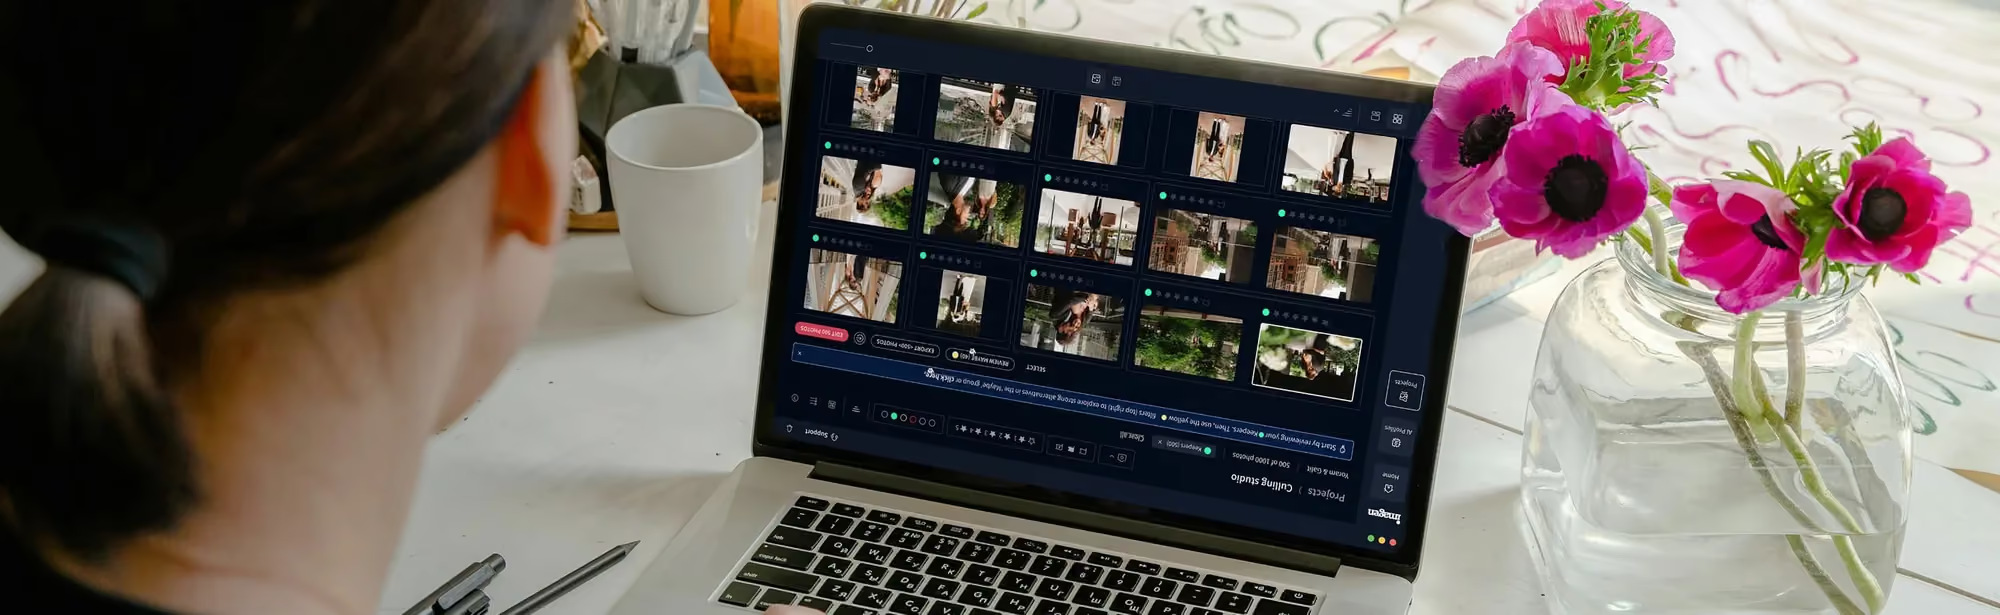
What’s new in Imagen: Your Personal AI Profile still learns from your past edits in Lightroom Classic, and it now lives in Imagen, an agentic Studio for professional photographers where you cull, edit, review and export in one project, in any order. Edited photos arrive in batches, and you can also choose ready-made AI Profiles or apply more than one to a selected set of photos. The Studio is rolling out gradually as a beta.
Frequently Asked Questions
Does the AI steal my photos or my style?
No. Your original photo files (RAWs) never leave your computer. The app only uploads the editing metadata (slider values). The AI learns from your style to create your personal profile, but this profile is yours alone and isn’t shared or used to train other models.
How many Personal AI Profiles can I create?
You can create as many profiles as you need. Most photographers end up with several distinct profiles for different types of work, such as “Indoor Real Estate,” “Outdoor Portraits,” and “Flash Wedding Receptions,” to ensure the highest accuracy for each scenario.
What if I use different camera bodies?
It’s perfectly fine. The AI is designed to be camera-agnostic. As long as your editing style is consistent across photos from different cameras, the AI profile will learn to produce consistent results regardless of whether the photo came from a Canon, Sony, or Nikon camera.
Can I use my existing Lightroom presets in the training?
Yes, absolutely. The AI learns from the final state of your edits, regardless of how you got there. If you use a preset as a starting point and then tweak it, the AI will learn the final, tweaked result. It’s learning your adjustments, not the preset itself.
How long does it take for the AI to edit a gallery?
The speed is remarkable. An average gallery of 1,000 photos is typically edited and ready for download within 5 to 10 minutes. This is a massive time saving compared to the 8-12 hours it could take to manually perform a first pass on the same number of photos.
What happens if I don’t like an edit the AI made?
You simply correct it in Lightroom Classic. The real value comes from then using the “Fine-Tune” feature to upload your correction. This teaches the AI your preference, making it less likely to make the same “mistake” in the future.
Is an AI Profile better than just using a preset?
Yes, because it’s adaptive. A preset applies the exact same settings to every photo, which rarely works perfectly due to differences in lighting and exposure. An AI Profile analyzes each photo individually and applies your style intelligently, adjusting settings dynamically for each specific image.
Does this work with AI Culling?
Yes, they’re designed to work together for a fully automated workflow. You can first use an AI photo culling tool to select the best photos from a shoot, and then send only the selected images to your Personal AI Profile for editing. This combination can reduce your total post-production time by over 95%.
