

7 Common Image Cropping Mistakes for Portrait Photographers to Avoid
Table of contents
- 1. Cropping Through Joints and Limbs
- 2. Chopping Off the Top of the Head Without Intent
- 3. Centering Every Subject by Default
- 4. Ignoring the Environment in Environmental Portraits
- 5. Letting Aspect Ratios Drift Across the Gallery
- 6. Cropping So Tight You Lose Print and Reframe Room
- 7. Cropping Each Frame in Isolation Instead of as a Set
- How Imagen Removes the Cropping Bottleneck
- A Simple Pre-Delivery Cropping Checklist
- Frequently Asked Questions
Cropping is where a good portrait becomes a great one, or quietly falls apart. For photographers who shoot environmental, lifestyle, and family portraits, the crop decides how much of the scene stays in the frame, where the subject sits, and how the eye travels across the image. The most common mistakes are not exotic. They are small, repeatable habits that creep in when you are moving fast through a long gallery: cutting through a joint, centering everyone by reflex, or letting each frame drift to a different aspect ratio.
The short answer is that most cropping errors come from ignoring three things at once, the subject’s anatomy, the surrounding environment, and the aspect ratio the client will actually use. Fix those and your portraits feel intentional instead of trimmed. Below are the seven mistakes that show up most often in portrait work, why each one hurts the picture, and how to avoid it while keeping a whole shoot consistent from the first frame to the last.
1. Cropping Through Joints and Limbs
The classic portrait cropping mistake is slicing the frame edge right through a knee, an elbow, a wrist, or an ankle. When the cut lands on a joint, the eye reads the limb as amputated rather than continuing past the edge, and the subject looks awkward or unstable. This matters even more in full-length and three-quarter environmental portraits, where the body is a bigger part of the composition.
The fix is a simple rule of thumb: crop through the middle of a section, not at a joint. Cut mid-thigh rather than at the knee, mid-forearm rather than at the wrist, and mid-calf rather than at the ankle. If a family is standing together, check every person, not just the one you focused on. A crop that flatters the parents can still lop the toddler off at the shins. When you cannot cut cleanly, give the limbs room and crop wider instead of forcing a tight edge that severs a joint.
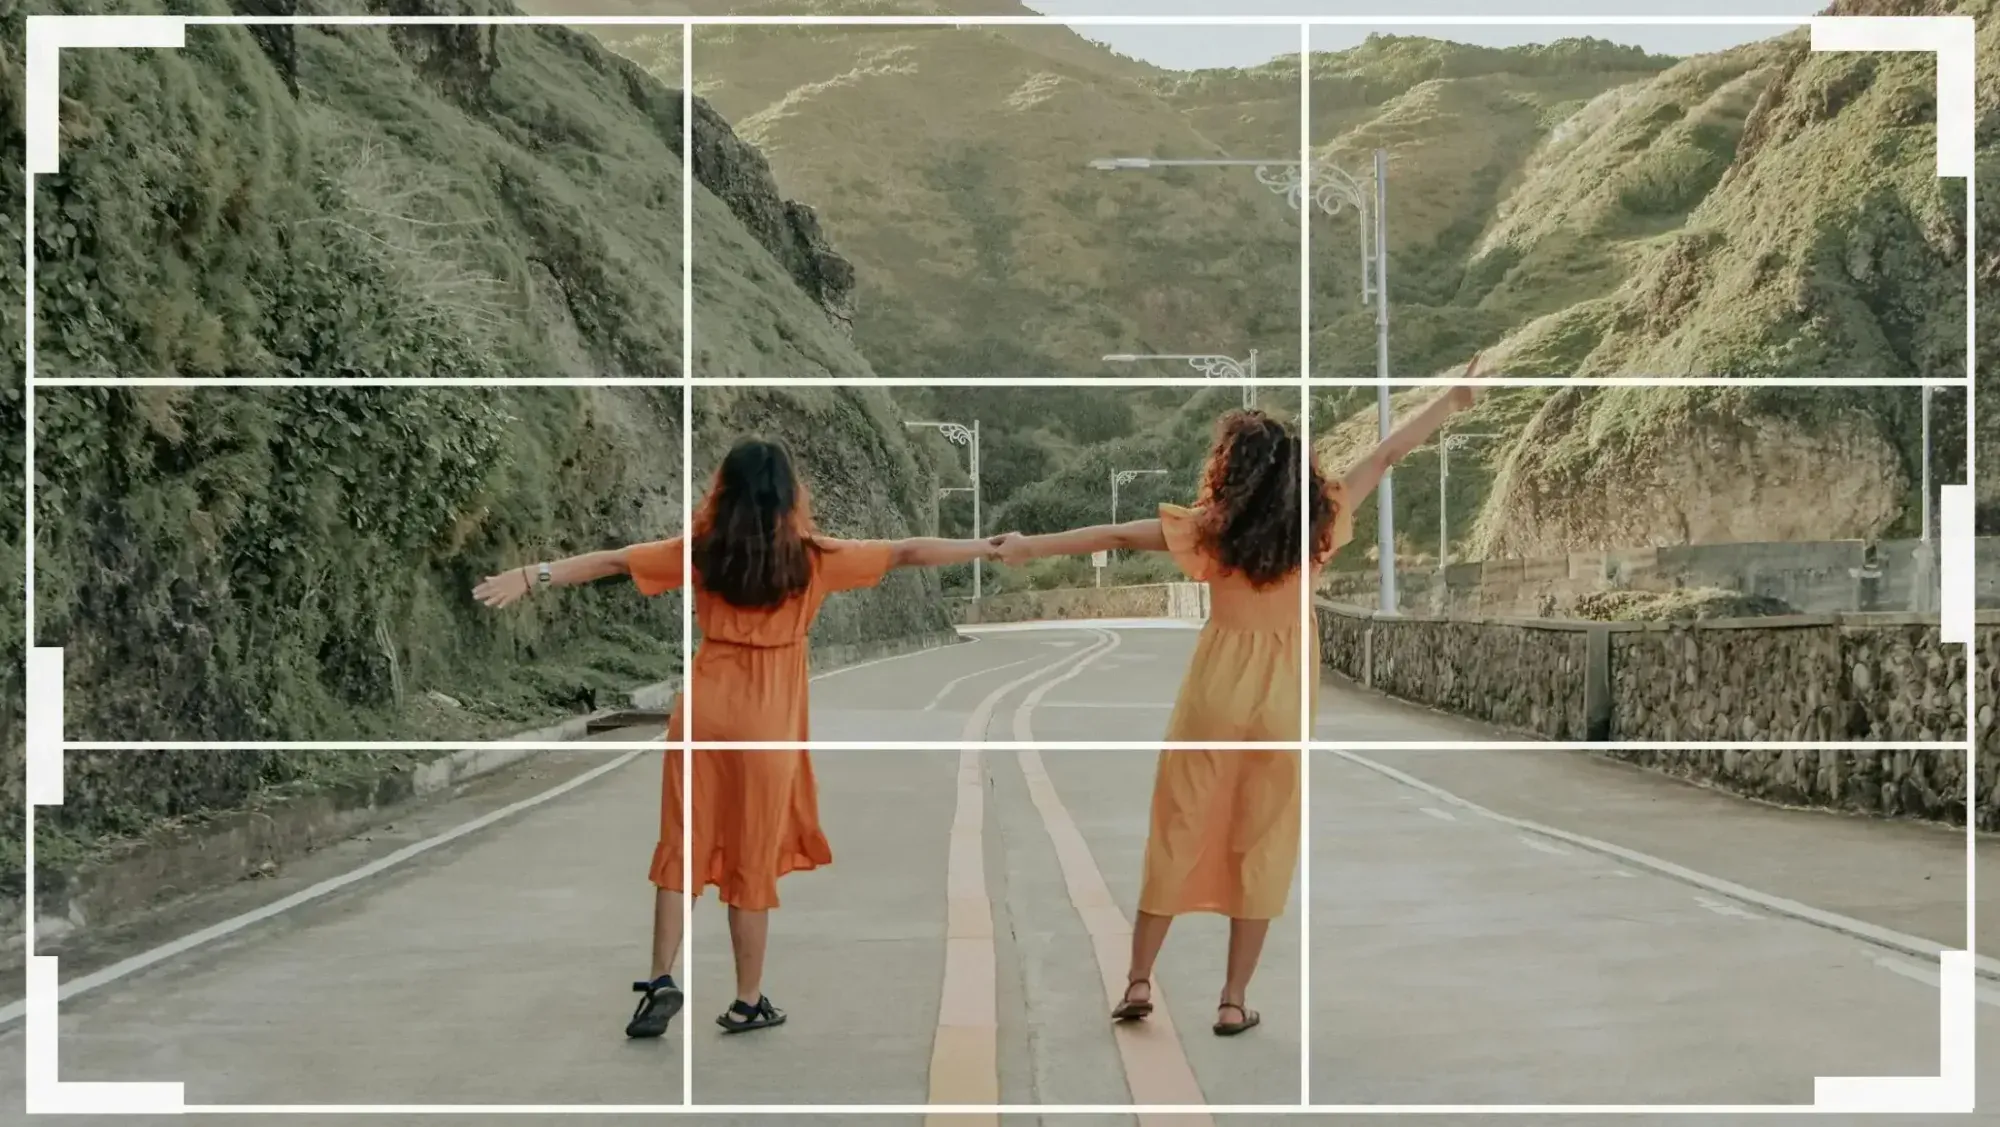
2. Chopping Off the Top of the Head Without Intent
There is a real difference between a deliberate tight crop that runs off the top of the forehead and an accidental one that clips a sliver of scalp. The intentional version pulls the viewer into the eyes and creates closeness. The accidental version, where you lose a centimeter of hair at the crown, just looks like a framing error.
Decide which one you are making. If you want a tight, editorial feel, commit to it and crop confidently into the forehead so the eyes anchor the frame. If you want a classic headshot-style portrait with breathing room, leave clean space above the hair. What you want to avoid is the in-between: a tiny, hesitant clip that reads as a mistake. For family and group portraits, err toward leaving headroom, because a group needs the visual air above it to feel balanced, and you can always tighten later.
3. Centering Every Subject by Default
Placing the subject dead center is the safe reflex, and for some symmetrical, formal portraits it is the right call. But when you center every single frame out of habit, galleries start to feel static and flat. Environmental and lifestyle portraits especially benefit from off-center placement that lets the location breathe and gives the subject somewhere to look.
Reach for the rule of thirds. Position the eyes along the upper third line and place the subject off to one side, leaving negative space in the direction they are facing or moving. That space is not wasted, it gives the portrait a sense of story and direction. A parent looking down at a child, a couple walking through a field, a musician glancing off toward the window: all of these read better with room to look into. Save dead-center framing for the moments that genuinely call for symmetry, not for the whole shoot.
4. Ignoring the Environment in Environmental Portraits
The whole point of an environmental portrait is that the setting says something about the person. A crop that trims away all the meaningful context turns a rich scene into a generic tight shot. If you photograph a baker in their kitchen and then crop out the flour-dusted counter and the oven behind them, you have thrown away the story you went there to tell.
Before you tighten, ask what the background is contributing. Keep the elements that establish place and personality, and cut the ones that only clutter, a stray exit sign, a bright distraction at the edge, a half-cropped stranger in the corner. Cropping in an environmental portrait is a balancing act between closeness and context. Lean toward preserving enough of the surroundings that the location still reads, while removing the distractions that pull the eye away from your subject. When in doubt, crop to strengthen the relationship between the person and their space, not to erase it.
5. Letting Aspect Ratios Drift Across the Gallery
This is the mistake that quietly damages a delivered set. You crop one frame to a tight 4:5 for social, the next to a wide 16:9 because the background looked nice, and a third stays at the native 3:2. Individually each crop might be fine. Together they make a gallery feel disorganized, and they wreck any album layout or print order the client tries to build.
Decide on your aspect ratios up front based on how the images will be used. Many portrait photographers deliver a consistent primary ratio for the main gallery and reserve alternate crops for specific deliverables like a vertical story or a wide banner. If the client is ordering prints, remember that standard print sizes crop differently, so a portrait framed too tight can lose a head or a hand when it is forced into a 5x7 or an 8x10. Leave a little safe margin around important edges so the same image survives multiple ratios. Consistency here is not about being rigid, it is about handing over a set that looks like one cohesive body of work.
6. Cropping So Tight You Lose Print and Reframe Room
A crop that looks perfect at full resolution on your monitor can become a problem the moment the client wants a bigger print or a different aspect ratio. If you crop away 60 percent of the frame chasing a tight composition, you leave yourself no pixels to work with and no room to reframe for a different use. Portrait clients frequently come back months later asking for a print size you did not plan for.
Protect your options. Shoot a little wider than your intended final crop so you have margin to reframe, and avoid cropping so aggressively that the file can no longer hold up at print dimensions. This is especially true for full-length environmental and family portraits, where you may need both a tight version for a screen and a looser version for a wall. A slightly generous crop today saves a frantic re-edit or, worse, a lost sale tomorrow.
7. Cropping Each Frame in Isolation Instead of as a Set
The final and most costly mistake is treating every image as a standalone problem. When you crop frame by frame with no reference to the others, your subject sits high in one image and low in the next, faces land at different sizes, and the eye level jumps around as the client scrolls. The individual crops may be defensible, but the gallery loses its rhythm.
Portraits are almost always delivered as a series, so crop them as a series. Keep the subject’s scale and eye level roughly consistent across similar shots, and let your aspect ratio choices stay coherent from image to image. This is exactly the kind of repetitive, judgment-heavy work that eats an editing day, and it is where a purpose-built tool earns its place in the workflow.
How Imagen Removes the Cropping Bottleneck
Consistent, anatomy-aware cropping across hundreds of portraits is slow to do by hand, and it is the step where fatigue leads to the exact mistakes above. This is where Imagen’s AI portrait crop tool for photographers changes the math. Its Crop Agent applies smart, subject-aware cropping across a full gallery, keeping framing and composition consistent from frame to frame instead of leaving you to eyeball every image on its own. It respects the subject in the frame, so you avoid the joint-slicing and drifting eye levels that make a delivered set look uneven.
Imagen is a desktop AI photo editing app for Mac and Windows that learns your personal editing style through AI profiles, then applies consistent color, tone, and now cropping decisions across an entire shoot. You keep control of the creative choices, the software handles the repetitive execution at scale. Because the AI processing on your RAW files happens in the cloud, it does not tie up your computer, and a large portrait gallery that used to take a full evening of manual cropping and grading can be turned around in a fraction of the time. You can adjust any crop by hand in the built-in editor (Beta), and edited photos arrive in batches as they process.
The pricing is straightforward and built for high-volume portrait work: pay as you go is a monthly base fee plus a charge for the photos you export, and exploring the tools is free. For a photographer delivering weddings, family sessions, and lifestyle shoots week after week, offloading the crop and grade to a consistent automated pass is often the difference between a sustainable schedule and a permanent editing backlog. You can try the personal AI profile and Crop Agent workflow in Imagen’s new Studio, where you cull, edit and export in one project, starting at the Imagen homepage.
A Simple Pre-Delivery Cropping Checklist
Before you send a portrait gallery out the door, run through a short mental checklist to catch the seven mistakes in one pass. First, scan each frame for edges that cut through a joint or clip the top of the head by accident. Second, confirm your subject placement is intentional, whether centered or set on a thirds line. Third, check that environmental portraits still show enough of their setting to tell the story. Fourth, verify your aspect ratios are coherent across the set and safe for the client’s likely print sizes. Fifth, make sure nothing is cropped so tight that it cannot be reframed or printed larger later.
If you want to go deeper on the surrounding workflow, it helps to pair strong cropping habits with a consistent grade and a fast culling process, since those three stages feed each other. A clean cull means you only crop the keepers, a consistent crop means your grade lands evenly, and a repeatable style profile ties the whole gallery together. Handling those stages as a system, rather than one frame at a time, is what keeps portrait delivery both fast and professional.
What’s new in Imagen: Imagen is now an intelligent, agentic Studio for professional photographers, one project where you cull, edit, review and export in any order. For portrait sets, you can ask the assistant in plain language to find the frames you want to look at, adjust a crop by hand in the built-in editor (Beta), and review edited photos as they arrive in batches. It is rolling out gradually.
Frequently Asked Questions
Where should I crop a full-length portrait so the subject looks natural? Crop through the middle of a body section rather than at a joint. Cut mid-thigh, mid-forearm, or mid-calf, and avoid ending the frame exactly at the knee, wrist, elbow, or ankle. Ending on a joint makes the limb look severed, while cutting through a section reads as the body simply continuing past the edge.
What aspect ratio is best for portrait photography? There is no single correct ratio, but consistency matters more than the specific choice. Many portrait photographers deliver a main gallery in one primary ratio, often a vertical crop that suits faces and bodies well, and provide alternate crops only for specific needs like a wide banner or a social story. Decide based on how the client will actually use the images, and leave a safe margin so the frame survives standard print sizes.
Should portrait subjects always be centered? No. Centering works for formal, symmetrical portraits, but using it on every frame makes a gallery feel static. Off-center placement using the rule of thirds gives environmental and lifestyle portraits room to breathe and a sense of direction, especially when the subject is looking or moving toward the negative space you leave in the frame.
Can AI crop a whole portrait gallery consistently? Yes. Tools like Imagen’s Crop Agent apply subject-aware cropping across an entire shoot, keeping framing, scale, and eye level consistent from image to image. This removes the frame-by-frame guesswork that leads to uneven galleries, while you keep control over the overall creative direction and style.
