

Butterfly Lighting: Portrait Setup Guide (2026)
Table of contents
- What Butterfly (Paramount) Lighting Actually Is
- The Telltale Under-Nose Shadow
- The Classic Butterfly Lighting Setup, Step by Step
- Gear That Makes Butterfly Lighting Easy
- Who Butterfly Lighting Flatters
- Variations Worth Knowing
- Butterfly vs Loop, Rembrandt, and Split Lighting
- Common Butterfly Lighting Mistakes
- Finishing a Butterfly Portrait Session with Imagen
- Frequently Asked Questions
Butterfly lighting setup is one of the oldest and most flattering ways to light a face, and it is still the first pattern most portrait photographers reach for when they want a clean, glamorous, timeless result. The name comes from the small butterfly-shaped shadow that forms directly under the nose when the key light sits high and centered above the lens. Learn to place that one light correctly and you can shape a face beautifully with a single source, a reflector, and a few inches of adjustment. This guide walks through what butterfly lighting is, how to build the classic setup step by step, who it flatters, the variations worth knowing, and how it compares to loop, Rembrandt, and split lighting.
Butterfly lighting is also called paramount lighting, a nod to the old Hollywood studios that used it to make their leading actors look polished and symmetrical. That heritage tells you exactly what it is good at. It is a beauty pattern first, built for smooth, even, glamorous faces rather than gritty character studies.
What Butterfly (Paramount) Lighting Actually Is
Butterfly lighting is a portrait pattern created by a single key light placed high and directly in front of the subject, centered on the face and aimed down at roughly a 45-degree angle. Because the light comes from above and straight on, it lands evenly on both sides of the face and casts a small symmetrical shadow beneath the nose. That little shadow is the signature of the pattern, and it is the fastest way to confirm you have the light in the right spot.
The look is soft, even, and slightly dramatic. Cheekbones pick up a gentle shadow underneath, the forehead and cheeks stay bright, and the whole face reads as balanced and symmetrical. Unlike side-heavy patterns that carve out one side of the face, butterfly lighting keeps both sides lit almost equally, which is why it flatters skin and reads as classic beauty rather than moody portraiture.
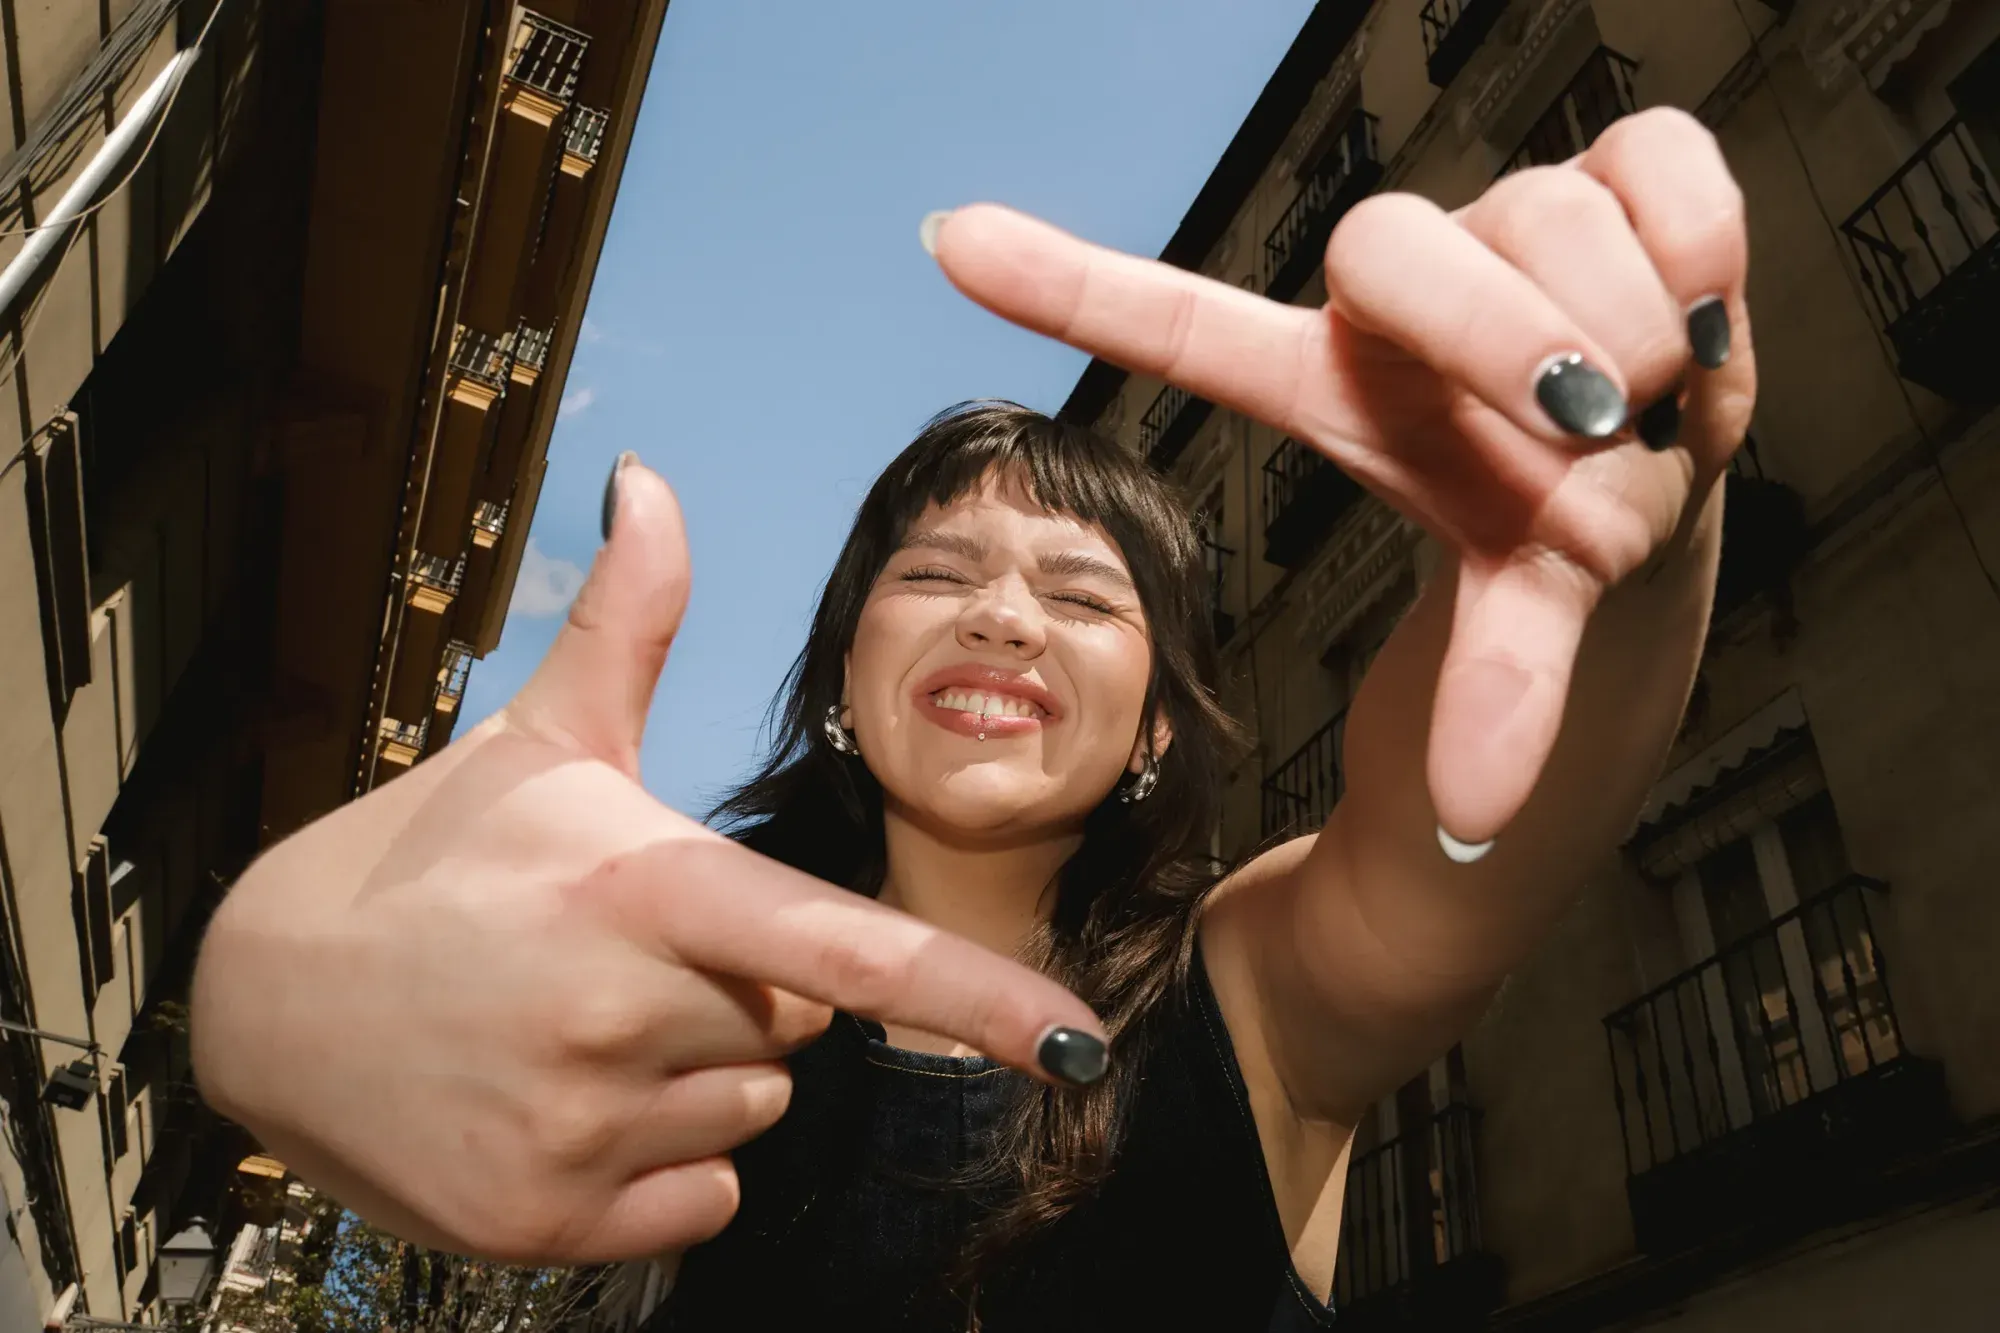
The Telltale Under-Nose Shadow
Every lighting pattern has a signature, and for butterfly lighting it is the shadow directly under the nose. When the key light is centered and high, the nose casts a short shadow that points straight down toward the lip, shaped a little like a butterfly or a small bowtie. The shadow should sit centered under the nose and stop well short of the top lip. It should never bridge the gap and touch the lip, because that means your light is too high.
Use that shadow as your live feedback tool. If it drifts to one side, your light is off-center and you have wandered toward a loop pattern. If it grows long and reaches the lip, lower the light. If it disappears entirely, the light is too low or too flat and you have lost the pattern. Watching the nose shadow is faster than checking a meter, because it tells you the geometry is right at a glance.
The Classic Butterfly Lighting Setup, Step by Step
The setup is refreshingly simple, which is part of why it has lasted a century. You need one key light, one source of fill from below, and a subject who faces the camera fairly straight on.
Start by placing the key light directly in front of your subject, on the same axis as the lens, and raise it high so it aims down at the face at roughly 45 degrees. A common starting point is to position the light just above and behind the camera, tilted down toward the nose. Bring your subject in and watch the shadow under the nose form. Raise or lower the light in small moves until that shadow is short, centered, and clear of the lip.
Next, add fill from below to open up the shadows under the chin, the eye sockets, and the neck. A reflector held flat under the chin, angled up toward the face, is the classic tool. It bounces the key light back up, softens the contrast, and adds a bright catchlight in the lower part of the eyes. Place it just out of frame, tilt it until the under-chin shadow lifts to taste, and you have the full pattern. Some photographers call this a clamshell when they use a second light instead of a reflector below, because the top and bottom sources open and close like a shell around the face.
Finally, refine the height and distance. Move the key light closer for softer, wraparound light, or farther for a touch more contrast and snap. Raise it slightly for more drama under the cheekbones, or lower it for a flatter, more youthful, beauty-campaign look. Small adjustments of a few inches change the mood, so treat the initial placement as a starting point and dial from there.
Gear That Makes Butterfly Lighting Easy
You do not need an elaborate kit. A single key light modified for softness, a way to raise it above the subject, and something to fill from below will carry you a long way.
For the key, a large softbox, a beauty dish, or a big octabox all work beautifully. The beauty dish is the traditional choice for this pattern because it gives crisp, glamorous falloff with a defined catchlight, which is exactly the classic paramount look. A softbox or octabox gives a softer, more forgiving result that flatters texture and is easier for beginners to nail. A boom arm or a tall stand helps you get the light high and centered without a leg poking into the frame. For fill, a simple white or silver reflector on a stand or held by an assistant does the job, and a second dimmed light works when you want precise control. Natural light works too. A subject facing an open sky or a high window, with a reflector under the chin, can produce a clean butterfly pattern with no strobes at all.
Who Butterfly Lighting Flatters
Butterfly lighting is a beauty pattern, so it shines on the faces and genres where smooth, symmetrical, glamorous light is the goal. It flatters people with strong, high cheekbones, because the shadow that forms just beneath them accentuates the bone structure. It is a natural fit for beauty and cosmetics work, headshots meant to look polished and approachable, fashion and beauty portraits, and classic Hollywood-style black and white.
It is less kind to a few faces. Because the light comes from above, it can deepen the shadows in the eye sockets, so people with deep-set eyes may lose catchlights unless you add strong fill from below. The high angle can also emphasize a prominent nose by lengthening its shadow, and it can highlight texture on older or heavily lined skin because the even frontal light leaves little room to hide. For those subjects a loop or broad pattern with a lower light source is often more forgiving. As with any rule, test it on the actual face in front of you rather than trusting the theory.
Variations Worth Knowing
Once you own the basic pattern, a few variations expand what you can do with the same one-light foundation. The clamshell is the most common. You keep the butterfly key on top and add a second soft source or reflector directly below the face, filling the shadows almost completely for a bright, glossy beauty look with a double catchlight. It is the standard for cosmetics and skincare imagery.
You can also feather the key by rotating it so the edge of the beam, rather than the center, falls on the face. Feathering softens the falloff and reduces hotspots on oily or reflective skin. Adding a hair light behind the subject separates them from the background and adds dimension without disturbing the frontal pattern. And you can drift the key slightly off-center on purpose, which nudges the nose shadow to one side and blends butterfly into loop lighting when you want a hair more shape and a slightly less symmetrical result.
Butterfly vs Loop, Rembrandt, and Split Lighting
Butterfly is one member of a family of portrait patterns, and knowing where it sits helps you choose the right one for the face and the mood. All four are defined by where the key light sits and the shadow it throws.
Loop lighting moves the key slightly to one side and a little lower than butterfly. The nose shadow becomes a small loop that falls to one side of the face rather than straight down. Loop is the everyday workhorse pattern because it flatters most faces, adds a touch of dimension, and is very forgiving, which makes it a safer default than butterfly for general portraits.
Rembrandt lighting pushes the key further to the side and higher, until the shadow from the nose connects with the shadow from the cheek and traps a small triangle of light on the shadowed cheek. It is more dramatic and moody, ideal for character portraits and darker, painterly work. Split lighting takes it to the extreme, placing the key at 90 degrees to the side so one half of the face is lit and the other falls into shadow. Split is the most dramatic of the four and is used for tension, mystery, and bold editorial looks.
Think of it as a spectrum from symmetry to drama. Butterfly is the most even and glamorous, loop adds gentle shape, Rembrandt adds mood and depth, and split is pure contrast. Learn all four with the same single light and you can shape almost any face with confidence.
Common Butterfly Lighting Mistakes
The most frequent mistake is raising the key light too high, which stretches the nose shadow down until it merges with the lip and creates an unflattering dark smear across the mouth. If you see that, lower the light until the shadow lifts clear. The opposite error is placing the light too low or too flat, which erases the pattern entirely and gives you dull, shadowless light with no shape.
Skipping the fill is another common miss. Without a reflector under the chin, the shadows below the jaw and in the eyes go too dark and the portrait loses its bright, open beauty quality. Letting the key drift off the lens axis is easy to do and quietly turns your butterfly into a lopsided loop, so keep checking that the nose shadow stays centered. Finally, remember that butterfly is not universal. Forcing it onto a deep-set or heavily textured face without heavy fill will emphasize exactly what you wanted to soften, so switch patterns when the face calls for it.
Finishing a Butterfly Portrait Session with Imagen
Nailing the pattern in camera is only half the job. When you shoot a full session, or a studio day with several setups and subjects, you still have to bring dozens or hundreds of frames to one consistent tone before you deliver. That editing pass is where Imagen, now an intelligent Studio where you cull, edit, review and export in one project, fits into a butterfly lighting workflow.
Imagen is a desktop app for Mac and Windows made for photographers who deliver whole shoots rather than single hero frames. Its batch editing applies color correction, exposure balancing, and white balance in your personal AI editing style across every frame, so a set lit with the same butterfly pattern comes back looking uniform instead of drifting slightly from shot to shot. AI culling narrows the near-identical frames from each pose so you are not scrolling through twenty almost-identical captures, and the AI Assistant handles per-photo finishing like object removal or a background blur on the frames that need it, while the built-in editor (Beta) gives you manual sliders and a histogram for a final tweak. It does not sharpen a soft capture or retouch skin pore by pore, though its AI smooth-skin and face-retouch tools keep faces cleaned up across the set, and it does not replace your lighting judgment, but it removes the repetitive grading and sorting that eats an evening after a shoot.
Pricing is pay-as-you-go: exploring the tools is free and you pay for the photos you export. You can test it on a real session before you commit. For a portrait photographer running consistent butterfly setups across a busy day, that means the look you built with one light stays consistent all the way through delivery.
What’s new in Imagen: Imagen is now an intelligent, agentic Studio for professional photographers. Cull, edit, review and export all live in one project, in any order you like. After a butterfly lighting session, you can apply your Personal AI Profile or a ready-made AI Profile for a consistent look, then use the built-in editor (Beta) for a final touch with manual sliders, a histogram, and crop and straighten. Access is rolling out gradually while it is in beta.
Frequently Asked Questions
What is butterfly lighting in portrait photography?
Butterfly lighting is a portrait pattern created by a single key light placed high and directly in front of the subject, centered on the lens axis and angled down at about 45 degrees. It casts a small symmetrical shadow under the nose, shaped like a butterfly, and produces an even, glamorous, flattering look. It is also called paramount lighting after the old Hollywood studios that popularized it.
Where do I place the light for a butterfly lighting setup?
Place the key light directly in front of your subject on the same axis as the lens, raised high so it aims down at the face at roughly 45 degrees. Adjust the height until the shadow under the nose is short, centered, and clear of the top lip. Then add a reflector or a second light below the chin to fill the shadows and add a lower catchlight in the eyes.
What is the difference between butterfly and loop lighting?
Butterfly lighting keeps the key centered above the lens, so the nose shadow points straight down and both sides of the face are lit evenly. Loop lighting moves the key slightly to one side and a little lower, so the nose shadow becomes a small loop that falls to one side. Butterfly is more symmetrical and glamorous, while loop adds gentle dimension and flatters a wider range of faces.
Who does butterfly lighting flatter most?
Butterfly lighting flatters faces with strong, high cheekbones and works well for beauty, cosmetics, fashion, and polished headshots. It is less kind to deep-set eyes, prominent noses, and heavily textured skin, because the high frontal angle can deepen eye shadows and emphasize texture. For those subjects a loop or broad pattern with a lower light source is often more forgiving.
Can I do butterfly lighting with natural light?
Yes. You can create a butterfly pattern outdoors or by a large high window by positioning the subject so the light comes from above and in front, then placing a reflector under the chin to fill the shadows and add a catchlight. You do not need strobes. Any high, soft, frontal source can produce the signature under-nose shadow when it is centered on the face.
For more on shaping light and faces, see our guides on hard light vs soft light in photography and the complete face and portrait photography guide. You can also browse the full library of photography workflow tips for more on lighting, portraits, and batch editing.
