

Beginner Image Cropping for Headshot Photographers: Where to Start
Table of contents
- Why cropping matters more for headshots than almost any other genre
- Start with the classic head-and-shoulders frame
- Place the eyes on the upper third
- Choose one aspect ratio and commit to it
- Straighten first, then crop
- Keep an entire team roster consistent
- Where automated batch cropping fits your workflow
- Common beginner cropping mistakes to avoid
- Frequently asked questions
If you shoot headshots and your crops feel inconsistent from one frame to the next, start with three anchors: keep the head-and-shoulders framing consistent, place the eyes along the upper third of the frame, and lock a single aspect ratio for the whole set. Those three habits fix most beginner cropping problems before you ever touch a slider. Everything else, from breathing room above the head to how tight you go around the shoulders, becomes a small adjustment rather than a guess.
This guide walks you through headshot cropping from the ground up: how to frame the face, where to put the eye line, which ratios corporate clients expect, and how to keep a full team roster looking like it belongs together. It also shows where a beginner should stop cropping by hand and let a batch tool carry the repetitive work, so a fifty-person company shoot lands with the same framing on every card.
Why cropping matters more for headshots than almost any other genre
A landscape can survive a loose crop. A headshot cannot. The viewer looks straight at the face, so any imbalance reads instantly: too much space over the head, a chin cut awkwardly close, one person framed tighter than the rest of their team. Headshots are also usually seen in a grid. On a company About page, a LinkedIn search result, or a conference speaker wall, your images sit next to each other. When one crop drifts, the whole set looks unplanned.
That is the real job of cropping in this genre. You are not just tidying one picture. You are building a consistent frame that repeats across every person you photograph, so the group looks intentional and professional. Once you think of cropping as setting a repeatable rule rather than nudging each image on its own, the beginner overwhelm fades quickly.
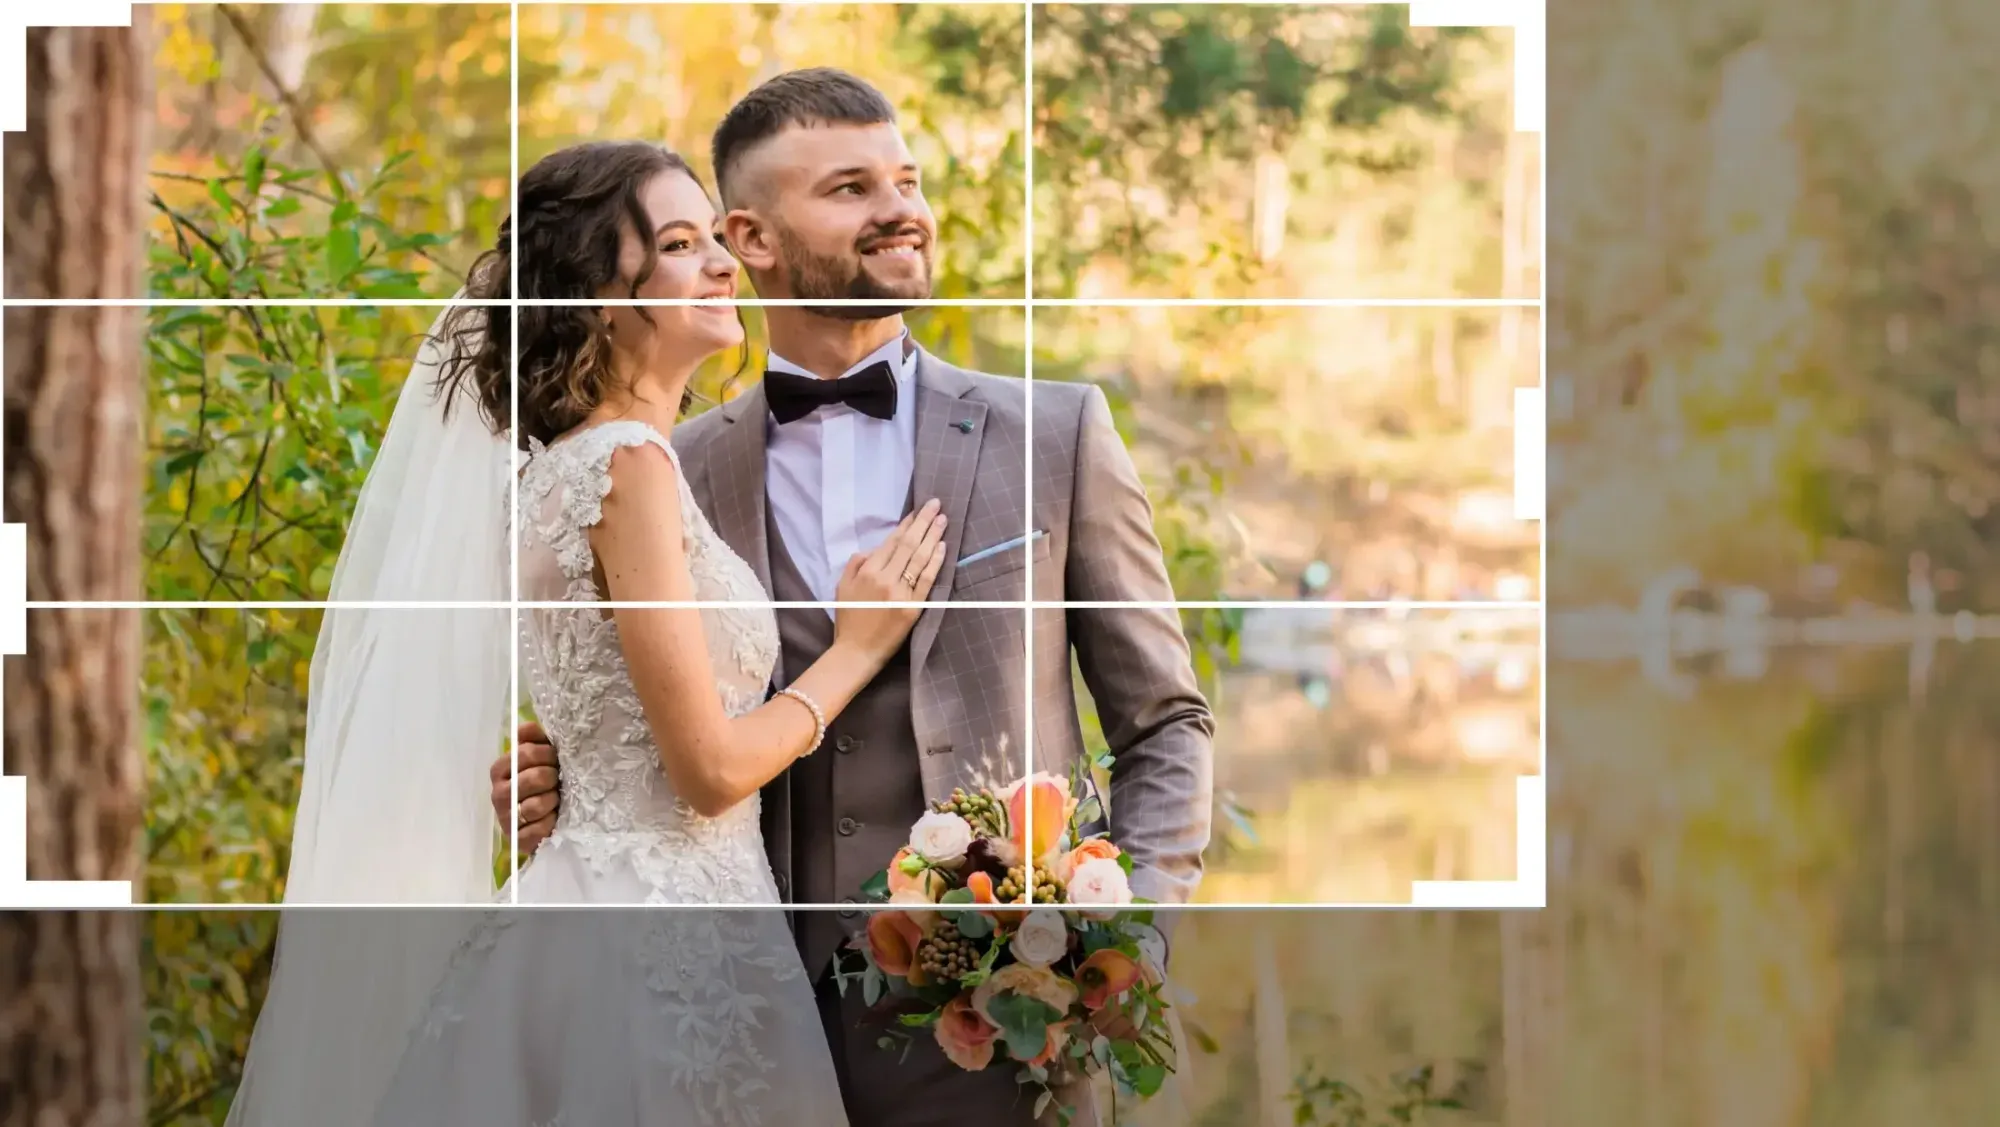
Start with the classic head-and-shoulders frame
The safest starting crop for a professional headshot is head-and-shoulders: the top of the frame sits a little above the crown, and the bottom lands somewhere around the upper chest, including a clean line of the shoulders. This framing flatters most faces, keeps the subject dominant, and works for corporate directories, bios, and profile photos alike.
A few beginner-friendly rules keep this frame clean:
- Leave a little headroom, not a lot. A thin margin above the hair looks balanced. A wide empty band above the head makes the subject shrink and the photo feel like a snapshot.
- Do not amputate at a joint. Avoid cutting exactly at the shoulder seam or the chin. Crop through the upper arm or mid-chest instead so the edge feels deliberate.
- Keep both shoulders in when you can. Balanced shoulders anchor the frame. If you crop one out, do it as a clear stylistic choice, not by accident.
Once this frame feels natural, you have a default you can apply to nearly every corporate subject and adjust only when the client wants something tighter or looser.
Place the eyes on the upper third
The single most useful cropping guideline for faces is the eye line. Position the subject’s eyes roughly one third of the way down from the top of the frame. Eyes are where a viewer looks first, so putting them on that upper-third line makes the portrait feel grounded and natural rather than floating or bottom-heavy.
For a beginner, this one rule quietly solves several problems at once. It sets your headroom for you, it keeps faces from sinking too low in the frame, and, most importantly for team work, it gives you a repeatable reference point. If every person’s eyes sit on the same horizontal line, your whole roster will feel aligned even when the subjects are different heights and build. Turn on your editor’s crop grid, watch where the eyes fall, and make the eye line, not the top of the head, your alignment anchor.
Choose one aspect ratio and commit to it
Aspect ratio is the shape of your crop, and beginners often let it drift without noticing. For headshots, pick the ratio your client actually needs and apply it to the entire set. Common choices include:
- Square (1:1) for social profiles, team grids, and avatars, where platforms crop to a circle or square anyway.
- 4:5 vertical for LinkedIn and most portrait-oriented bios, giving a natural upright frame.
- Full-frame 2:3 when a client wants a more editorial, less cropped look.
The mistake to avoid is mixing ratios inside one deliverable. If half your team headshots are square and half are 4:5, the About page will never line up cleanly. Decide the ratio before you start editing, confirm it against where the images will live, and hold that shape across every frame. Consistent aspect ratio is the invisible thread that makes a set look like one coherent shoot.
Straighten first, then crop
Crooked verticals are a quiet headshot killer. A background doorframe or wall edge that leans even a degree or two makes an otherwise sharp portrait feel off, and viewers rarely know why. Because straightening rotates the image and shaves the corners, always level the frame before you set your final crop, not after.
Look for a reliable vertical or horizontal reference in the background, a wall line, a window edge, the horizon, and align to it. In a controlled studio setup your verticals should be dead straight, which also helps every headshot in the set match. When you fix rotation first and crop second, you avoid the frustrating loop of cropping tight, then straightening, then discovering you have cut into the shoulders and need to start over.
Keep an entire team roster consistent
Individual headshots are the easy part. The real test is a corporate team shoot where twenty, fifty, or a hundred people all need to match. Here consistency stops being a nicety and becomes the deliverable. Every subject should share the same aspect ratio, the same eye-line placement, the same headroom, and the same rough tightness around the shoulders, so no single person looks closer to the camera or framed differently from their colleagues.
Doing that by hand, one crop at a time, is where beginners lose hours and where small inconsistencies creep in. Frame two hundred faces manually and your eye tires, your headroom wanders, and the last fifty crops rarely match the first fifty. This is exactly the kind of repetitive, rule-based work that batch cropping is built to remove, and it is where a tool earns its place in your workflow.
Where automated batch cropping fits your workflow
Once you know the rules you want, applying them by hand across a full roster is just repetition, and repetition is where software helps most. Imagen’s online batch crop-and-straighten tool auto-crops, straightens, rotates, and applies a consistent aspect ratio across an entire batch of images at once, so a whole team shoot inherits the same framing instead of you nudging every frame individually. For a beginner, that turns the hardest part of headshot cropping, staying consistent at volume, into a setting rather than a marathon.
Imagen is a desktop app for Mac and Windows with the AI processing in the cloud, and it is built for photographers working at scale. It learns your editing style through personal AI profiles and delivers consistent color and tone across a whole shoot, culls your selects, and works with RAW files for fast client delivery. When a single face needs a hand-tuned crop, the built-in editor (Beta) has crop and straighten inside Imagen. On pricing, pay as you go is a monthly base fee plus a charge for the photos you export, so the cost of applying a consistent crop and grade across a large roster stays predictable. The point for a beginner is simple: decide your framing rules once, then let the batch handle the mechanical part while your set stays uniform.
A quick honesty note on scope. Automated cropping, straightening, and aspect-ratio matching are the right jobs for a batch tool. Heavier pixel work is not. If a headshot needs a background genuinely replaced, an object removed, or the frame extended past its original edges with generative fill, that belongs to a dedicated tool built for that task, handled as a separate step rather than folded into your batch crop.
Common beginner cropping mistakes to avoid
A short checklist of the errors that trip up most new headshot photographers:
- Too much headroom. The most common beginner tell. Tighten the top so the face fills the frame with confidence.
- Cutting at a joint. Cropping exactly at the chin, shoulder seam, or hairline looks abrupt. Move the edge a little higher or lower.
- Ignoring the eye line. Faces that sink into the lower half of the frame feel heavy. Reset the eyes to the upper third.
- Mixing aspect ratios in one set. One ratio per deliverable. Always.
- Cropping before straightening. Level first, then crop, so you never lose framing to a later rotation.
- Over-cropping for detail. A very tight face crop can flatter one portrait but rarely matches a full roster. Consistency beats a single dramatic frame.
Work through this list on your next set and most of your cropping worries disappear. When you are ready to apply your rules across a large shoot without redoing them by hand, explore how Imagen keeps framing, color, and delivery consistent at volume, now in a Studio where you cull, edit and export in one project.
What’s new in Imagen: Imagen has become an intelligent, agentic Studio for professional photographers, one project where you cull, edit, review and export in any order. For a big team roster, AI filters such as blur and closed eyes help you narrow the shoot, and the assistant can find photos and act on them when you ask in plain language, with you steering. The Studio works alongside Lightroom, and the beta is reaching photographers in stages.
Frequently asked questions
What is the best aspect ratio for professional headshots?
There is no single answer, only the right answer for where the image will live. Square (1:1) suits social profiles and team grids, 4:5 vertical works well for LinkedIn and bios, and a fuller 2:3 gives a more editorial feel. The rule that matters most is picking one ratio and applying it to the entire set so the images line up cleanly wherever they appear together.
How much space should I leave above the head in a headshot?
Leave a thin, balanced margin above the hair, not a wide empty band. An easy way to get this right automatically is to position the eyes on the upper third of the frame; that placement sets sensible headroom for you and keeps the face dominant rather than floating.
Should I crop or straighten a headshot first?
Straighten first, then crop. Rotating an image to level a crooked vertical shaves the corners, so if you crop tight first you often lose framing and have to redo it. Level the frame against a reliable background line, then set your final crop on the corrected image.
How do I keep dozens of team headshots looking consistent?
Lock a single aspect ratio, a consistent eye-line placement, and the same headroom and shoulder tightness across every subject, then apply those rules to the whole set rather than eyeballing each frame. Doing that by hand at volume is slow and drifts, which is why a batch crop-and-straighten tool that applies one consistent framing rule across all images is the practical way to keep a large roster uniform.
