

Beginner Image Cropping for Corporate Event Photographers: Where to Start
Table of contents
- Why Cropping Matters More at Corporate Events Than You Think
- Aspect Ratios Every Corporate Event Photographer Should Know
- Composition Rules That Make Beginner Crops Look Professional
- Common Cropping Mistakes New Corporate Event Photographers Make
- Straighten Before You Crop, and Why the Order Matters
- How Imagen Helps You Crop and Straighten a Whole Event Consistently
- When Cropping Alone Is Not Enough
- A Simple Beginner Workflow to Start With Today
- Frequently asked questions
Start with the frame you already shot, not a new lens. Most beginner corporate event photographers over rely on cropping to “fix” a composition after the fact, when a tighter mental checklist during the shoot and a consistent cropping habit afterward would solve nine out of ten problems. The fastest way to level up is to learn a small set of aspect ratios, a handful of composition rules built for conference rooms and stages, and a repeatable order of operations: straighten first, then crop, then judge the result against the platform it is going to.
Corporate event photography rewards consistency more than any other genre, because the same gallery often gets pulled apart and reused across a LinkedIn recap, an internal newsletter, a website banner, and a printed recap deck. If your crops are inconsistent from frame to frame, the whole set looks amateur even when the exposure and color are perfect. This guide walks through the ratios, the rules, the mistakes to avoid, and a simple workflow you can start using on your very next event.
Why Cropping Matters More at Corporate Events Than You Think
Wedding and portrait photographers usually control the background, the light, and the pose. Corporate event photographers rarely get any of that. You are working in a ballroom with a branded step and repeat, a stage with a podium and a screen behind it, or a networking hall full of moving people and exposed cables. Cropping is often the only tool you have left to remove distractions after the fact, which is exactly why beginners lean on it so heavily.
The problem is that cropping under pressure, late at night, with a client waiting for a same day gallery, tends to produce inconsistent results. One headshot ends up tight to the shoulders, the next one includes half a lanyard and a fire exit sign. Learning a small number of go to crops for common corporate scenarios, keynote, panel, networking, awards, headshot, removes the guesswork and speeds up your edit.
Aspect Ratios Every Corporate Event Photographer Should Know
Most beginners crop by eye and hope for the best, which works fine for a single hero image but falls apart once a client wants the same gallery repurposed across five platforms. Learn these five ratios and you will cover almost every corporate request:
4:5 or 1:1 for LinkedIn and Instagram posts, where a tighter, more square frame keeps faces large in a small feed thumbnail. 16:9 for website hero banners and video thumbnails, which favors wide stage shots and panel setups. 2:3 or 4:6 for print recap decks and photo books, matching standard print sizes so nothing gets awkwardly stretched. 3:2 as your working default straight out of most full frame cameras, useful when the client has not specified a use case yet. 9:16 for Stories and vertical recap reels, which is worth shooting a few extra vertical frames for during the event rather than trying to crop a horizontal into it later.
Ask the client, or the marketing contact booking you, which of these matter most before the event. It takes one email and saves hours of re-cropping the same gallery three different ways after delivery.
Composition Rules That Make Beginner Crops Look Professional
A handful of composition habits separate a crop that looks intentional from one that looks like damage control. Leave breathing room above a subject’s head rather than cropping tight to the hairline, tight headroom reads as amateur in corporate contexts far more than in casual photography. Keep hands and gesturing arms fully inside the frame during panel and keynote shots, a partially cropped hand mid gesture is one of the most common beginner mistakes at conference events.
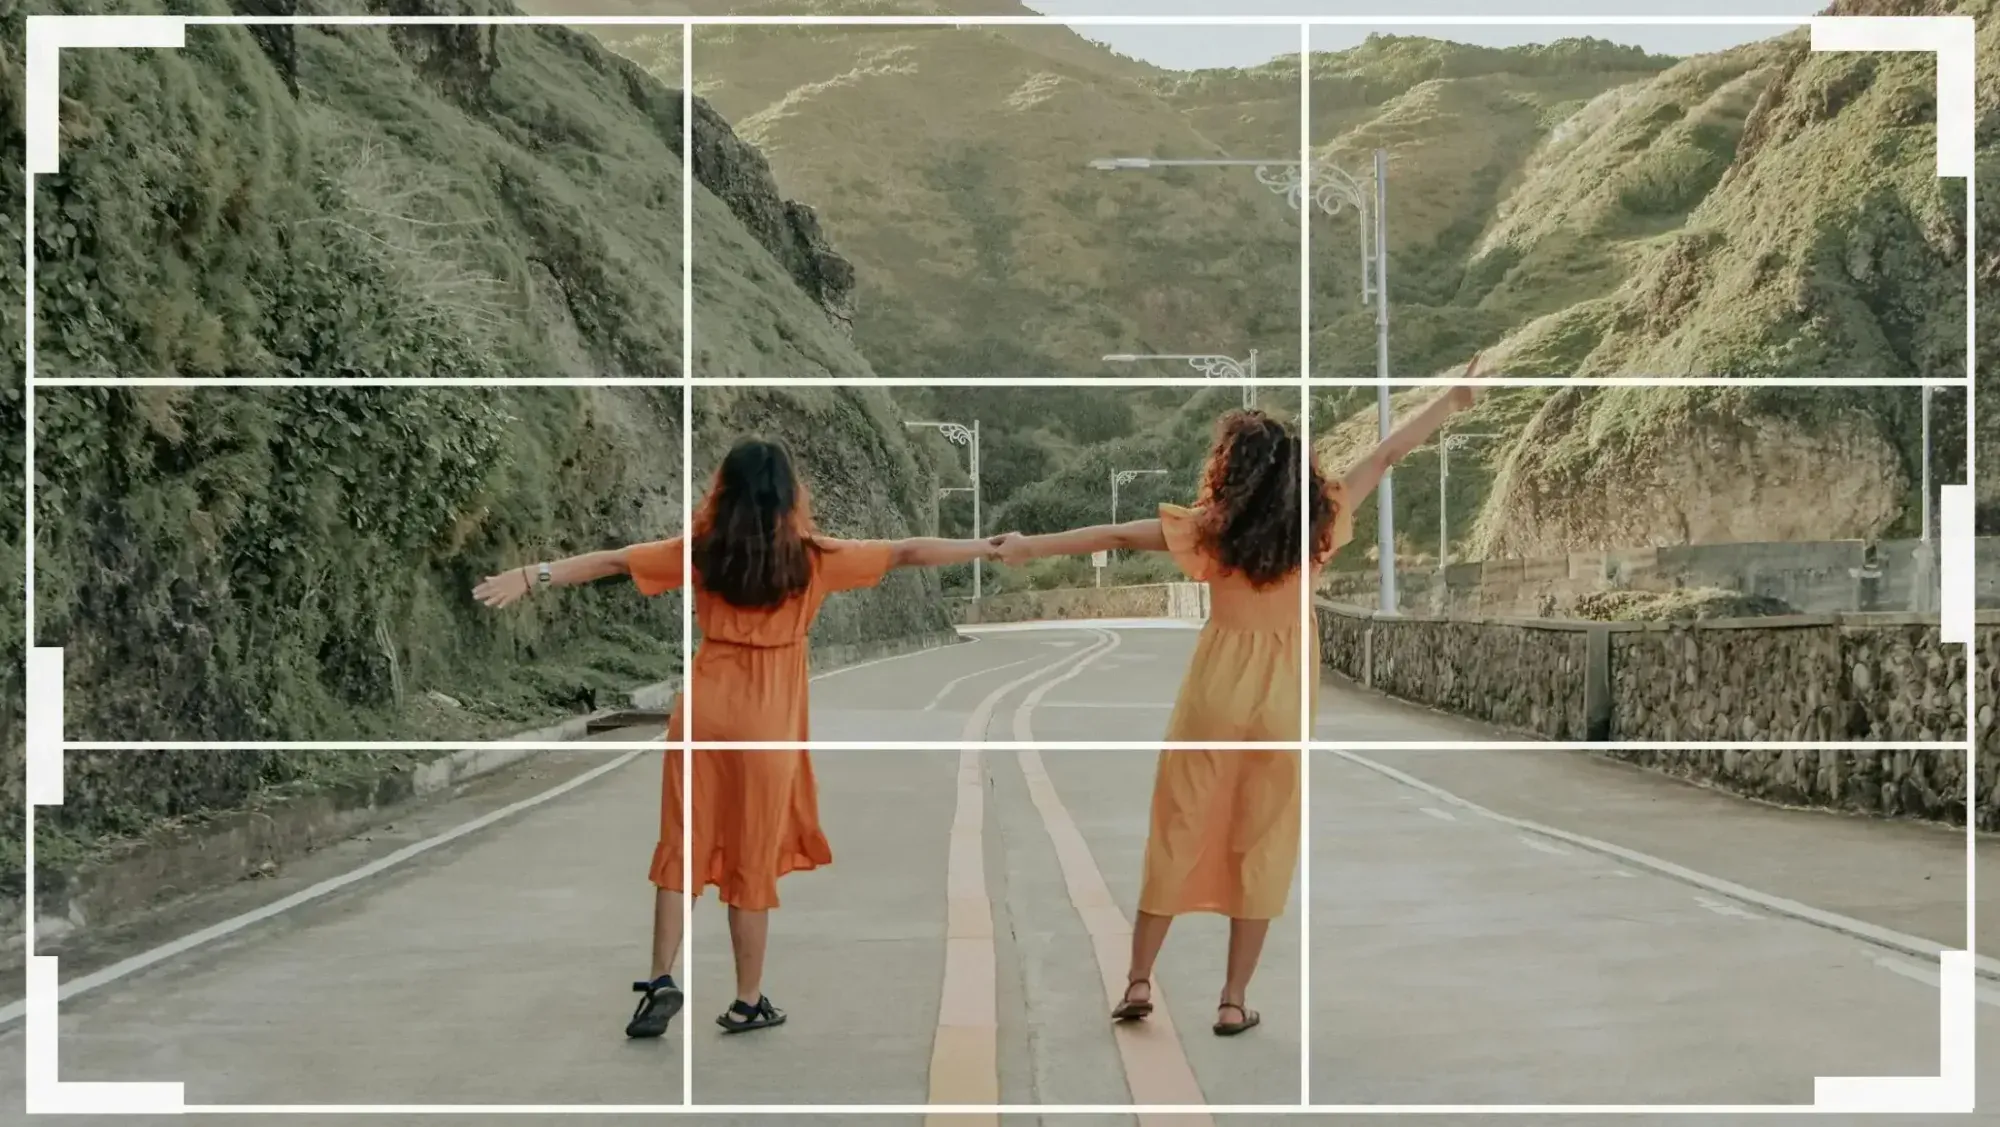
Use the rule of thirds when cropping a speaker against a branded backdrop, placing them off center leaves room for the sponsor logo or event title without feeling cramped. When cropping group and networking shots, resist the urge to crop as tight as possible, corporate clients often want to identify attendees later, so a slightly wider crop that keeps more faces recognizable is usually the safer choice than an aggressive artistic crop.
Common Cropping Mistakes New Corporate Event Photographers Make
The most frequent beginner mistake is cropping inconsistently across a gallery of hundreds of images, so that headshots from the same event look like they came from five different photographers. A close second is cropping out context a client actually wanted, cutting away the stage backdrop or the branded banner because it looked cluttered in camera, when that branding was the entire point of hiring a photographer for a sponsored event.
Another common issue is cropping before straightening. If a horizon or a stage edge is slightly tilted and you crop first, you either lose more of the frame than necessary when you straighten afterward, or you skip straightening altogether and the tilt stays baked into the final image. A tilted step and repeat backdrop or a leaning stage banner is one of the fastest ways to make an otherwise good corporate photo look unpolished.
Straighten Before You Crop, and Why the Order Matters
Straightening means rotating an image so a horizontal or vertical reference line, a horizon, a stage edge, a step and repeat backdrop, sits level rather than tilted. It is a simple rotation, not a full geometric rebuild of the image, which makes it one of the easiest wins for a beginner to learn. The order matters because straightening a frame rotates it slightly, which changes what falls inside or outside your crop lines. Straighten first, then crop to your final aspect ratio, and you will waste far less of the frame than cropping first and rotating afterward.
For a beginner shooting a full day corporate event, hundreds of frames will have a slight tilt from handheld shooting on the move between the stage, the networking floor, and the step and repeat. Building a habit of checking and correcting level before you commit to a crop is one of the single highest leverage skills you can develop early, and it is far easier to build consistently across a whole shoot than to fix one frame at a time after the fact.
How Imagen Helps You Crop and Straighten a Whole Event Consistently
Once you understand the ratios and the order of operations, the real bottleneck for a beginner corporate event photographer is volume. A single half day conference can produce a thousand or more usable frames, and manually cropping and straightening each one to a consistent standard is not realistic on a same day or next day turnaround. This is where Imagen’s desktop app genuinely helps: it applies AI crop and straighten across a whole shoot automatically, leveling tilted horizons and stage lines and cropping to a consistent aspect ratio, alongside its AI batch color and exposure editing, AI culling, and a personal AI style profile that learns how you like your images to look. Instead of straightening and cropping headshots, panel shots, and networking photos one at a time, you can run the batch, review the results, and adjust only the frames that need a manual touch in the built-in editor (Beta), which includes crop and straighten. Imagen’s automated image cropping tool is built exactly for this kind of consistent, high volume crop and straighten work, which makes it a natural fit for the aspect ratio habits described above. Pay as you go pricing is a monthly base fee plus a charge for the photos you export, and the AI editing includes this crop and straighten step.
What it will not do is rebuild perspective, invent missing content, or handle heavy retouching, and that is worth understanding early so you are not disappointed by the wrong expectation.
When Cropping Alone Is Not Enough
Crop and straighten solve leveling and framing, but they are not the same thing as true perspective correction. If a stage backdrop was shot at a steep angle and the vertical lines are converging or keystoning, that calls for a dedicated perspective correction tool that can warp the geometry of the image, not a simple crop or rotation. Similarly, correcting heavy lens distortion, the kind of barrel or pincushion warping you sometimes see from very wide lenses in tight ballroom spaces, is a separate geometry correction step best handled by a dedicated tool built for that specific problem.
The same goes for a handful of other beginner requests that sometimes get lumped in with cropping. Deblurring a motion blurred handshake photo, denoising a dark networking shot pushed too far in post, removing a stray cable or exit sign through content aware fill, or compositing two group shots together because someone blinked, all of these are real editing tasks, but they belong to dedicated retouching and compositing tools rather than a crop and straighten workflow. Knowing where cropping ends and those specialized tasks begin will save you time chasing a fix in the wrong tool.
A Simple Beginner Workflow to Start With Today
Before you shoot, confirm which aspect ratios the client actually needs, and shoot a few extra vertical frames if a Stories or reel recap is likely. During the event, keep an eye on level as you shoot handheld between the stage and the floor, so you are not fighting a heavy tilt on every frame later. After the event, straighten first, then crop to your confirmed ratios, checking headroom and hand placement as you go. For volume, batch the repetitive crop and straighten work rather than doing it one frame at a time, then spend your remaining time on the handful of hero images that deserve individual attention. Finally, deliver a gallery with consistent framing across similar shot types, keynote crops that match each other, headshots that match each other, so the whole set reads as one cohesive body of work rather than a pile of individually edited photos.
Building these habits early is what separates a beginner corporate event photographer from one who can confidently take on a multi day conference. You can see how Imagen fits into a broader corporate and event editing workflow, including the new Studio where you cull, edit and export in one project, at Imagen’s homepage.
What’s new in Imagen: Imagen is now an intelligent, agentic Studio for professional photographers, with culling, editing, review and export in one project that you can move through in any order. Finished edits show up in batches while the rest process, so you can begin checking early crops sooner. The Studio is rolling out gradually as a beta.
Frequently asked questions
What aspect ratio should I use for corporate headshots at an event? 4:5 or 1:1 works well for LinkedIn and social use, while 3:2 is a safe working default if the client has not specified a platform yet. Always confirm with the client before you commit to a final crop, since re-cropping hundreds of headshots after delivery is far more time consuming than asking one question upfront.
Should I straighten an image before or after cropping it? Straighten first, then crop. Straightening rotates the frame slightly, which changes what falls inside your crop lines, so cropping first often wastes more of the image than necessary once you go back and level it.
How do I keep crops consistent across a large corporate event gallery? Set a small number of go to ratios and composition rules for each recurring shot type, keynote, panel, networking, headshot, before you start editing, and apply them consistently rather than judging each frame individually. Batch tools that apply the same crop and straighten logic across a shoot make this far easier at volume than manual cropping one image at a time.
Can cropping fix a tilted stage backdrop or a wide angle lens distortion? Cropping combined with straightening fixes a simple tilt, rotating the frame so a stage edge or backdrop sits level. It cannot fix true perspective convergence or lens distortion warping, which need a dedicated perspective correction or geometry correction tool rather than a crop.
