

Beginner Image Cropping for Concert Photographers: Where to Start
Table of contents
- Why cropping matters so much in concert photography
- Frame a little wider at capture so you have room to crop
- Level the stage line before you do anything else
- Crop tight on the performer, but keep the story whole
- Match the crop to where the photo will run
- Protect your resolution when you crop hard in low light
- Keep a whole night’s gallery consistent
- How Imagen speeds up cropping and the full edit
- A simple step-by-step cropping workflow for beginners
- Frequently asked questions
If you are new to concert photography, the fastest way to make your shots look professional is not a new lens or a better camera. It is learning to crop well. Most live music images are shot from a crowded pit, from an awkward angle, at a distance you did not choose, so cropping is how you pull the performer out of the chaos and turn a wide, messy frame into a clean, punchy portrait. Start by shooting a touch wider than your final composition, level the stage line, crop tight on the artist while keeping the storytelling gesture whole, and hold a consistent aspect ratio across the whole set from that night.
This guide is written for beginners who want a simple, repeatable cropping habit rather than a pile of rules. It walks through why cropping matters so much in live music, how to frame at capture so you have room to work, where to place the artist inside the frame, how to keep your resolution when you crop hard in low light, and how to keep a full gallery from one show looking consistent. It finishes with the fast way to apply all of that across hundreds of frames so you can deliver the same night instead of losing your week to it.
Why cropping matters so much in concert photography
Concert photographers almost never control where they stand. You are handed a spot in the pit, a barrier three rows back, or a balcony off to the side, and the light moves, the artist moves, and other shooters crowd your elbow. Cropping is how you close the gap between where you were stuck and where the moment actually lived. A good crop drops the viewer straight onto the singer’s face, the guitarist’s hands, or the drummer mid-hit, and it clears out the security guard, the monitor wedge, and the stray microphone stand that wandered into the edge.
There is a second reason it matters more here than in calmer genres. Volume. A three-band night can leave you with a couple of thousand frames, most of them near-duplicates fired in bursts as the light changed. Editors, the band’s manager, or the venue want a tight selection quickly, sometimes before you leave the building. In that world cropping is not a finishing touch you add later. It is part of the core edit, and the cleaner and more consistent your cropping habit is, the more of your take becomes usable.
Frame a little wider at capture so you have room to crop
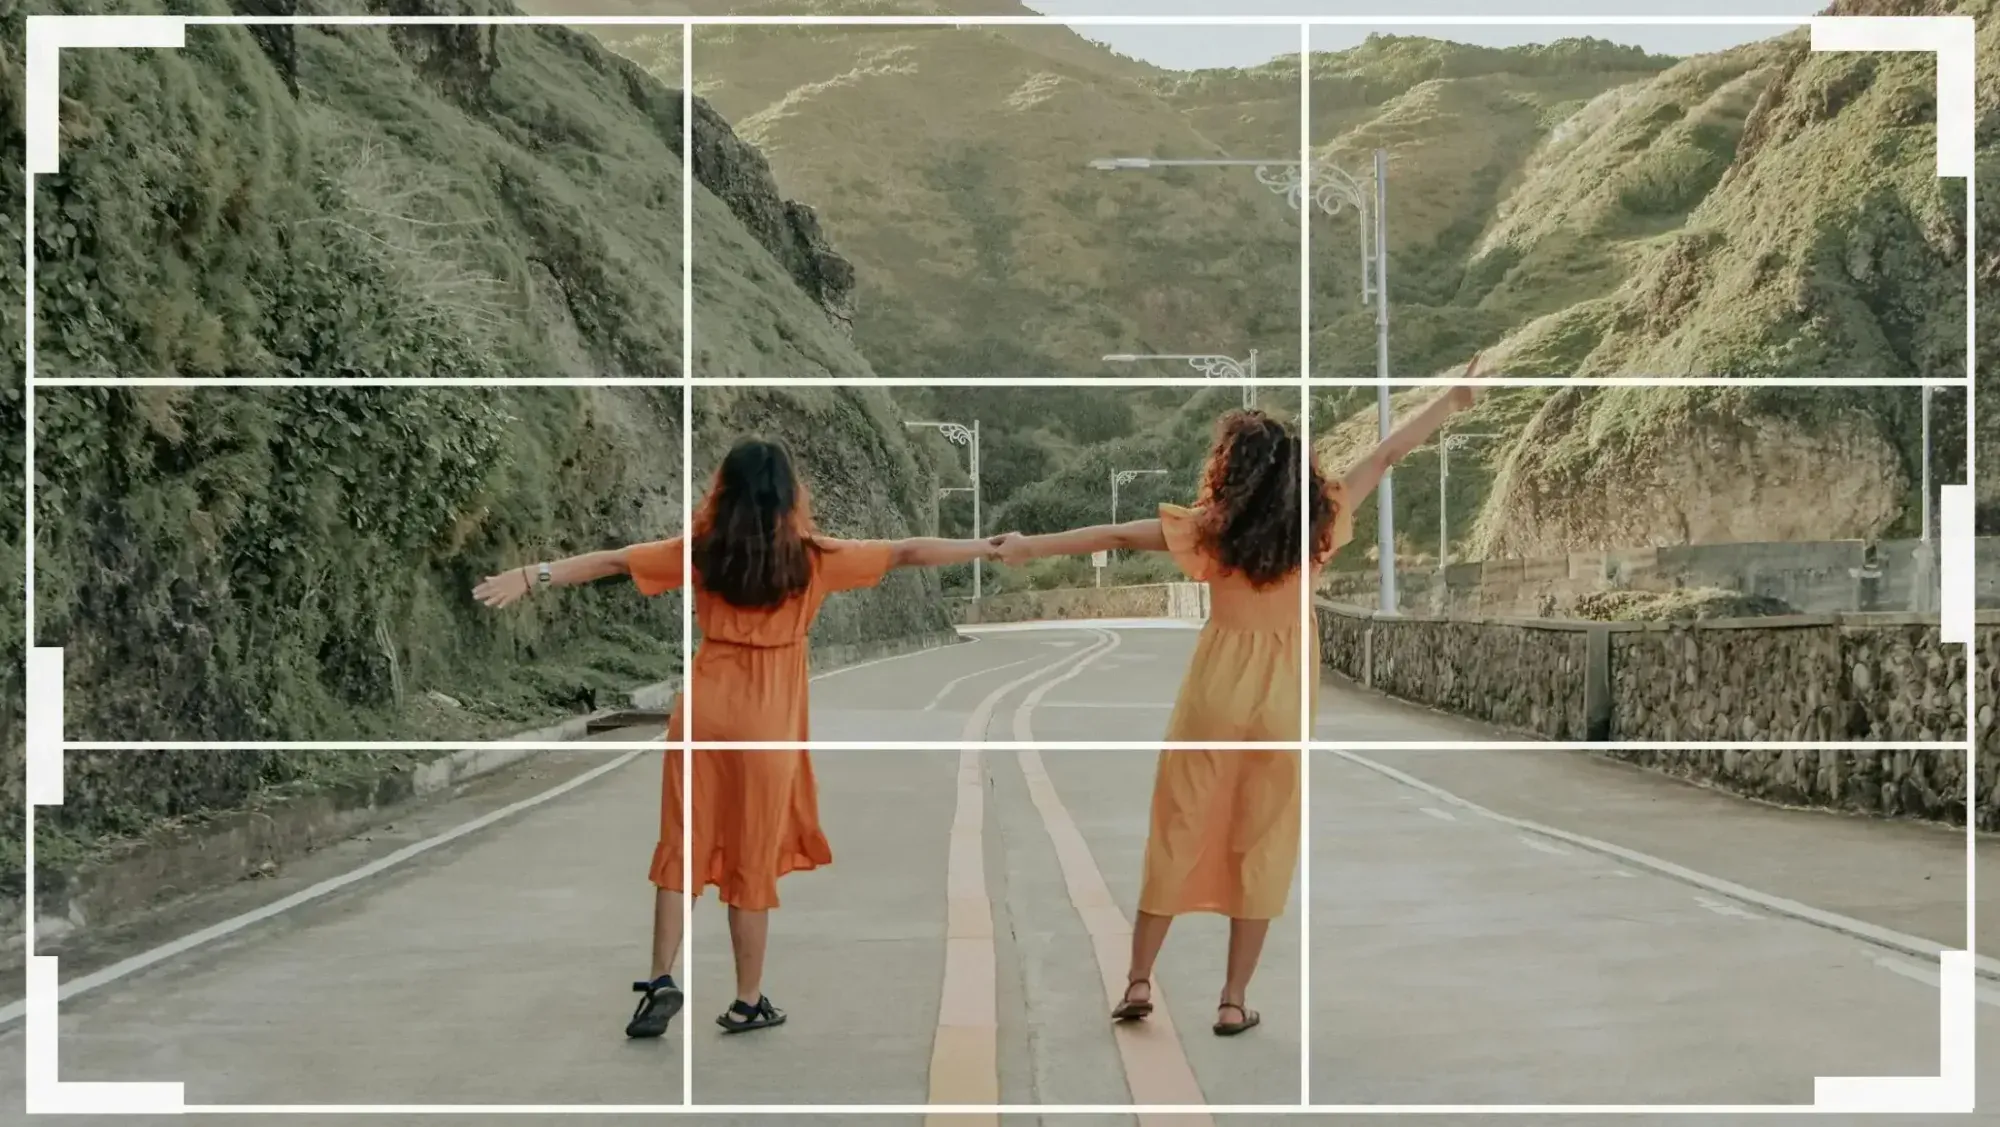
Good cropping starts before you press the shutter. If you nail a perfectly tight frame in-camera, you leave yourself no margin, and in a concert that margin is everything. The singer lunges to the edge of the stage, a hand shoots up, a spotlight blows out one side of the frame, and a slightly wider capture is what lets you recover the shot instead of losing it.
As a beginner habit, frame so the performer fills roughly two-thirds of the height, leaving a little space above the head and on the side they are moving toward. That surrounding space is your cropping budget. How much you leave depends on your gear. A high-resolution body with a fast telephoto lets you shoot wider and still crop hard while holding plenty of detail. A shorter lens or an older sensor means you should keep the buffer tighter so the crop does not eat all your pixels. Framing wider is not a license to be lazy, though. You still want to track the artist, keep them off dead-center, and anticipate the peak moment. The extra room is recovery space, not an excuse to ignore composition.
Level the stage line before you do anything else
Nothing marks a beginner’s concert gallery faster than a set of tilted frames. Shooting up at a stage, leaning to avoid a head in front of you, tracking a moving performer, all of it nudges the camera off level, and a crooked horizon reads as sloppy even when the moment is great. So make leveling the first move in your crop, before you tighten anything.
Look for a reliable straight reference in the frame. The front edge of the stage, a lighting truss, a riser, a row of monitors, or the top of an amp stack will usually give you a line to true up against. Rotate until that line sits square, then crop. Be aware that a straighten always trims a little off the edges, which is another reason to frame slightly wide at capture. Get level first and the rest of your crop decisions sit on a solid foundation. Skip it and every tight crop just locks in the tilt.
Crop tight on the performer, but keep the story whole
Live music storytelling lives in single gestures: the singer’s face at the top of a note, the guitarist arched back mid-solo, the exact instant the drumstick strikes. When you crop, you are choosing which of those moments to amplify. Scan the burst, find the frame where the energy peaks, and crop so that energy is unmissable.
Tighten until the artist fills the frame, but never clip the part that carries the story. If the story is the vocal, keep the face and the mic. If it is the performance, keep the hands on the strings or the stick meeting the drum. A crop that slices a raised hand off at the wrist or cuts the headstock of the guitar kills the moment instead of sharpening it. When you are unsure, give the key element a small breath of space rather than jamming it against the edge. And leave a little lead room in the direction the performer is facing or moving, so the frame feels like it is going somewhere rather than boxed in.
Match the crop to where the photo will run
A crop is not finished until it fits the place it will be seen. Concert images end up in a lot of channels, and each one wants a different shape. Crop to the wrong ratio and someone downstream re-crops your careful composition, usually worse than you would have.
- Web features and press (3:2 or 16:9): Music sites and reviews tend to expect classic or wide horizontal frames. A 16:9 crop can turn a busy stage into a clean, cinematic band of light and motion.
- Artist and band social feeds (4:5 and 1:1): Vertical and square crops dominate phone feeds. A 4:5 crop of a single performer usually reads far stronger on a phone than the original horizontal.
- Stories and reels (9:16): Full vertical is unforgiving. You generally need to have shot with real headroom to make it work, so keep it in mind at capture time.
- Prints and portfolio (3:2 or 4:3): For your own book or a print, the standard ratios preserve the most compositional flexibility, so keep them when you can.
The practical move for a beginner is to figure out the two or three ratios your images actually need, usually one wide and one vertical, and crop deliberately for those instead of eyeballing a fresh shape on every frame. Consistency across the set matters as much as any single crop.
Protect your resolution when you crop hard in low light
Every crop throws away pixels, and concert crops are often aggressive because you were far from the stage. The question is whether what remains is still sharp enough for the output you need. A frame from a 45-megapixel body cropped to half its area still holds more than twenty megapixels, plenty for print. The same crop from a 20-megapixel body leaves around ten, fine for web but tight for a large print.
Low light makes this trickier, because high-ISO noise gets more visible the harder you crop. Two habits protect you. First, know your output before you crop, so you are not guessing whether a file will hold up. Second, get as close as your spot and lens allow, so the crop is a refinement rather than a rescue. If you find yourself cropping to a tiny corner of nearly every frame, that is a signal to bring a longer lens or work a better position next time. Recovering a badly motion-blurred frame or scrubbing heavy noise out of a shadow is a separate job for a dedicated restoration tool, not something a crop can fix.
Keep a whole night’s gallery consistent
A concert gallery that jumps between ratios, framing styles, and tilt looks amateur even when individual frames are strong. Viewers and editors read a set as a single body of work. Consistency, similar breathing room, a repeated ratio for a given use, comparable subject size, is what makes a run of images feel like coverage of the show rather than a random pile of pictures.
This is where cropping stops being an art problem and becomes a throughput problem. Applying a consistent crop to a handful of hero shots is easy. Applying it across three or four hundred keepers from a multi-band night, on deadline, in the small hours after the show, is where beginners lose their evenings. Deciding your crop rules once and applying them at scale is the difference between delivering while the night is still fresh and delivering two days late.
How Imagen speeds up cropping and the full edit
Once your crop logic is settled, the real bottleneck is repetition, not creativity. This is where AI batch editing earns its place in a concert workflow. Imagen’s automated online image cropping auto-crops, straightens, rotates, and applies a consistent aspect ratio across a whole batch of frames in one online pass, so the leveling and tight-crop decisions you would otherwise repeat hundreds of times get applied at scale. Instead of manually truing up every tilted frame and re-cropping each near-duplicate from a burst, you set the direction and let the tool handle the volume.
Imagen learns how you edit from your own past work, builds a personal AI profile from your style, and then applies consistent color, tone, and cropping across an entire shoot. It is a desktop app for Mac and Windows with the AI processing in the cloud, works on RAW files, and pairs batch editing with culling in one project (AI culling is optional, and manual culling is free), so the slow parts of a big concert take, sorting the sharp frames from the soft ones and applying a unified look, happen fast. Because it delivers a consistent grade and crop across the whole set, a full night reads as one coherent gallery rather than a patchwork. Pricing is pay-as-you-go, a monthly base fee plus a charge for the photos you export, which keeps the cost predictable when you are processing thousands of frames from a single show. For a beginner, that means you can spend your attention on the handful of frames that need real thought and let the tool carry the repetitive middle.
It helps to be clear about what batch AI editing is and is not. It is excellent at consistent grading, culling, style profiles, straightening, and applying a repeatable crop and tone across a shoot. Heavier jobs like compositing, removing a distracting object from the background, generatively extending the edge of a frame, or rescuing a badly motion-blurred shot are a separate step for a dedicated tool. Use the batch tool for the ninety percent that is repetitive, and reserve hand work for the few frames that genuinely need it. If you want to try Imagen’s new Studio, where you cull, edit and export in one project, across your own catalog, you can start from the Imagen homepage.
A simple step-by-step cropping workflow for beginners
Putting it together, here is a workflow you can run on any concert shoot:
- Step 1, frame a little wider at capture. Leave room around the performer so you have a cropping budget later.
- Step 2, cull first. Reject the soft, blinked, and mistimed frames before you crop anything, so you only work on keepers.
- Step 3, level the stage line. Straighten against the stage edge, a truss, or an amp stack before you tighten.
- Step 4, crop for the peak moment. From each burst, choose the frame where the energy is highest and tighten to it.
- Step 5, keep the story and lead room. Tighten to the artist, keep the key gesture whole, and leave space in the direction they face.
- Step 6, apply the right ratio, then batch. Crop to the shapes you actually deliver, then apply your consistent crop, color, and tone across the full set so the gallery is uniform and delivery is fast.
For related reading, see our guides on culling and batch editing workflows in the valuable tips library, which pair naturally with a strong cropping habit.
What’s new in Imagen: With Imagen now an intelligent, agentic Studio for professional photographers, a long concert take no longer needs separate tools for each step. You cull, edit, review and export inside one non-linear project. AI filters such as blur and closed eyes help you narrow the night before you crop, and if you would rather skip AI culling, manual culling is free. Edited photos arrive in batches as they process. The beta is reaching photographers gradually.
Frequently asked questions
What aspect ratio should I use for concert photos? It depends on where the image will run. Keep 3:2 or 16:9 for press and web features, crop to 4:5 or 1:1 for artist and band social feeds, and use 9:16 for stories and reels. As a beginner, pick the two or three ratios you actually deliver, usually one wide and one vertical, and crop deliberately for those instead of guessing on each frame.
How tight should I crop a concert photo? Crop until the performer and the storytelling gesture fill the frame, but stop before you clip anything essential like a raised hand, the mic, or the headstock of a guitar. Leave a little lead room in the direction the artist faces or moves. If you find you are cropping to a tiny fraction of every frame, get closer or use a longer lens next time so the crop stays sharp.
Should I straighten before or after cropping? Straighten first. Concert frames are often tilted from shooting up at a stage or leaning around obstacles, and a crooked horizon reads as amateur. Level against the stage edge, a lighting truss, or an amp stack, then crop. Straightening trims the edges a little, which is one more reason to frame slightly wide at capture.
How do I crop hundreds of concert photos quickly? Define your crop rules once, then apply them at scale rather than deciding fresh on every frame. AI batch editing tools learn your cropping, straightening, and grading style from past work and apply consistent decisions across an entire shoot, which turns hours of repetitive cropping into a single pass and lets you deliver while the show is still fresh.
