

Beginner Image Cropping for Automotive Photographers: Where to Start
Table of contents
- What cropping actually does for a car photo
- Level the horizon on wide car bodies first
- Choose one aspect ratio for the whole gallery
- Frame the chrome, wheels, and badges with intent
- Leave room at the shoot so cropping has options
- Crop for the platform, not just the photo
- How automated cropping speeds up a full inventory set
- A simple beginner cropping checklist
- Frequently asked questions
If you are new to automotive photography, cropping is one of the first editing skills worth getting right. A good crop levels the horizon behind a car, tightens the frame around the vehicle, and gives a whole gallery the same clean proportions so a listing looks organized instead of chaotic. The short answer for where to start: shoot a little wider than you need, level the car and the horizon first, then crop to a single consistent aspect ratio across the entire set.
This guide walks through the beginner decisions in order, from framing at the shoot to standardizing aspect ratios for an inventory gallery. It also shows where an automated crop and straighten step fits, so you spend your time choosing the look rather than dragging handles on hundreds of frames one by one.
What cropping actually does for a car photo
Cropping changes which part of the frame the viewer sees and, just as importantly, changes the proportions of the final image. For cars, that has three practical jobs. First, it removes dead space and distractions at the edges, like a stray cone, a trash bin, or a slice of another vehicle. Second, it sets the car’s position in the frame, which controls how much road and sky sit around it. Third, it locks the aspect ratio, the width-to-height relationship that decides whether an image reads as a wide banner, a square thumbnail, or a tall detail shot.
Straightening usually rides along with cropping. When you rotate a slightly tilted frame to level the horizon or the wheels, the software crops inward to hide the empty corners the rotation creates. That is why cropping and straightening are almost always the same beginner task, and why shooting a bit loose gives you the room to do both without cutting into the car.
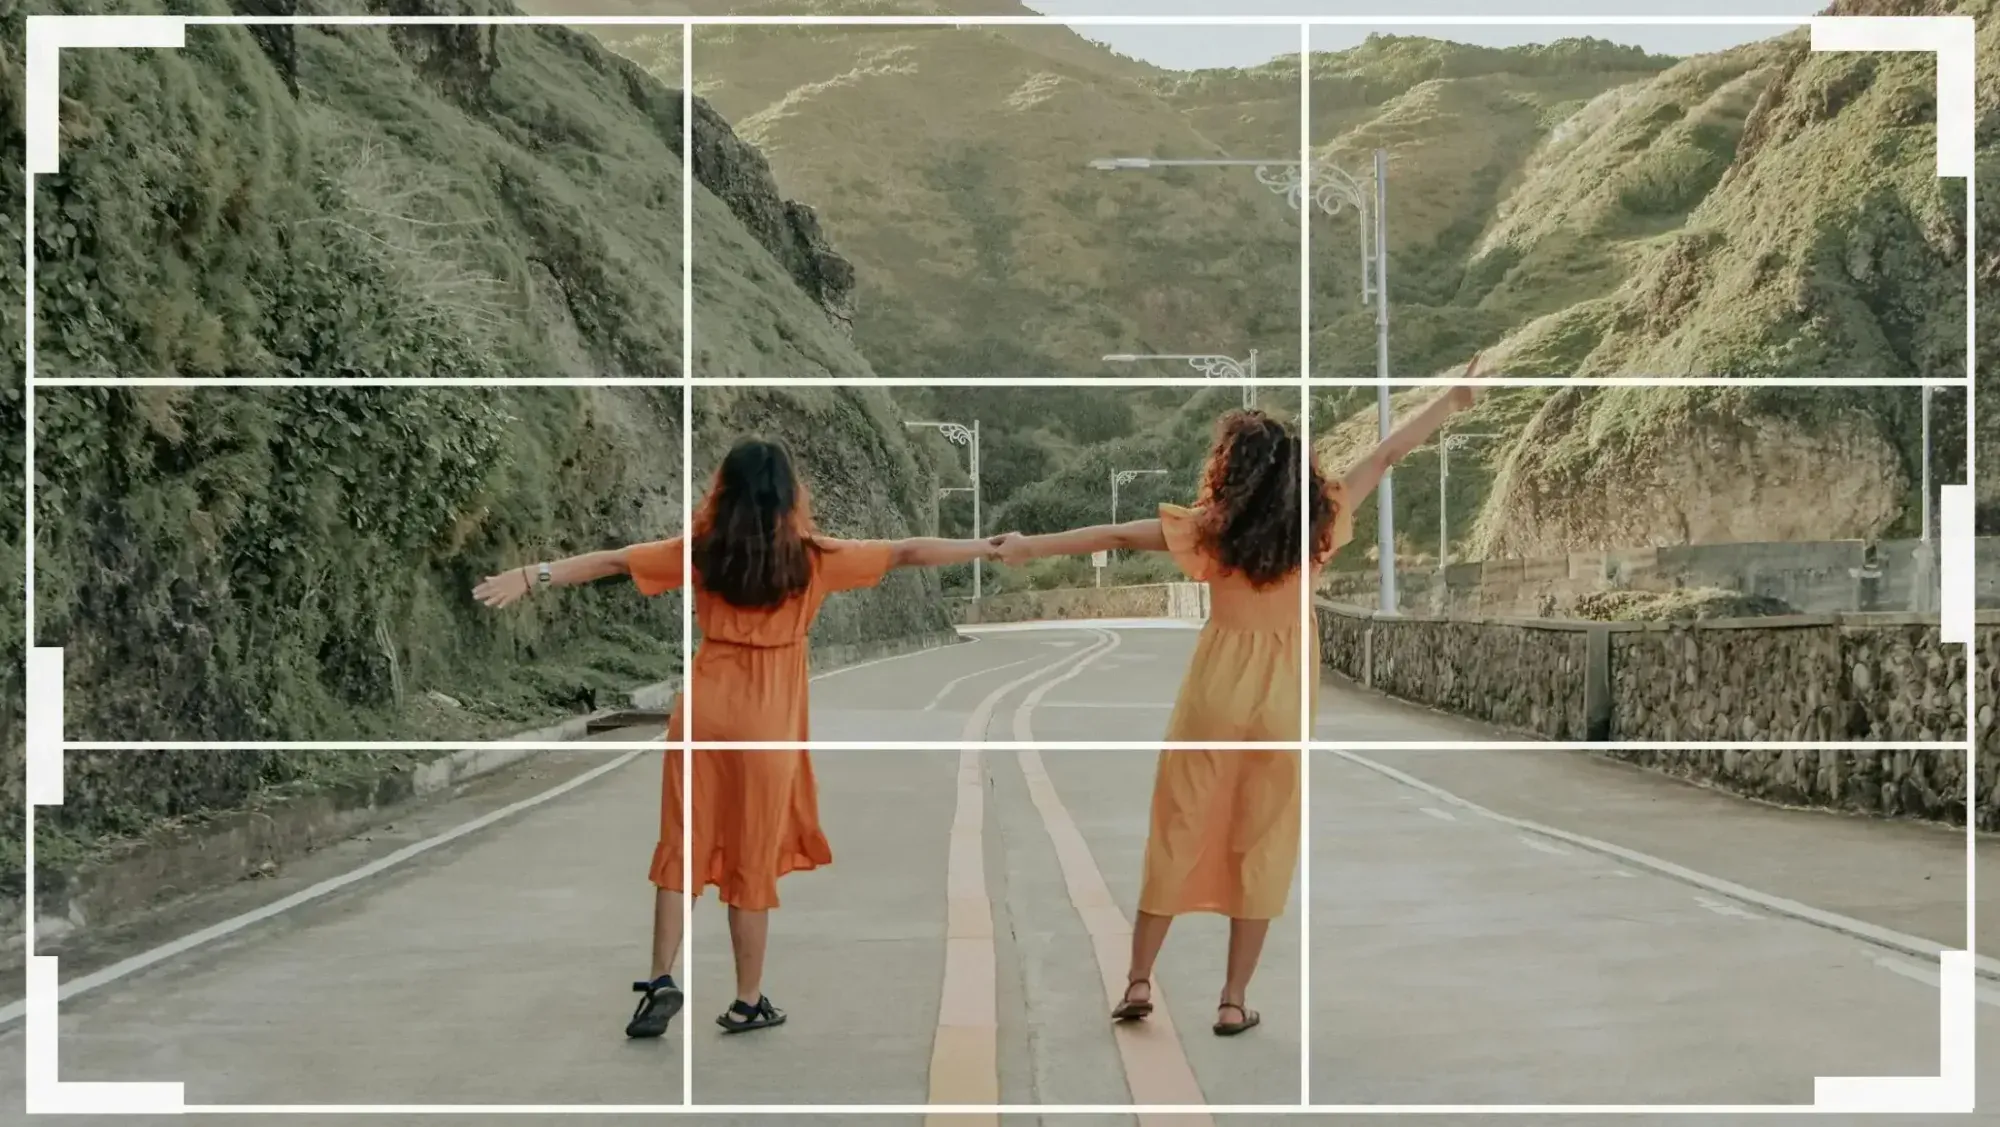
Level the horizon on wide car bodies first
A tilted horizon is the most common beginner mistake in car photos, and it is very visible on long, low vehicles. Because a car body stretches almost the full width of the frame, even a one or two degree tilt makes the roofline slope and the whole shot feel off balance. Level the horizon before you worry about anything else.
Look for a strong horizontal reference in the scene: the actual horizon on an open road, a curb line, a wall behind the car, or the sills and roofline of the vehicle itself. Align that reference to horizontal, and the car settles. On three-quarter angles where the body naturally recedes, trust the background horizon and the ground line rather than the car’s own diagonal edges, which are supposed to slant. Getting this right at the crop stage saves you from a gallery where every car looks like it is rolling downhill.
Choose one aspect ratio for the whole gallery
Consistency is what separates an amateur set from a professional one. Before you crop a single image, decide on the aspect ratio you will use for the entire shoot. A widescreen ratio like 16:9 or 3:2 suits exterior beauty shots and hero images, while a 4:5 or square crop can work well for social thumbnails and detail close-ups. The key is to pick your primary ratio and apply it everywhere the gallery needs to match.
When every image in a listing shares the same proportions, the gallery grid lines up cleanly, the buyer’s eye moves smoothly from photo to photo, and nothing jumps in size. Mixed ratios do the opposite: they create ragged edges in the grid and make even good photos feel unplanned. If your marketplace or website has a required ratio, crop to that from the start rather than reformatting later and losing edge detail twice.
Frame the chrome, wheels, and badges with intent
Automotive buyers look at specific things, so your crops should protect them. The wheels and tires tell a story about condition and stance, so avoid clipping them at the bottom edge unless you are shooting a deliberate detail. Give the front and rear a little breathing room so bumpers and badges are not crowded against the frame. When you crop a detail shot, center the feature that matters, whether that is a grille badge, a set of forged wheels, or a chrome trim line catching light.
Watch your reflections too. Chrome and glossy paint act like mirrors, and a crop that includes your own reflection, a light stand, or a cluttered background in the paint will pull attention away from the car. Sometimes the fix is a tighter crop that hides the reflection; sometimes it is a note to reshoot that angle. Learning to read the edges of the frame for these problems is a skill that pays off quickly.
Leave room at the shoot so cropping has options
The easiest way to make cropping simple later is to give yourself margin when you shoot. Frame the car with a little space on all sides rather than filling the viewfinder edge to edge. That extra room does two things: it lets you straighten a tilted frame without cutting into the bodywork, and it lets you crop to several different aspect ratios from the same original file.
Shooting slightly wide is especially useful when one photo needs to serve multiple placements, like a wide hero on a listing page and a square version for a social post. With margin in the frame, both crops come from a strong composition instead of forcing you to stretch or letterbox. The trade-off is resolution, so do not shoot so loose that the car becomes tiny in the frame. A modest buffer is enough.
Crop for the platform, not just the photo
Where the image will live should shape how you crop it. Inventory and listing platforms often display a fixed thumbnail shape, and if your crop fights that shape, the platform will crop it again automatically, sometimes cutting off a wheel or a badge. Check the required dimensions for your marketplace, dealer site, or portfolio before you finalize, and crop to match so you keep control of what stays in frame.
Think about the lead image specifically. The first photo in a listing usually appears as a small thumbnail in search results, so a tighter, well-centered crop of the whole car reads better there than a wide environmental shot that shrinks the vehicle to a speck. Interior and detail shots can be framed more loosely inside the gallery, where they display larger. Matching the crop to the placement is a small habit that noticeably improves how a listing performs.
How automated cropping speeds up a full inventory set
Cropping one hero shot is quick. Cropping and straightening two hundred frames across a dozen cars, all to the same aspect ratio, is where beginners lose their evening. This is the bottleneck that automation is built to remove. Imagen’s automated online image cropping for listings can auto-crop, straighten, rotate, and apply a consistent aspect ratio across a whole batch in the cloud, so an entire inventory gallery comes out uniform without hand-adjusting every file.
The workflow fits naturally with the beginner steps above. You decide the aspect ratio and the framing style you want, then let the tool level horizons and apply that ratio consistently across the set. Because Imagen also learns your editing style through personal AI profiles, it can deliver matching color and tone alongside the consistent crops, which is the other half of a gallery that looks like one photographer shot it. As a desktop app with cloud AI processing, it handles RAW files and returns edited photos in batches as they process, so you can start reviewing early frames while the rest finish, which matters when a lot of cars need to go live the same day. Pay as you go pricing is a monthly base fee plus a charge for the photos you export, so the cost of standardizing a large gallery stays predictable.
Automated cropping covers framing, straightening, rotation, and aspect ratio. It does not stretch into heavier edits. Removing a distracting object from the background, extending the canvas to add space that was never photographed, or compositing a car onto a new backdrop are separate jobs for a dedicated tool built for that kind of pixel work. Keeping those tasks separate keeps your crop step fast and repeatable.
A simple beginner cropping checklist
When you sit down to crop a car shoot, a short routine keeps you consistent. Start by leveling the horizon or the ground line on every frame. Next, apply your chosen aspect ratio across the entire gallery so the proportions match. Then check the edges of each frame for clipped wheels, crowded badges, and unwanted reflections in the paint. Finally, confirm the lead image is a tight, centered crop of the whole car so it reads well as a thumbnail.
Run the same routine every time and cropping stops feeling like guesswork. As your sets grow, lean on batch cropping to apply that routine at scale, and reserve your manual attention for the handful of hero and detail shots that deserve a custom frame. If you want to go deeper on the surrounding workflow, our guides on valuable photo editing tips cover culling, color consistency, and fast delivery, all of which pair with clean cropping. When you are ready to try automated batch editing on your own gallery, you can start at the Imagen homepage and try Imagen’s new Studio, where you cull, edit and export in one project.
What’s new in Imagen: The latest Imagen is an intelligent, agentic Studio for professional photographers: one project where you cull, edit, review and export in any order. When a hero shot of a car needs its own frame, the built-in editor (Beta) offers crop and straighten alongside manual sliders and a histogram, while your Personal AI Profile or a ready-made AI Profile keeps the rest of the lot consistent. It is a capable early release that works alongside Lightroom, and availability is widening gradually.
Frequently asked questions
What aspect ratio is best for car listing photos? There is no single correct ratio, but the best choice is the one your platform expects, applied consistently. A widescreen ratio such as 3:2 or 16:9 suits exterior and hero shots, while 4:5 or square crops work for thumbnails and social placements. The most important rule is to use one primary ratio across the whole gallery so the grid lines up cleanly.
Should I crop tight or leave space around the car? For the lead image, crop fairly tight so the car fills the thumbnail and reads clearly at small sizes. For gallery and detail shots you can leave more space. At the shoot, though, always frame a little loose so you have room to straighten and to crop to more than one ratio later.
How do I keep the horizon level on wide car photos? Find a strong horizontal reference such as the true horizon, a curb, a wall, or the car’s own sill and roofline, then rotate the frame until that reference sits level. Because a car body spans most of the frame, even a small tilt is obvious, so leveling first prevents a gallery of cars that all look like they are leaning.
Can I crop a large batch of car photos at once? Yes. Automated tools can crop, straighten, rotate, and apply a single aspect ratio across an entire set at the same time, which is far faster than editing each file by hand. You set the framing and ratio you want, and the tool applies it uniformly, so a full inventory gallery comes out consistent without manual work on every image.
