

The Batch Photo Editing Checklist for Wedding Photographers Before Client Delivery
Table of contents
- 1. Back up the RAW files before you touch a single slider
- 2. Cull ruthlessly before you edit anything
- 3. Lock in white balance and exposure as your baseline
- 4. Apply a consistent color and tone across the full set
- 5. Refine the hero frames individually
- 6. Spot-check skin tones and problem lighting
- 7. Handle retouching and cleanup as a separate pass
- 8. Standardize crops, straightening, and aspect ratios
- 9. Verify export settings before you render the full gallery
- 10. Apply clean, consistent file naming
- 11. Do a final full-gallery review in one sitting
- 12. Confirm delivery and gallery settings before the link goes out
- How Imagen fits into this checklist
- Frequently asked questions
A wedding gallery can run anywhere from 400 to 1,200 finished images, and the couple has been waiting for weeks to see them. Before you hit send, run every shoot through the same repeatable checklist so the whole gallery looks like one cohesive story instead of a pile of clips edited on different days. The short version: cull first, set your white balance and exposure baseline, apply a consistent color and tone across the full set, spot-check the hero frames, verify exports and file naming, and confirm delivery settings before the link goes out.
This checklist walks through each of those steps in order, with the specific things wedding photographers miss most. Work through it top to bottom on every wedding and your delivery becomes boringly predictable, which is exactly what you want when a client is paying you to preserve the most photographed day of their life.
1. Back up the RAW files before you touch a single slider
Nothing on this list matters if the originals are gone. As soon as the cards come out of the bag, copy every RAW file to at least two locations, ideally one local drive and one cloud or off-site drive. Verify the file count matches the card before you format anything. Wedding photography gives you exactly one chance to capture the ceremony, so treat the RAW backup as a non-negotiable first step rather than an afterthought once editing is done.
Keep the untouched originals separate from your working folder. If a batch edit ever goes sideways, you want a clean set to fall back on without hunting through overwritten files.
2. Cull ruthlessly before you edit anything
Editing images you are only going to delete later is wasted time, and it slows the whole gallery down. Do a fast culling pass first: remove blinks, missed focus, awkward mid-expressions, near-duplicate frames, and the test shots you fired while checking your light. A tight gallery of strong images serves the couple better than a bloated one where every good frame is buried next to three weaker versions of the same moment.
Manual culling on a large wedding is genuinely tedious, which is why many photographers now lean on AI culling to flag closed eyes, blur, and duplicates automatically. You still make the final call on which frames tell the story, but the software does the first sort so you spend your attention on selects rather than rejects.
3. Lock in white balance and exposure as your baseline
Consistency starts with your reference frames. Pick a well-lit shot from each lighting situation, the getting-ready room, the ceremony, the reception, and dial in white balance and exposure until it looks right. This becomes your anchor for everything shot under the same light. Weddings move through mixed lighting all day, warm window light, cool church shade, orange tungsten receptions, so you will usually have several baseline frames rather than one.
Getting the baseline right early prevents the most common gallery problem: skin tones that drift from neutral to pink to sallow as the reader scrolls. Nail the anchor frames, then let the rest of each scene fall in line with them.
4. Apply a consistent color and tone across the full set
This is the step that separates a professional gallery from a hobbyist one. Every image in the delivery should feel like it belongs to the same collection: the same color treatment, the same contrast character, the same handling of skin tones. A couple scrolling their gallery should never feel a jarring shift from one frame to the next.
Doing this by hand across 800 images is where most of a wedding photographer’s editing hours disappear. This is exactly the bottleneck that batch editing removes. Tools like Imagen’s batch photo editor for wedding photographers learn your personal editing style from your past work, then apply that same look consistently across an entire shoot. Instead of adjusting each frame from scratch, you review and refine a gallery that already carries your signature color and tone. Imagen is a desktop app for Mac and Windows with cloud processing, works directly on RAW files, and prices pay-as-you-go, a monthly base fee plus a charge for each photo you export, so a full wedding gets a consistent grade in a fraction of the manual time.
Whether you use an AI profile, presets, or sync settings by hand, the goal is the same: one coherent look from the first frame to the last.
5. Refine the hero frames individually
A batch pass gets the whole gallery to a strong, consistent baseline, but your signature images deserve a second look. The first kiss, the portraits, the emotional reactions during the vows, the couple’s first dance, these are the frames the couple will print, frame, and share. Give each one a moment of individual attention: fine-tune the crop, check the catchlights in the eyes, confirm the skin tones read naturally, and make sure the exposure flatters rather than flattens.
Think of it as two tiers. The batch handles the ninety-plus percent that needs to look great and consistent. The hero pass handles the handful of frames that need to look unforgettable.
6. Spot-check skin tones and problem lighting
Reception lighting is where galleries fall apart. Colored uplighting, DJ gels, and mixed ambient sources can push skin toward magenta or green even after a solid baseline. Scroll the reception set specifically and watch for skin tones that have wandered. Correct the outliers so a guest’s face never turns an unnatural color under the dance-floor lights.
Also check the transitional moments: golden-hour portraits shifting into blue-hour, or the walk from a bright ceremony into a dim venue. These in-between frames are the ones a fast pass tends to miss.
7. Handle retouching and cleanup as a separate pass
Color and tone are one job; cleanup is another. Blemish removal, stray-hair cleanup, softening a distracting background element, or removing an exit sign behind the couple all belong in a dedicated pass after the gallery is graded. Heavier work, like removing a large object, compositing two frames together, or correcting lens geometry and perspective, is best handled in a dedicated editing tool built for that task rather than folded into your batch color workflow.
Keep expectations realistic with the couple, too. Natural, flattering retouching is standard; extensive reshaping usually falls outside a normal wedding package unless you have agreed on it in advance.
8. Standardize crops, straightening, and aspect ratios
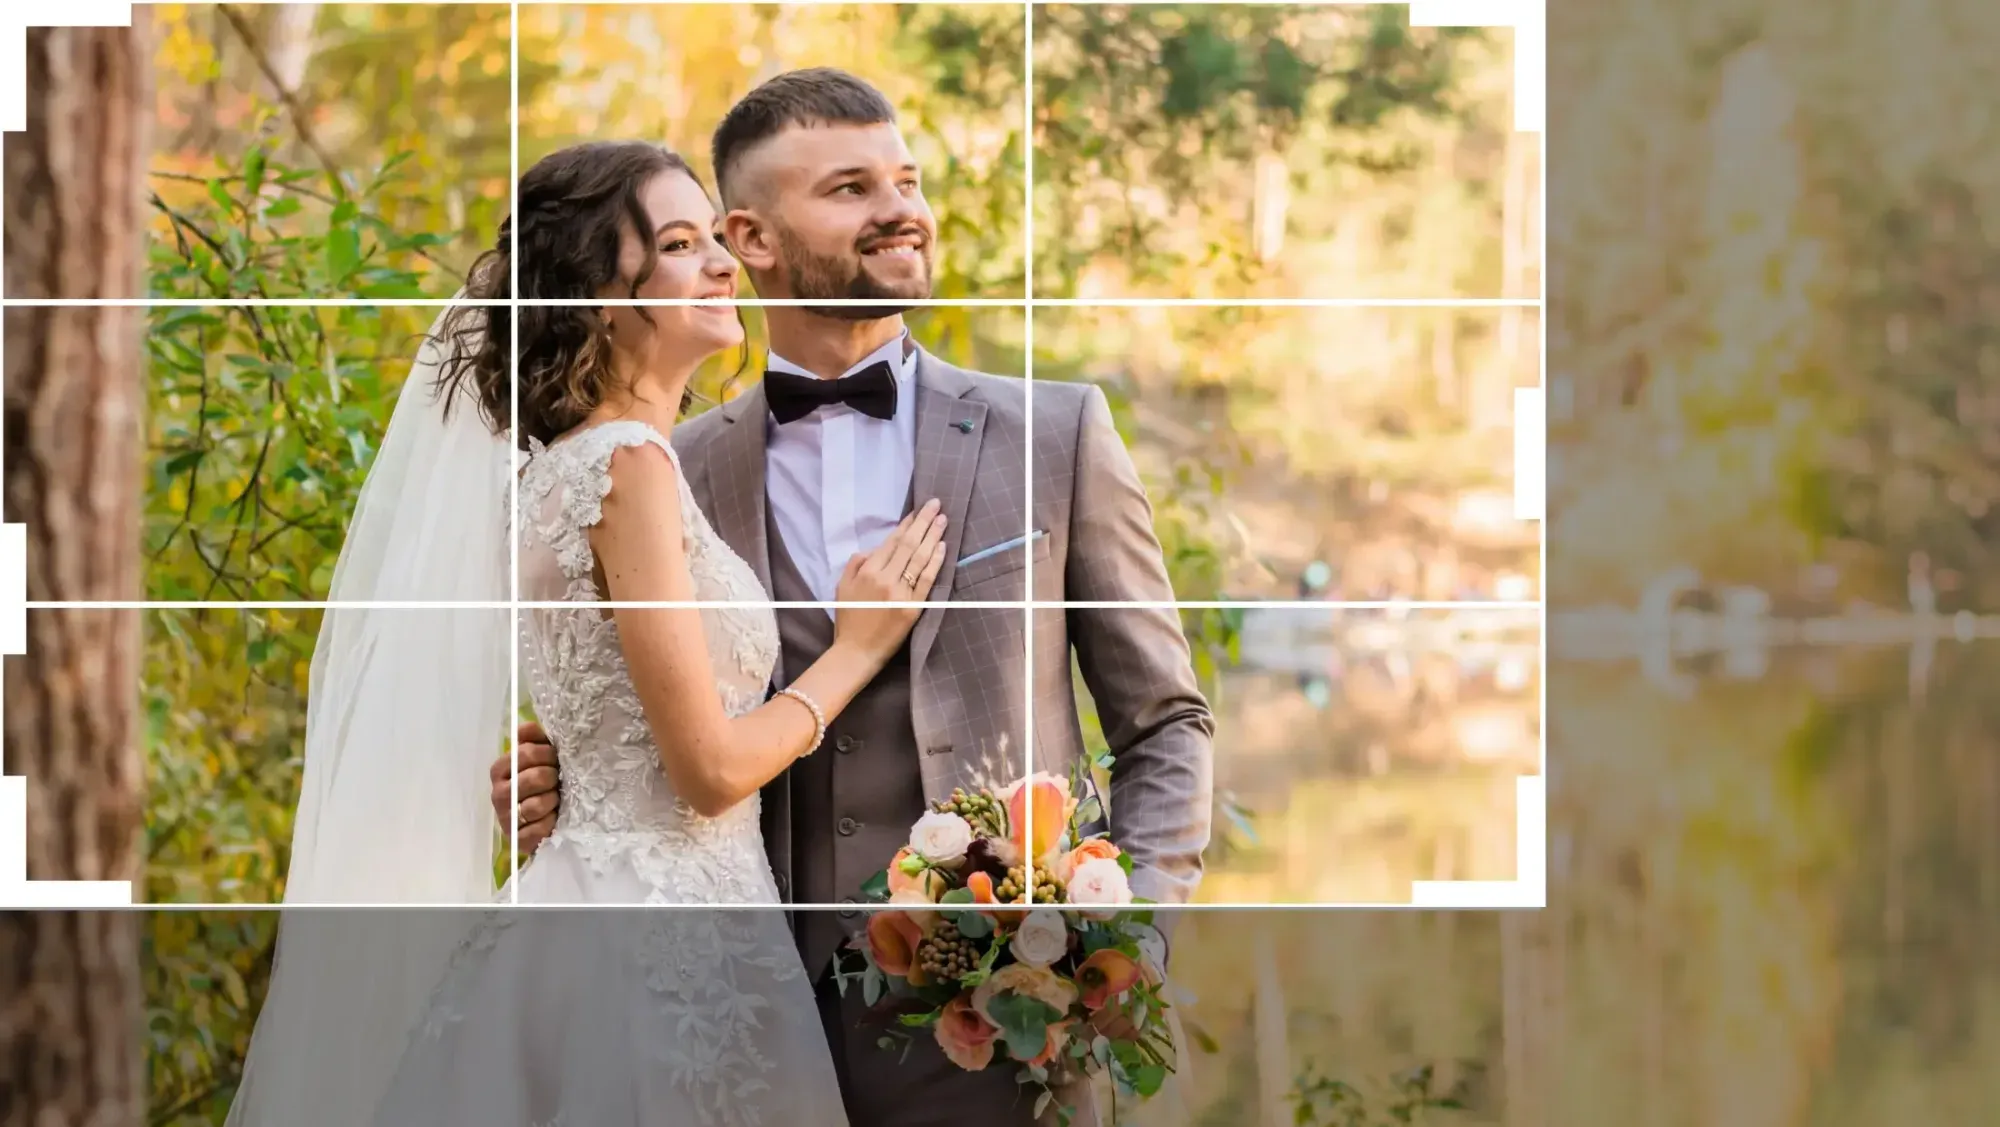
Run a consistency pass on framing. Straighten tilted horizons, level the architecture in your venue shots, and make sure your crops follow a coherent logic across the gallery. If you deliver a mix of full-frame and cropped images, keep the aspect ratios intentional rather than random, because the couple may order prints and album spreads that depend on predictable proportions.
A quick tip: check the edges of every hero frame for distractions that crept in, a stray hand, a photobombing guest, a bright exit door. A small crop often fixes what would otherwise pull the eye.
9. Verify export settings before you render the full gallery
Export mistakes are silent and expensive. Before you render 800 files, confirm your export recipe: color space (sRGB for web and most consumer prints), resolution, sharpening for the intended output, and file format. Decide whether the couple gets full-resolution files, web-sized files, or both, and set up separate export presets so you never accidentally send print-quality files as tiny web JPEGs or vice versa.
Render a small test batch first and open a few files to confirm they look right outside your editing software. It takes two minutes and saves you from re-exporting the entire wedding after the couple flags a problem.
10. Apply clean, consistent file naming
File naming feels trivial until a couple asks to reorder image 0472 from a gallery where every file is named IMG_3391. Use a consistent naming convention, typically the couple’s names or wedding date plus a sequential number, so files are easy to reference and stay in chronological order. Batch-rename on export rather than one file at a time.
Consistent naming also protects you on the back end. When a print lab, album designer, or the couple references a specific file, a clean naming scheme means you can find it in seconds.
11. Do a final full-gallery review in one sitting
Before delivery, scroll the entire gallery start to finish in one pass, ideally on a calibrated screen. You are looking for three things: any frame that breaks the consistent look, any image that slipped through culling and should not be there, and the overall flow of the story from prep to send-off. Viewing the gallery as a whole, rather than one image at a time, is the only way to catch tonal drift that is invisible frame by frame.
This is also your last chance to confirm you have not accidentally left in a duplicate, a test shot, or an unflattering frame that a tired late-night edit let through.
12. Confirm delivery and gallery settings before the link goes out
The final step is the handoff. Confirm your download settings, print-store options, privacy and password settings, and any pin-protection the couple requested. Double-check the gallery cover image and the ordering, since the first few frames set the tone the moment the couple opens the link. Then send a short, warm delivery message rather than a bare download link, because the delivery experience is part of what the couple remembers about working with you.
If you offer albums or prints, this is where you can gently point the couple toward those options while the emotion of seeing their photos is still fresh.
How Imagen fits into this checklist
Most of this list is judgment: culling choices, hero selects, the story flow. The part that eats your calendar is step four, applying a consistent, on-brand color and tone across hundreds of frames. That is the specific job batch editing is built to remove. By learning your personal style and applying it across the whole shoot, a tool like Imagen lets you deliver a cohesive gallery in a fraction of the manual hours, then spend your saved time on the hero frames and the client experience. Because it works on RAW in the cloud, you can start a batch and keep culling or reviewing while it runs, all in Imagen’s new Studio, one project where you cull, edit, review and export in any order.
The workflow does not change; the checklist above still holds. Batch editing just collapses the slowest step so the turnaround from last dance to delivered gallery gets dramatically shorter. If you want to see how it handles a full wedding set, the batch photo editor built for wedding photographers is the place to start.
What’s new in Imagen: Imagen is now an intelligent, agentic Studio for professional photographers, one project where you cull, edit, review and export in any order. For this checklist, you can use AI culling or cull by hand for free, ask the assistant in plain language to find the photos you want to double check, and send AI edits back to Lightroom Classic as XMP or export finished JPG files before the gallery goes out. It is rolling out gradually as a beta.
Frequently asked questions
How long should wedding photo editing take before delivery?
It varies with your workflow, but manual editing of a full wedding can take many hours spread over days or weeks. Culling and a consistent batch grade are the two steps that most affect turnaround. Photographers who batch the color and tone step, then hand-refine only the hero frames, typically cut their editing time substantially and deliver galleries faster.
Should I cull before or after editing?
Always cull first. Editing images you plan to delete is wasted effort, and a tighter gallery tells a stronger story. Remove blinks, missed focus, and near-duplicates before any color work, so every minute you spend editing goes into images the couple will actually receive.
How do I keep an entire wedding gallery looking consistent?
Set white balance and exposure baselines for each lighting situation, then apply the same color and tone treatment across the full set rather than editing each frame in isolation. Batch editing that learns your style makes this far easier, because it applies one coherent look across the whole shoot instead of relying on you to match hundreds of frames by hand.
What editing should I not try to do in a batch pass?
Keep color and tone in the batch pass, and move heavy retouching to a separate step. Object removal, compositing, geometry and perspective corrections, and detailed cleanup are best handled in a dedicated editing tool after the gallery is graded, so your consistent color workflow stays clean and predictable.
