

The Batch Photo Editing Checklist for Sports Photographers Before Client Delivery
Table of contents
- 1. Back up and organize every card before you touch a slider
- 2. Cull ruthlessly before you edit anything
- 3. Set your white balance and exposure baseline on a reference frame
- 4. Sync your baseline across the whole batch
- 5. Standardize color and tone so the full gallery matches
- 6. Handle the frames that need manual attention
- 7. Crop and straighten for consistent framing
- 8. Run a final quality control pass before export
- 9. Export with the right settings and deliver on time
- How Imagen fits the sports photographer’s checklist
- Frequently asked questions
A single game or meet can leave you with thousands of frames, and every parent, athlete, athletic department, and league expects a polished gallery fast. The fastest way to deliver clean, consistent images without burning a weekend at your desk is to work from a repeatable checklist: cull hard, standardize your exposure and color across the whole shoot, fix the handful of frames that need manual attention, and run one final quality pass before anything leaves your hands. This article walks that checklist step by step, in the order a busy sports shooter actually uses it.
The short version is this. Batch editing works for sports because the lighting, uniforms, and field conditions repeat across hundreds of frames, so decisions you make once should apply to the whole set. Your job is to build a system that grades the bulk automatically, flags the exceptions, and keeps your look identical from the first whistle to the last handshake. Below is the checklist that gets you there, plus where an AI batch editor removes the slow part.
1. Back up and organize every card before you touch a slider
Before any editing begins, copy every memory card to two locations. Sports days are long and cards fill quickly, so a habit of ingesting to a working drive and a backup drive protects you against the one corrupted file that always seems to hit the best frame of the day. Rename files on import using a consistent pattern, something like team, date, and jersey color, so a school or club can find a specific athlete later without emailing you.
Group images into folders by game, half, or event so the batch you edit shares the same light and setting. A morning track heat under flat clouds and an afternoon final in hard sun should not sit in the same batch, because a single set of adjustments will not flatter both. Organizing by lighting condition is the quiet decision that makes every later step faster.
2. Cull ruthlessly before you edit anything
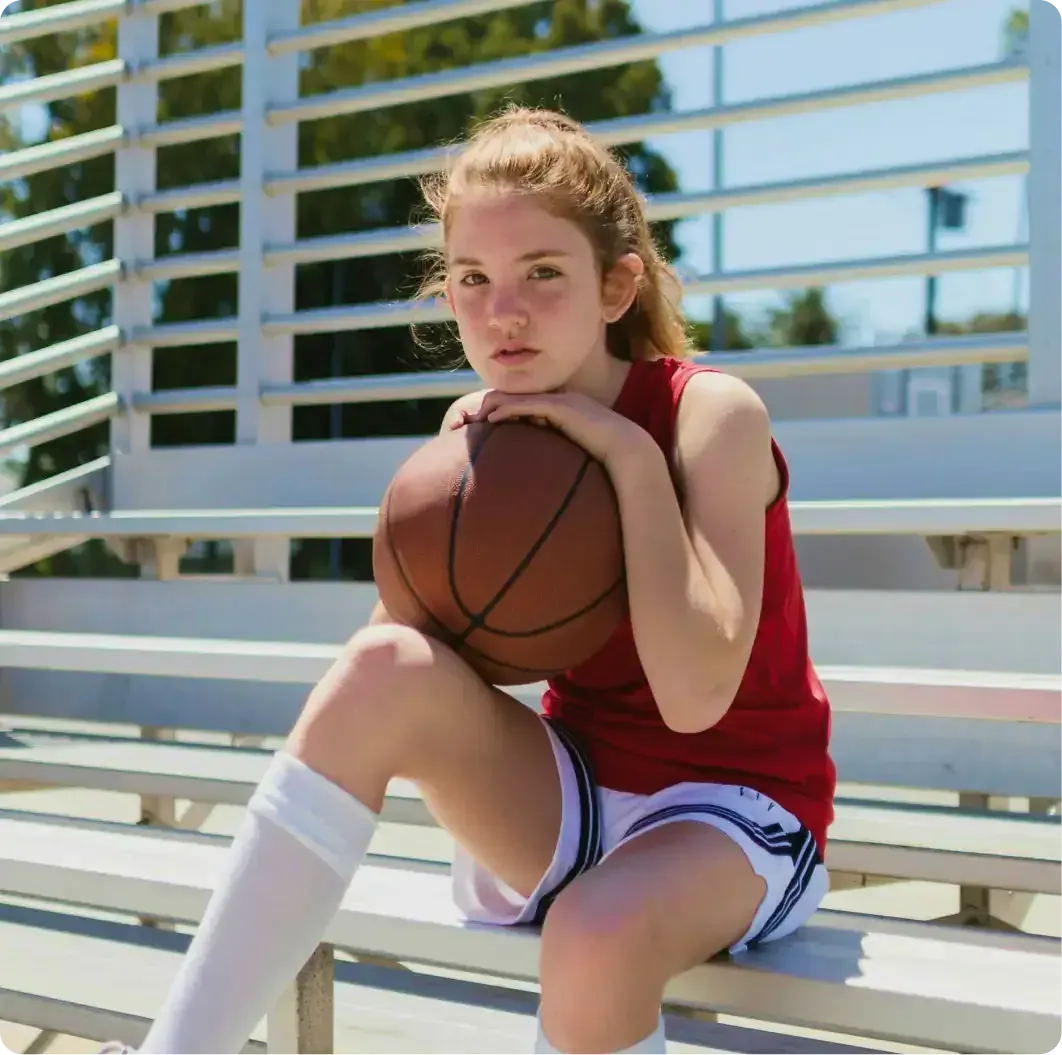
Culling is where sports galleries are won or lost. You will shoot bursts to catch peak action, which means many near duplicates: the same jump, the same tackle, the same finish line, a fraction of a second apart. Pick the sharpest frame with the best expression and body position, and cut the rest. Delivering fewer, stronger images reads as more professional than a bloated gallery of soft, half blinked frames.
Work in passes. A first pass rejects the obvious throwaways, the out of focus frames, the ones where the ball or athlete left the frame, and the closed eyes. A second pass compares the survivors within each burst and keeps the single best. Culling by hand across thousands of frames is the biggest time sink in the sports workflow, which is exactly why AI culling that flags blur, closed eyes, and duplicates for you is worth adopting. It shrinks the pile you actually have to edit.
3. Set your white balance and exposure baseline on a reference frame
Pick one well exposed frame that represents the lighting of the batch and dial it in properly. Correct the white balance so skin tones and the whites of a uniform look neutral, then set exposure, contrast, highlights, and shadows to taste. Stadium lighting, gym fluorescents, and open shade each push color in a different direction, so this reference frame is the anchor for everything that follows.
Mixed and artificial light is the classic sports headache. Indoor arenas often flicker and shift color frame to frame, and a field under floodlights rarely matches the color you saw with your eyes. Nail the reference frame first, because if the anchor is wrong, every image you sync from it inherits the same mistake.
4. Sync your baseline across the whole batch
Once your reference frame looks right, apply those settings to the entire batch that shares its lighting. This is the core of batch editing: one good decision, propagated to hundreds of frames in seconds. Sync white balance, exposure, and your tone curve so the set moves together, then scan through as a group to confirm the look holds.
Expect to make small local corrections. A player who ran into a patch of shade, or a frame shot as clouds passed, will need a nudge even after the sync. That is normal. The goal of the sync is not perfection on every single frame, it is getting ninety percent of the set to a consistent starting point so your manual attention goes only to the exceptions.
5. Standardize color and tone so the full gallery matches
Consistency is what separates an amateur gallery from a professional one. When a coach scrolls through two hundred images, the grass should be the same green, the home jersey the same red, and skin tones even from the first frame to the last. Nothing undercuts a delivery faster than a set where every third photo has a slightly different cast.
This is the step where an AI batch editor earns its place in a sports workflow. Imagen’s fast bulk school and sports photo editing software learns your personal editing style from your past work, builds an AI profile, and applies that consistent color and tone across an entire shoot automatically. Because it grades from your own choices rather than a generic preset, the gallery comes back looking like you edited it by hand, only far faster. That is the difference between spending your evening syncing sliders and spending it shooting the next event.
6. Handle the frames that need manual attention
Even a well synced batch leaves a short list of hero frames that deserve individual care: the game winning shot, the team photo, the portrait a parent will print large. Give those the extra minutes. Refine the crop for stronger composition, clean up a distracting background element, and make sure the athlete is the clear subject.
Be honest about which tasks belong to a separate step. Removing a fence, a photobomber, or a sponsor board from behind an athlete is compositing work, and that belongs in a dedicated object removal tool rather than your batch grade. The same goes for rescuing a badly motion blurred frame, which is a job for a dedicated sharpening tool, and for correcting a leaning stadium in the background, which a dedicated perspective tool handles. Keep your batch editor focused on color, tone, and consistency, and route these specialty fixes to the tools built for them so you do not slow the whole pipeline down.
7. Crop and straighten for consistent framing
Sports action rarely lets you compose perfectly in camera, so cropping is part of the job. Straighten horizons using a field line or the crowd behind the action, and crop to put the athlete and the ball where they belong. Decide up front whether the client wants a uniform aspect ratio across the gallery, since a yearbook, a league website, and a parent print each favor different shapes.
Leave breathing room in the direction of motion so a sprinter or a receiver has space to run into within the frame. Consistent, intentional framing across the set is a small thing that clients feel even if they cannot name it. It signals that a person, not a machine, made deliberate choices about each image.
8. Run a final quality control pass before export
Before anything is delivered, scroll the entire gallery one more time at a comfortable preview size. You are hunting for the small misses: a frame the sync left too dark, a color cast that slipped through, a duplicate that survived culling, a crop that clipped an elbow. This last look is quick, and it catches the errors that would otherwise land in front of a paying client.
Check sharpness on the frames that matter, confirm skin tones are even across the set, and verify the whole gallery reads as one cohesive body of work. A short, disciplined quality control pass is what lets you deliver with confidence rather than crossing your fingers after upload.
9. Export with the right settings and deliver on time
Export presets save you from re decisions on every job. Set full resolution JPEGs for prints, appropriately sized files for web galleries and league websites, and sRGB color so what you approved on screen is what the client sees on theirs. Sharpen for the output medium, since a print and a phone screen want different amounts. Name your export folders clearly so the handoff is obvious.
In sports, speed of delivery is often the whole pitch. Parents want photos while the excitement is fresh, and athletic departments work on tight publishing schedules. A cloud based batch workflow that grades your shoot quickly and lets you export straight to a gallery is how you turn a same day or next day delivery into your competitive edge instead of a scramble.
How Imagen fits the sports photographer’s checklist
Most of the checklist above is judgment, and judgment stays with you. Where the time drains away is the repetitive middle: culling thousands of near duplicates and grading hundreds of frames to a single consistent look. That is precisely the part an AI batch editor absorbs. Imagen is a desktop app for Mac and Windows, with the AI processing in the cloud, that learns your style through personal AI profiles, then delivers consistent color and tone across an entire shoot, offers AI culling or free manual culling, and works with your RAW files so you keep full editing latitude. Edited photos arrive in batches as they process, so you can start reviewing early frames while the rest finish.
The pricing is simple and pay as you go: you pay for what you export and exploring the tools is free, so a large event scales predictably instead of eating your margin. You can see the broader toolset, including the new Studio where you cull, edit and export in one project, on the Imagen homepage, and the sports and school specific workflow lives on the fast bulk school and sports photo editing page. Used inside the checklist, it collapses the slow steps so your remaining time goes to the frames and clients that deserve real attention. For a wider view of the process, see our guides on sports photography editing workflow and post processing tips.
What’s new in Imagen: Imagen is now an intelligent, agentic Studio for professional photographers, one project where you cull, edit, review and export a game day in any order. AI filters such as blur and closed eyes help you narrow thousands of near duplicates, and the assistant can find the photos you describe in plain language while you steer. The Studio is rolling out gradually as a beta.
Frequently asked questions
How long should it take to edit a full sports shoot?
It depends on frame count and how much manual work each gallery needs, but the two slowest stages are always culling and grading for consistency. When an AI batch editor handles the cull and applies your style across the set automatically, photographers routinely cut editing time on a large event from a full day to a fraction of it. The manual hero frames still take the minutes they take, but the bulk is no longer the bottleneck.
Can batch editing keep my whole gallery consistent?
Yes, and consistency is the main reason to batch edit at all. By setting your look on a reference frame and syncing it across images that share the same lighting, the entire set moves together. A tool that learns your personal style and applies it across the shoot takes this further, holding color and tone steady from the first frame to the last so a coach or parent sees one cohesive gallery.
Does batch editing work for indoor sports with tricky lighting?
It does, as long as you batch by lighting condition rather than dumping every frame together. Indoor arenas and gyms often shift color and flicker, so group images by venue and light, nail the white balance on a strong reference frame, then sync. Frames shot under genuinely different lighting should be their own batch with their own reference, which keeps a single sync from fighting two different color casts at once.
What editing tasks should not go in the batch step?
Keep the batch focused on culling, exposure, white balance, color, and tone. Specialty fixes belong in dedicated tools: object removal for a distracting background element, a sharpening tool for a badly motion blurred frame, and a perspective tool for a leaning structure behind the action. Routing those out keeps your batch grade fast and lets each specialty tool do the job it was built for.
