

Building a Faster Image Cropping Workflow for Portrait Photographers
Table of contents
- Building Faster Image Cropping Workflow for Portrait Photographers
- Why Cropping Slows Portrait Photographers Down
- Plan the Crop Before You Shoot
- Choose Consistent Aspect Ratios Across the Session
- Place the Subject With Intention: Rule of Thirds and Headroom
- Straighten Tilted Frames Without Losing the Edges
- Automate the Batch, Then Refine the Exceptions
- Where Cropping Ends and Heavier Editing Begins
- What a Fast Cropping Workflow Costs
- Frequently Asked Questions
Building Faster Image Cropping Workflow for Portrait Photographers
The fastest way to crop a full portrait session is to stop cropping frame by frame and start cropping in batches. If your shoot holds a consistent framing, you can straighten tilted horizons, align your subjects to the rule of thirds, and apply one aspect ratio across hundreds of images in a single pass, then spot-fix only the handful of frames that need a custom crop. That approach turns an hour of slider dragging into a few minutes of review.
This guide walks through a repeatable cropping workflow built for portrait work specifically: how to plan your crop before the shutter clicks, how to keep aspect ratios consistent across a session, how to place subjects with intention, and where automation removes the tedious middle so you can focus on the frames that carry the story. The goal is a clean, uniform gallery that looks deliberate rather than a set of loosely trimmed snapshots.
Why Cropping Slows Portrait Photographers Down
Cropping feels trivial until you multiply it by a full gallery. A single portrait session can produce 300 to 800 keepers, and every one of them carries small framing inconsistencies: a slightly tilted camera, a subject drifting off center, a headroom gap that varies shot to shot. Left alone, those inconsistencies read as sloppiness once the images sit side by side in a client gallery.
The manual fix is repetitive. You open a frame, nudge the crop box, check the horizon, adjust headroom, confirm the aspect ratio, and move on, hundreds of times. The work is not hard, but it is slow, and it drains attention you would rather spend on color, skin tone, and the images that actually deserve extra care. The bottleneck is rarely skill. It is volume. A workflow that handles the routine crops in bulk, and reserves your hands-on attention for the exceptions, is the single biggest time win available to a portrait shooter.
Plan the Crop Before You Shoot
The cheapest crop is the one you barely need to make. Framing your subject correctly in camera reduces the work later and protects resolution, because heavy cropping throws away pixels you may want for large prints. Before a session, decide the primary aspect ratio your client needs. A portfolio gallery might live at 4:5 for social delivery, while print orders often want a clean 8:10 or 5:7.
Leave deliberate breathing room around your subject so you keep options open. Shooting a touch wider gives you room to crop into a tighter composition without losing edges, and it lets you standardize framing after the fact rather than committing to one look at capture. Keep your camera level when you can, since a straight horizon or a vertical doorway behind your subject means far less straightening downstream. None of this is about perfection in camera. It is about giving your editing pass a consistent starting point so the batch tools have clean material to work with.
Choose Consistent Aspect Ratios Across the Session
Consistency is what separates a professional gallery from a casual one. When every image in a set shares the same aspect ratio, the collection reads as a unified body of work. Mixed ratios, by contrast, make a gallery feel unfinished, and they create real friction when a client tries to order prints or lay images into an album template.
Decide your ratios by delivery target rather than by mood. Most portrait photographers standardize on one hero ratio for the main gallery and keep one or two secondary ratios for specific uses, such as a vertical 4:5 for phone-first viewing and a horizontal option for cover images. The key move is to apply the chosen ratio uniformly instead of eyeballing each frame. Uniform ratios also make your straightening and subject-placement decisions repeatable, because you are always working inside the same frame shape. Once the ratio is locked, cropping becomes a question of position, not proportion.
Place the Subject With Intention: Rule of Thirds and Headroom
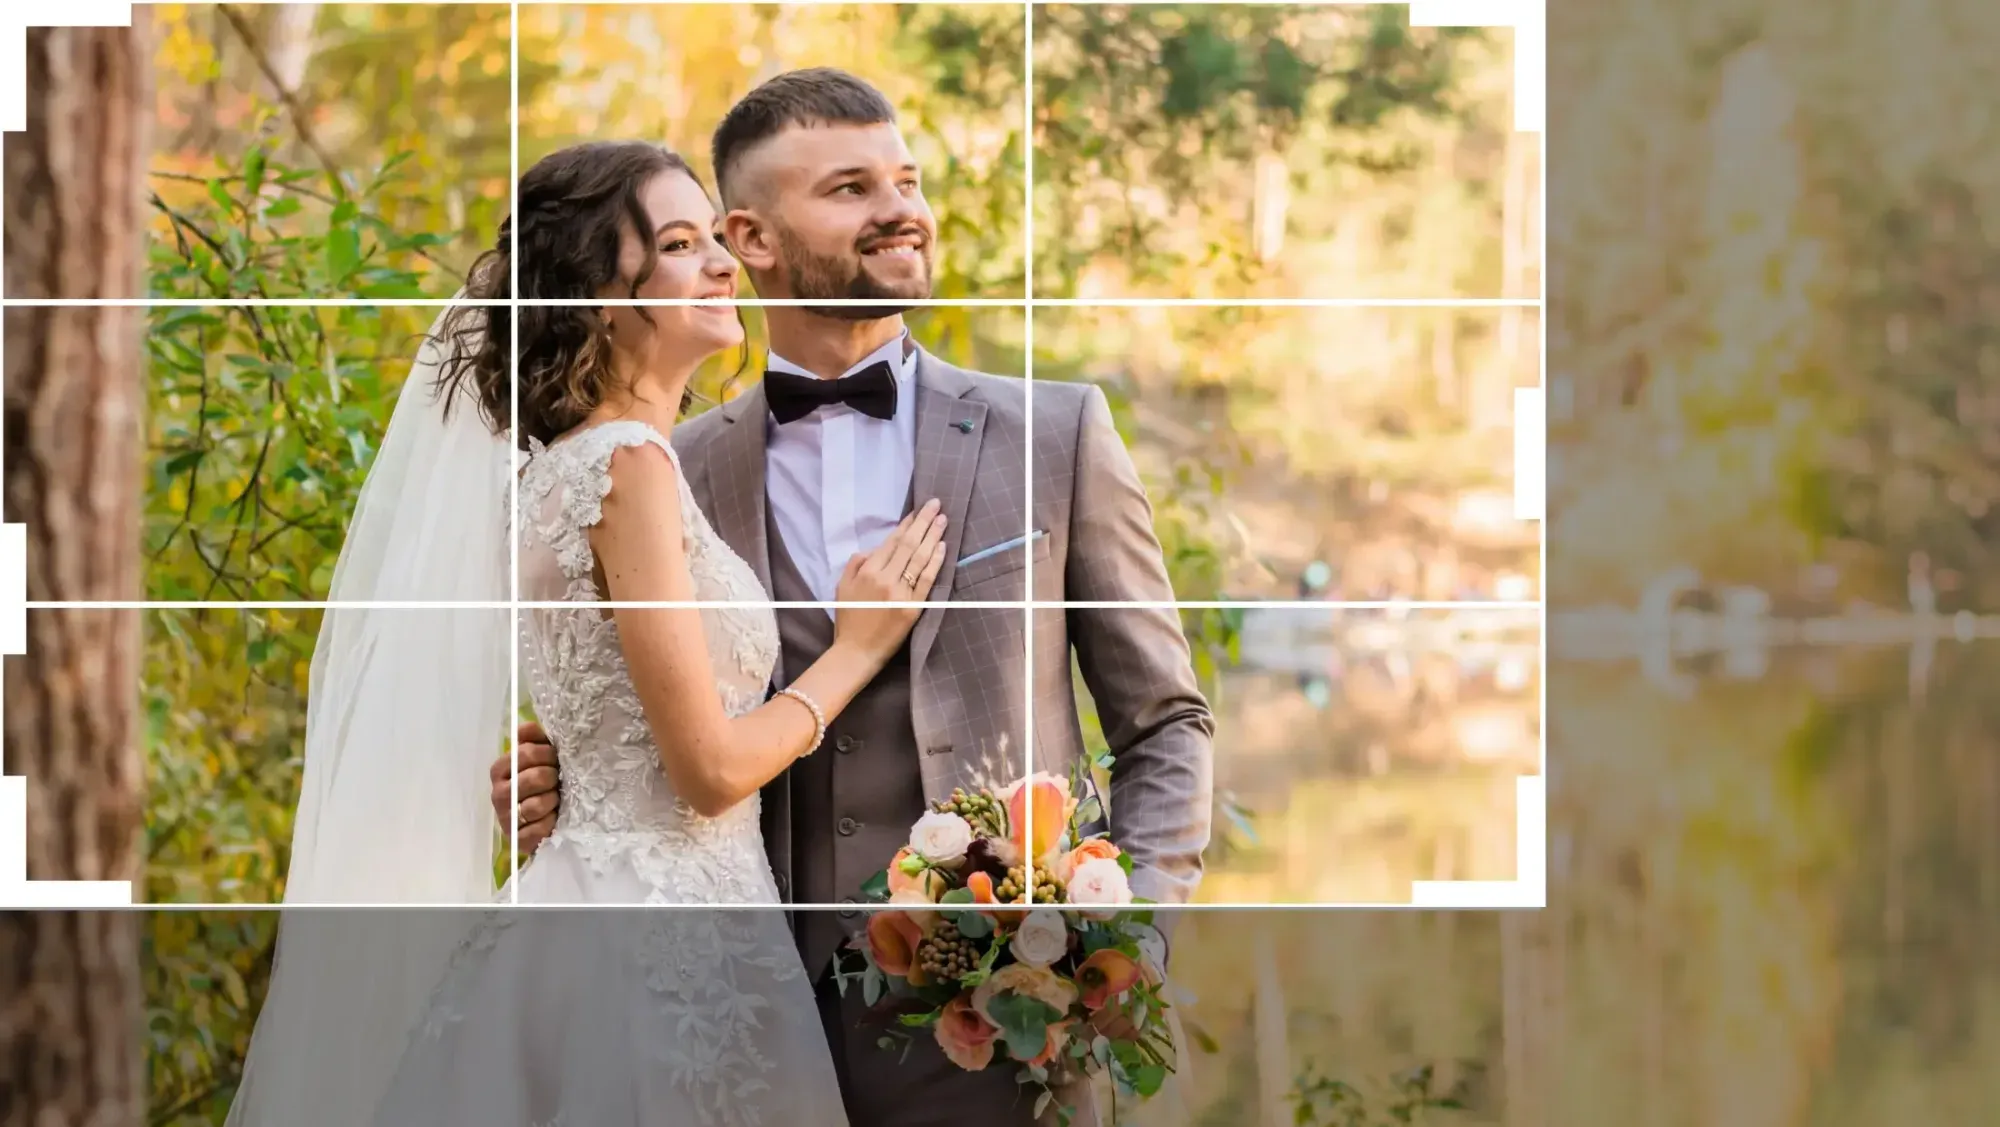
A good portrait crop is about where the subject sits inside the frame, not just how tight it is. The rule of thirds is the reliable default: place the eyes along the upper horizontal third and let the face fall near a vertical third line rather than dead center. Centered framing can work for symmetrical, formal portraits, but off-center placement usually feels more natural and gives the eyes somewhere to travel.
Headroom is the detail that quietly makes or breaks a portrait crop. Too much space above the head makes the subject look small and lost in the frame. Too little feels claustrophobic and can look like an accident. Aim for natural headroom that follows the subject’s gaze and body language, and keep it consistent from image to image so the gallery flows. For tighter crops, cutting just above the forehead can read as intentional and personal, but only when you do it consistently rather than by accident on a few frames. The principle underneath all of this is uniformity: pick your placement logic once, then hold it across the whole set.
Straighten Tilted Frames Without Losing the Edges
Handheld portrait work almost always introduces a little tilt. A background line that should be vertical leans a few degrees, or a horizon behind an outdoor subject sits crooked. Straightening fixes this, but every rotation crops slightly inward, because rotating a rectangle inside its own frame exposes empty corners that have to be trimmed away.
This is exactly why shooting a little wider pays off. The extra margin absorbs the rotation so straightening does not eat into your composition. When you straighten, use a reliable reference: a doorframe, a wall edge, a true horizon, or the subject’s own vertical posture in a standing portrait. Correct the tilt first, then set your crop, so the aspect ratio and subject placement land on an already-level frame. Doing it in that order keeps you from fighting two problems at once. Across a full session, straightening is one of the most repetitive tasks of all, which makes it a prime candidate for automation.
Automate the Batch, Then Refine the Exceptions
Here is where the workflow gets genuinely fast. Most frames in a portrait session share the same framing needs: level the tilt, apply the session aspect ratio, and place the subject with consistent headroom. That is repetitive, rule-based work, which is precisely the kind of task automation handles well. Rather than crop each image by hand, you let a batch tool apply consistent crop, straightening, rotation, and aspect ratio across the entire set in seconds, then you review the results and hand-adjust only the frames that need something custom.
This is what Imagen’s crop and straighten in seconds tool is built to do. Imagen’s AI crop and straighten feature auto-crops, straightens, rotates, and applies a consistent aspect ratio across a whole batch, so your gallery arrives already uniform instead of needing frame-by-frame attention. Imagen is a desktop app with cloud AI processing that also learns your editing style through personal AI profiles, which means the same pass that handles cropping can deliver consistent color and tone across the shoot, cull your selects, and work directly from RAW files. For a portrait photographer, that collapses the slow middle of the workflow: the bulk crop is done in one pass, and your hands-on time goes to the exceptions and the creative frames, which you can fine-tune with crop and straighten in the built-in editor (Beta).
Refining the exceptions is still your job, and it should be. A dramatic close-up, an unusual pose, or a group portrait with tricky spacing may want a crop that breaks your default rules. The point of automating the batch is not to remove your judgment. It is to reserve your judgment for the frames where it matters, instead of spending it on the routine 90 percent.
Where Cropping Ends and Heavier Editing Begins
Cropping and straightening reframe what you already captured. They do not invent new pixels. It helps to know the line, because some jobs look like cropping but are actually a different kind of work. If you need to extend the canvas beyond the original frame, fill in empty space that rotation exposed rather than trimming it, replace a background, or remove an object from behind your subject, that is compositing, not cropping, and it belongs in a dedicated retouching tool built for generative fill and object removal. Treating those as separate steps keeps your fast cropping pass fast and your heavier edits deliberate.
For the vast majority of portrait frames, though, you never cross that line. A level frame, a consistent aspect ratio, and intentional subject placement handle almost everything a client sees. Keeping the cropping workflow focused on exactly those tasks is what makes it quick.
What a Fast Cropping Workflow Costs
Speed matters, but so does the math on volume editing. When you fold cropping into a batch editing pass rather than treating it as separate manual labor, the per-image economics stay predictable. Imagen runs on pay-as-you-go pricing, a monthly base fee plus a charge for the photos you export, and a single pass can carry your crop, straighten, aspect ratio, color, and tone together rather than charging you time in a dozen separate manual steps. For a photographer delivering multiple sessions a month, the real cost of cropping is not the tool. It is the hours, and the workflow that removes those hours while keeping quality consistent is the one worth building around.
If you want to see how the automated pass fits your own shoots, you can start at the Imagen homepage and try Imagen’s new Studio, where you cull, edit and export in one project, on a real session. The fastest way to judge a cropping workflow is to run it against a gallery you already know well and compare the uniformity of the output.
What’s new in Imagen: Portrait sessions now fit in a single project, because Imagen is an intelligent, agentic Studio for professional photographers. Cull, edit, review and export in whatever order suits you, using AI culling or free manual culling. You can apply more than one AI Profile to a selected set of photos, which takes some processing time, and edited photos arrive in batches so early frames are ready to review while the rest finish. Expect a gradual beta rollout.
Frequently Asked Questions
How do I crop hundreds of portraits without doing each one by hand?
Batch the routine work and hand-fix the exceptions. Most frames in a session share the same needs: level the tilt, apply one aspect ratio, and keep consistent headroom. A batch tool can apply crop, straightening, rotation, and a uniform aspect ratio across the whole set in seconds, which leaves you free to spot-adjust only the frames that call for a custom crop.
What aspect ratio should I use for portrait photography?
Choose by delivery target, not by mood. A 4:5 ratio suits phone-first galleries and social delivery, while 5:7 and 8:10 are common for prints. Pick one hero ratio for the main gallery, keep one or two secondary ratios for specific uses, and apply your choice uniformly so the whole set reads as a unified body of work.
How much headroom should a portrait crop have?
Enough to feel natural, and consistent from image to image. Too much space above the head makes the subject look small, while too little feels cramped. Follow the subject’s gaze and posture, and for tight crops it can read as intentional to cut just above the forehead, as long as you do it consistently rather than on a few frames by accident.
Does straightening a tilted frame reduce image quality?
Straightening itself does not degrade quality, but it does crop slightly inward, because rotating a rectangle inside its own frame exposes empty corners that get trimmed. Shooting a little wider gives you the margin to absorb that rotation. Straighten first using a true vertical or horizon as reference, then set your final crop on the leveled frame.
